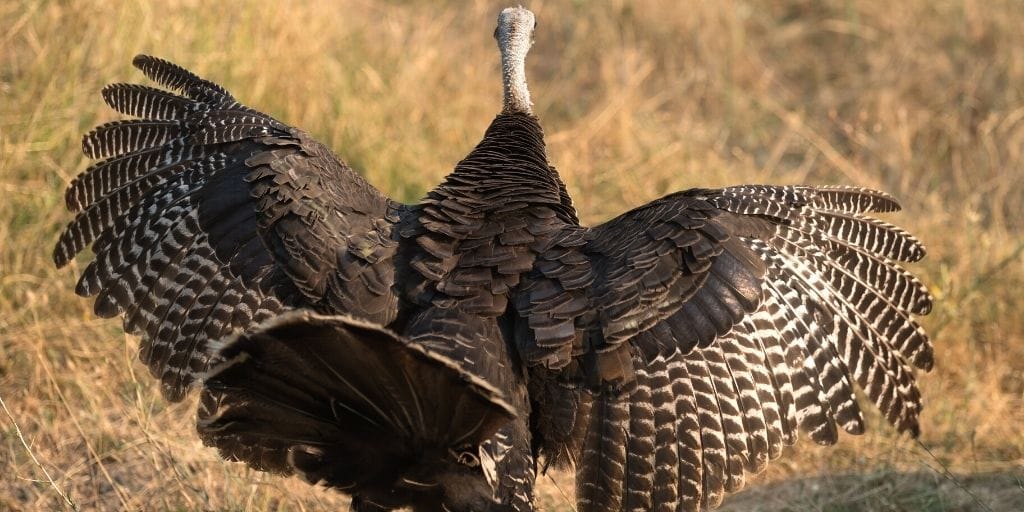
So you harvested your first turkey, or maybe your 50th. Either way, you might be like me and think there is a whole lot more to a wild turkey than just breasts, feathers, an unnerving amount of turkey talking, and wild animal behaviors. Personally, I hate wasting anything and some may consider me a hoarder of my hunting “firsts.” I know sometime in the future I might be able to use the animal items I have saved.
Want a checklist for all of the turkey hunting gear you need? Head here and grab one.
Back in May, I harvested my first wild turkey Tom in upstate Pennsylvania. It was over before I knew it and I was determined to utilize all aspects of this majestic bird to the best of my abilities. I knew I was saving as much meat as possible. I plucked as many feathers from the body as possible for crafting and completed a mount using the tail and wings. What I wasn’t expecting I would be doing was to make a wild turkey call with the wing bones of the bird!
The suggestion for the wild turkey call came from a friend and member of the United Bowhunters of Pennsylvania organization of which I am also a member. He posted a photo of his call and I was in! A quick search of YouTube videos and that was it. The process for making the turkey bone call is relatively simple and dates back to the earliest Native Americans. Part of the process is my own personal preference for maceration of meat and the steps have been updated for using more modern-day tools.
I plan on personalizing my call in the near future. If you have made one or made one please share yours in a comment here at Miss Pursuit!
How to Make Your Own Turkey Call
Materials
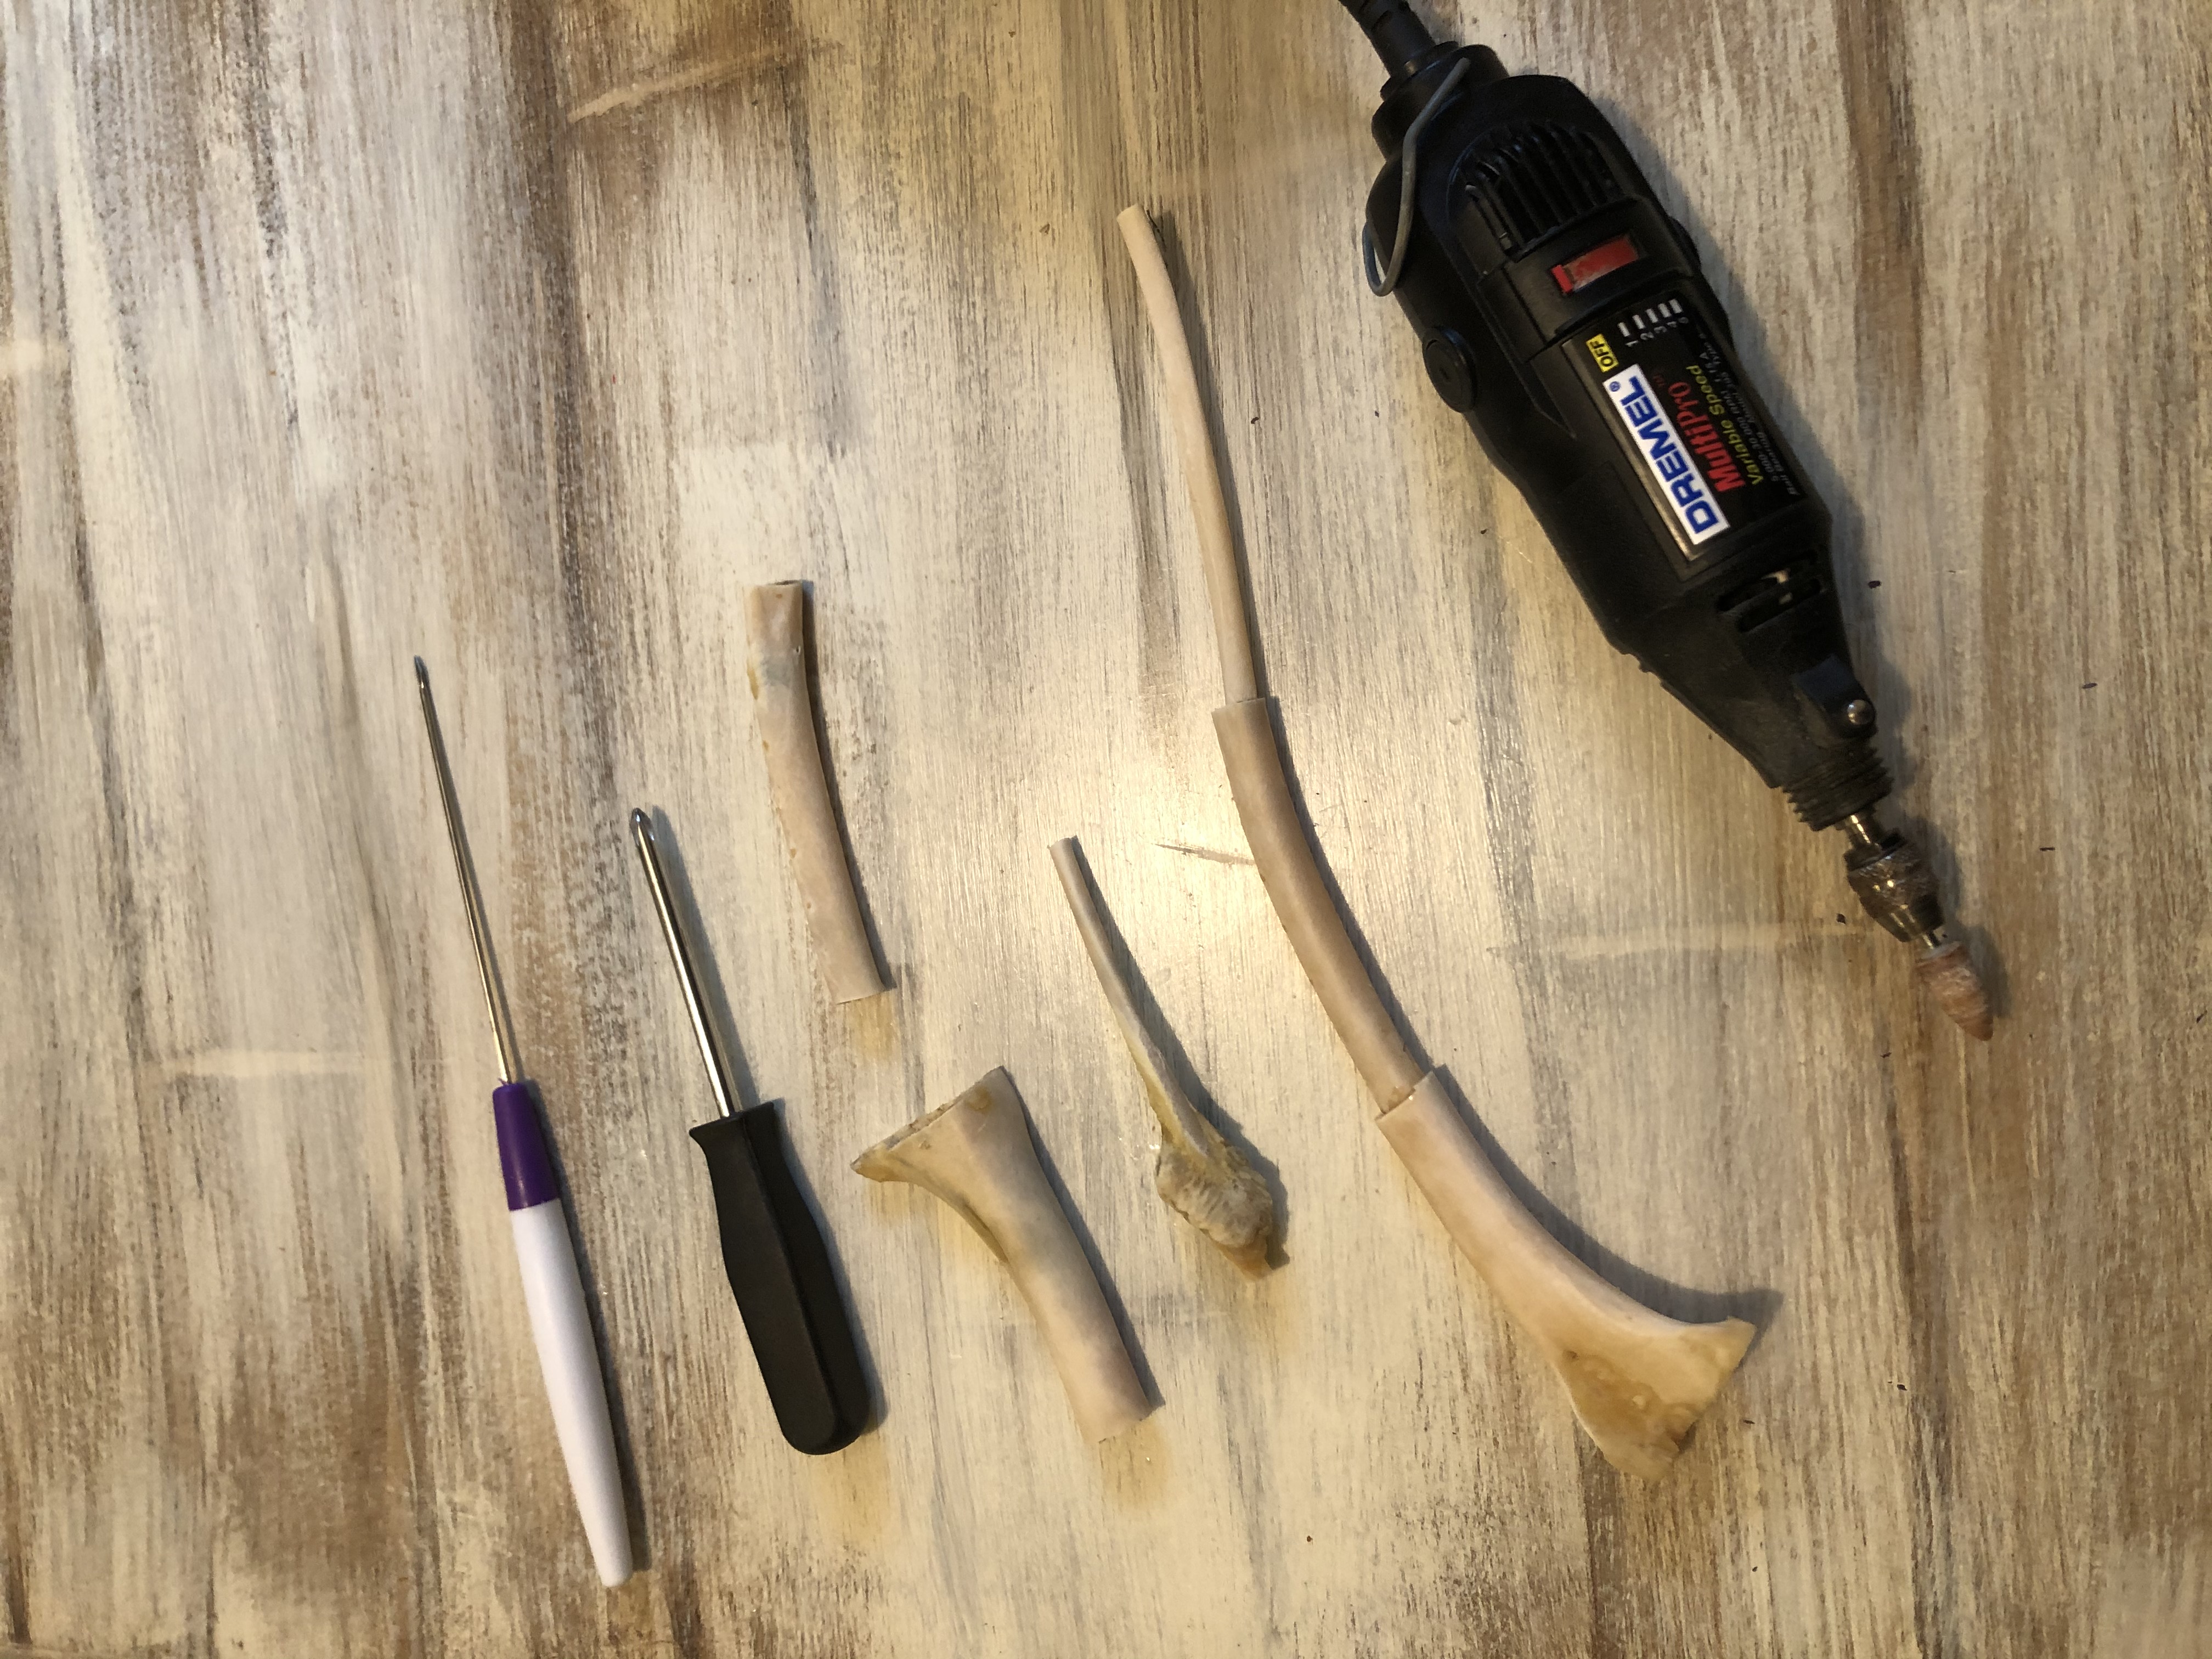
- The three bones from the two separate articulations of the wing sections (two bones are in the middle section – the tip on the wing bone is not used)
- Sharp knife
- Stock pot
- Water
- Oxiclean
- 2 part epoxy – I used clear J-B Weld
- Dremmel or saw
- Paint and other decorative items (optional)
Read More: How to DIY a Lucky Rabit’s Foot
Directions
- De-bone the wing sections and remove larger portions of meat.
- Heat pot of water to boiling. Turn off the heat source, add bones, and 1/4 cup Oxiclean. You may have to repeat this process on the large bone but the ends of the smaller bones will be cut off so they do not need to be perfectly clean at the joints. (You can choose to do this step with whatever method you prefer for maceration. Some just boil the meat off while others use Borax and dish soap. I prefer the Oxiclean method.)
- Using a saw or Dremmel, carefully saw off the joints on each of the two ends of the two smaller bones. Remember to use eye protection. It is always suggested to use an air respiration mask for sanding/cutting bone due to the potential of inhaling bone fragments and dust. NOTE: Using a Dremmel with an appropriate cutting blade makes fast and easy work of this part and prevents undue stress on the fragile bones.
- Using the same method, cut off the smaller end of the larger bone. The other end, the largest, is cut at an angle across the widest section. Cut the other end off above the joint as you did with the smaller two bones.
- I had to use a metal skewer to remove the marrow from inside the bones. In one video, it showed the marrow could be blown out the other end but this didn’t work for me.
- Using the Dremmel tool sand down the bone webbing on the inside ends of the larger bone. This can also be done with the tip of a knife or other small metal item. I also used the metal skewer to clean out the webbing along the inner shaft of the large bone.
- Time to get the ends to fit into each other. This was super easy with the Dremmel. I could quickly and easily sand down the section/area that didn’t easily fit together. Sandpaper would work as well but it will take some time. You could also use a sharp knife to “whittle” away the areas but I didn’t trust myself to do that. Again, use caution with using a knife and fragile bones.
- Mix a small amount of epoxy and using a toothpick place a small amount around each section to be connected. You will need to add extra into any open areas to seal each chamber section. Epoxy sets quickly so you are almost there!
- Time to use your wild turkey call. These calls are used by “sucking” on the smaller end. By just resting the tip on the lower aspect of your lip, sealing your other lip over top, then making small kissing sounds. I’m not an expert at it but it really will sound like hens yelping and cutting!
- Practice your calling!
Check out this site for beautiful examples of finished wild turkey calls!

Commonly Asked Questions About Making Your Own Turkey Call:
Can you make your own turkey call?
Yes, you can make your own turkey call at home. With the right materials and a bit of practice, you can create various types of calls, including box calls, slate calls, and mouth calls. Each has its own techniques and materials.
What is the easiest turkey call to make?
The easiest turkey call to make is typically a box call. It only requires a few materials, like wood and a paddle, and produces realistic sounds with minimal skill. Many hunters find it reliable and straightforward to create and use.
What do you need to make turkey mouth calls?
To make a turkey mouth call, you’ll need latex or reed material, scissors, tape, and a mouth call frame. Crafting a mouth call requires precise cuts and layering of latex to produce realistic turkey sounds. It’s a bit tricky but rewarding.
What is the best wood to make a turkey box call?
The best wood for a turkey box call is usually cedar, mahogany, or walnut. These woods resonate well, creating realistic turkey sounds. Each type of wood produces a slightly different tone, so you can experiment to find your preferred sound.


Pictures along the way would be helpful. this looks interesting. I will have to try to make one.
Great point! Thank you for the feedback.