When I set out to tan my first hide I was completely clueless. I asked questions and researched the topic for at least a year before I even had a hide I wanted to save. When I finally took the tanning plunge I had already made so many mistakes with the saved hide that the fact the whole process actually worked for a hair-on deer hide still amazes me. It was an extremely nerve-racking process but it didn’t need to be.
How I Tanned My First Hide
This is how I tanned my first hide. Make sure to follow the instructions on your tanning kit in order to complete your own project!
There are 3 ways you can preserve your hide before you actually start the tanning process.
- Freeze the hide after you remove it from the deer.
- Flesh it (remove all the residual meat and fat) and salt it, storing it in an air-tight container.
- Air-dry the hide which will leave it firm/hard/stiff (perfect for creating a wall hanging).
There are some suggestions to rehydrate dried deer hides and then tan them. However, the methods recommended to me were to freeze or salt the hide since I wanted to tan it to create a soft and supple hide.
Mistake one. I skinned the hide and because it was cold outside with snow on the ground I laid the hide side down in the snow overnight…for two nights.
Mistake two. I washed the hide.
Mistake three. I salted the hide but didn’t have the tanning supplies yet (the company from which I ordered from was back-ordered on every tanning product). I folded the hide up and stuck it in the freezer.
Mistake four. When we took it out of the freezer, it was laid in a dark shed, instead of in the sun so the excess moisture would start to dry from the wet hide. It stayed in the shed for several days.
I needed to flesh the hide, but I did not have a fleshing beam or flesher, which would have made this process much easier and efficient. A sharp fillet knife did the trick well enough. But I still did not have the tanning solutions, so I re-salted it and tucked it away in an air-tight plastic container and waited for the supplies.
When the tanning supply kit from Van Dykes Taxidermy finally arrived, the anxiety began again. The first step is to place the hide in a pickling bath for 48-72 hours. This solution is actually very acidic so wear rubber gloves when you work with the hide during this process. You’ll want a scale to measure the product accurately.
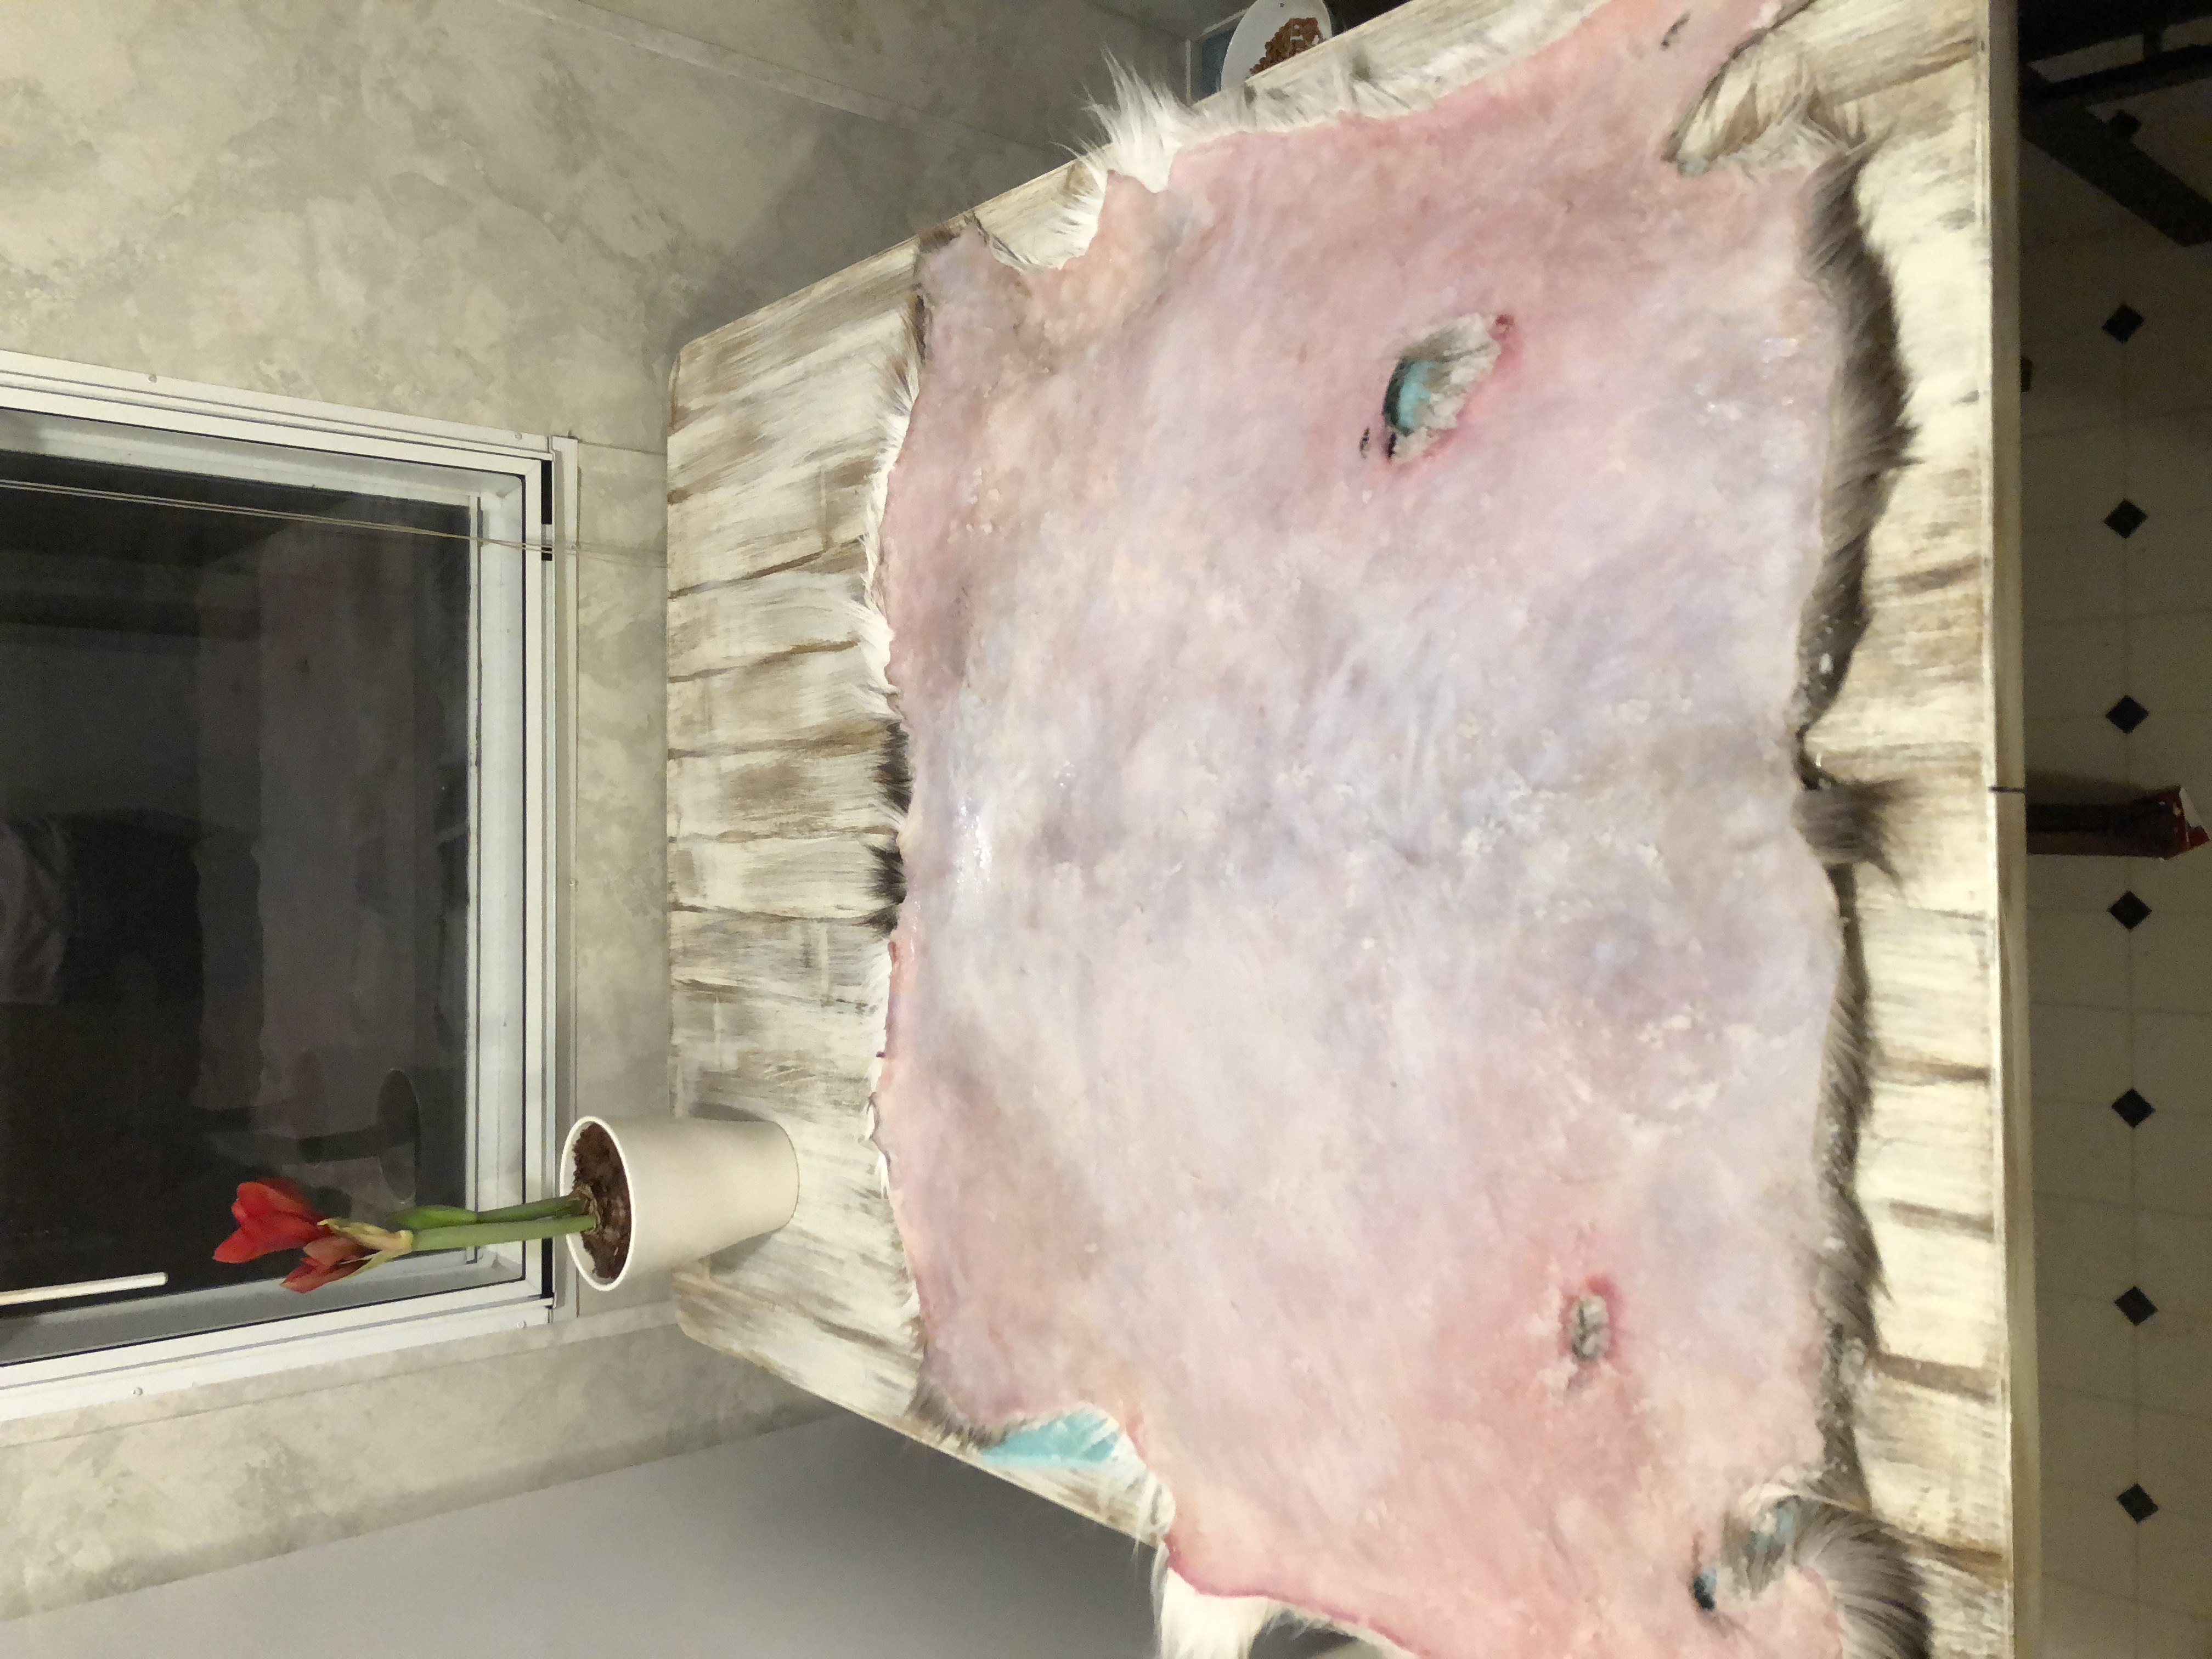
The instructions included with my kit were to ensure that the hide did not float in the pickling solution. But deer hide floats. I filled a gallon container full of the solution, sealed it with its lid, placed it on top of the hide, and weighed it down that way. Part of this step is to ensure all sections of the hide are in the solution and not folded over onto itself.
Regularly check the hide and rearrange it within the solution. Make sure to wear your rubber gloves. There is a visible change in the color of the hide. It is recommended to take the hide back to the fleshing beam during the last 24 hours of soaking to thin the hide further. I wasn’t able to complete this step, but now that my fleshing beam is completely ready for me to use, I will do so going forward. The second fleshing step is key to a supple, leather hide.
If you’d rather get a taxidermist, read our post on Dallas Taxidermy!
After the hide had been in the pickling solution the next step was to neutralize the hide and solution. Since the pickling solution is very acidic the instructions were clear to NOT pour it down your drain or out in the yard. The kit came with sodium bicarbonate (baking soda) and instructions on how to do this. It’s a bit like a high school science project so if you try tanning be prepared for some bubble/foam action. The instructions directed to hang the hide for 2 hours to drain the excess moisture out.
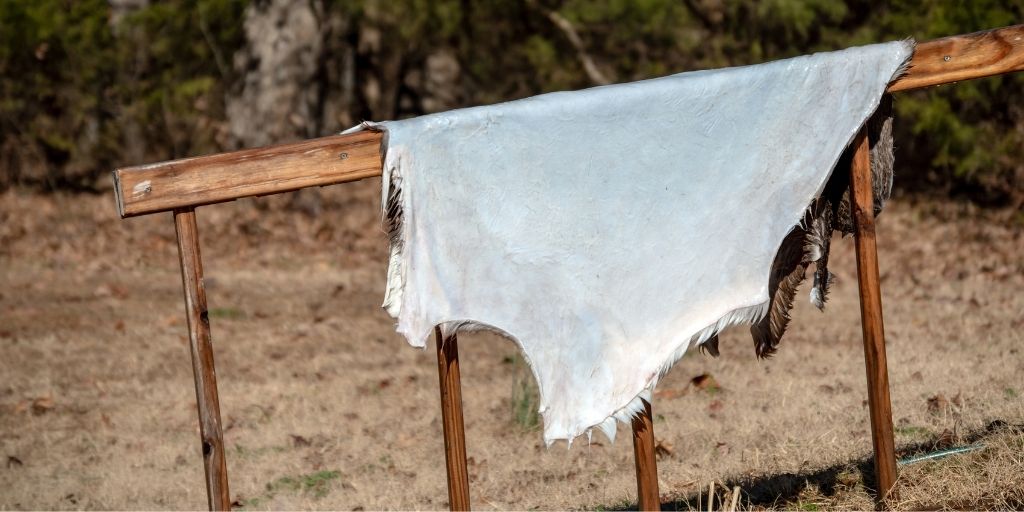
Next came the Curtan (tanning) solution. I placed the hide on a frame covered with hardware cloth. This wasn’t the final step, but I was getting so close to the end, and thus far, the hide had not shown any signs of hair slipping. I took the warmed solution and covered the hide evenly and thoroughly. And then…I waited.
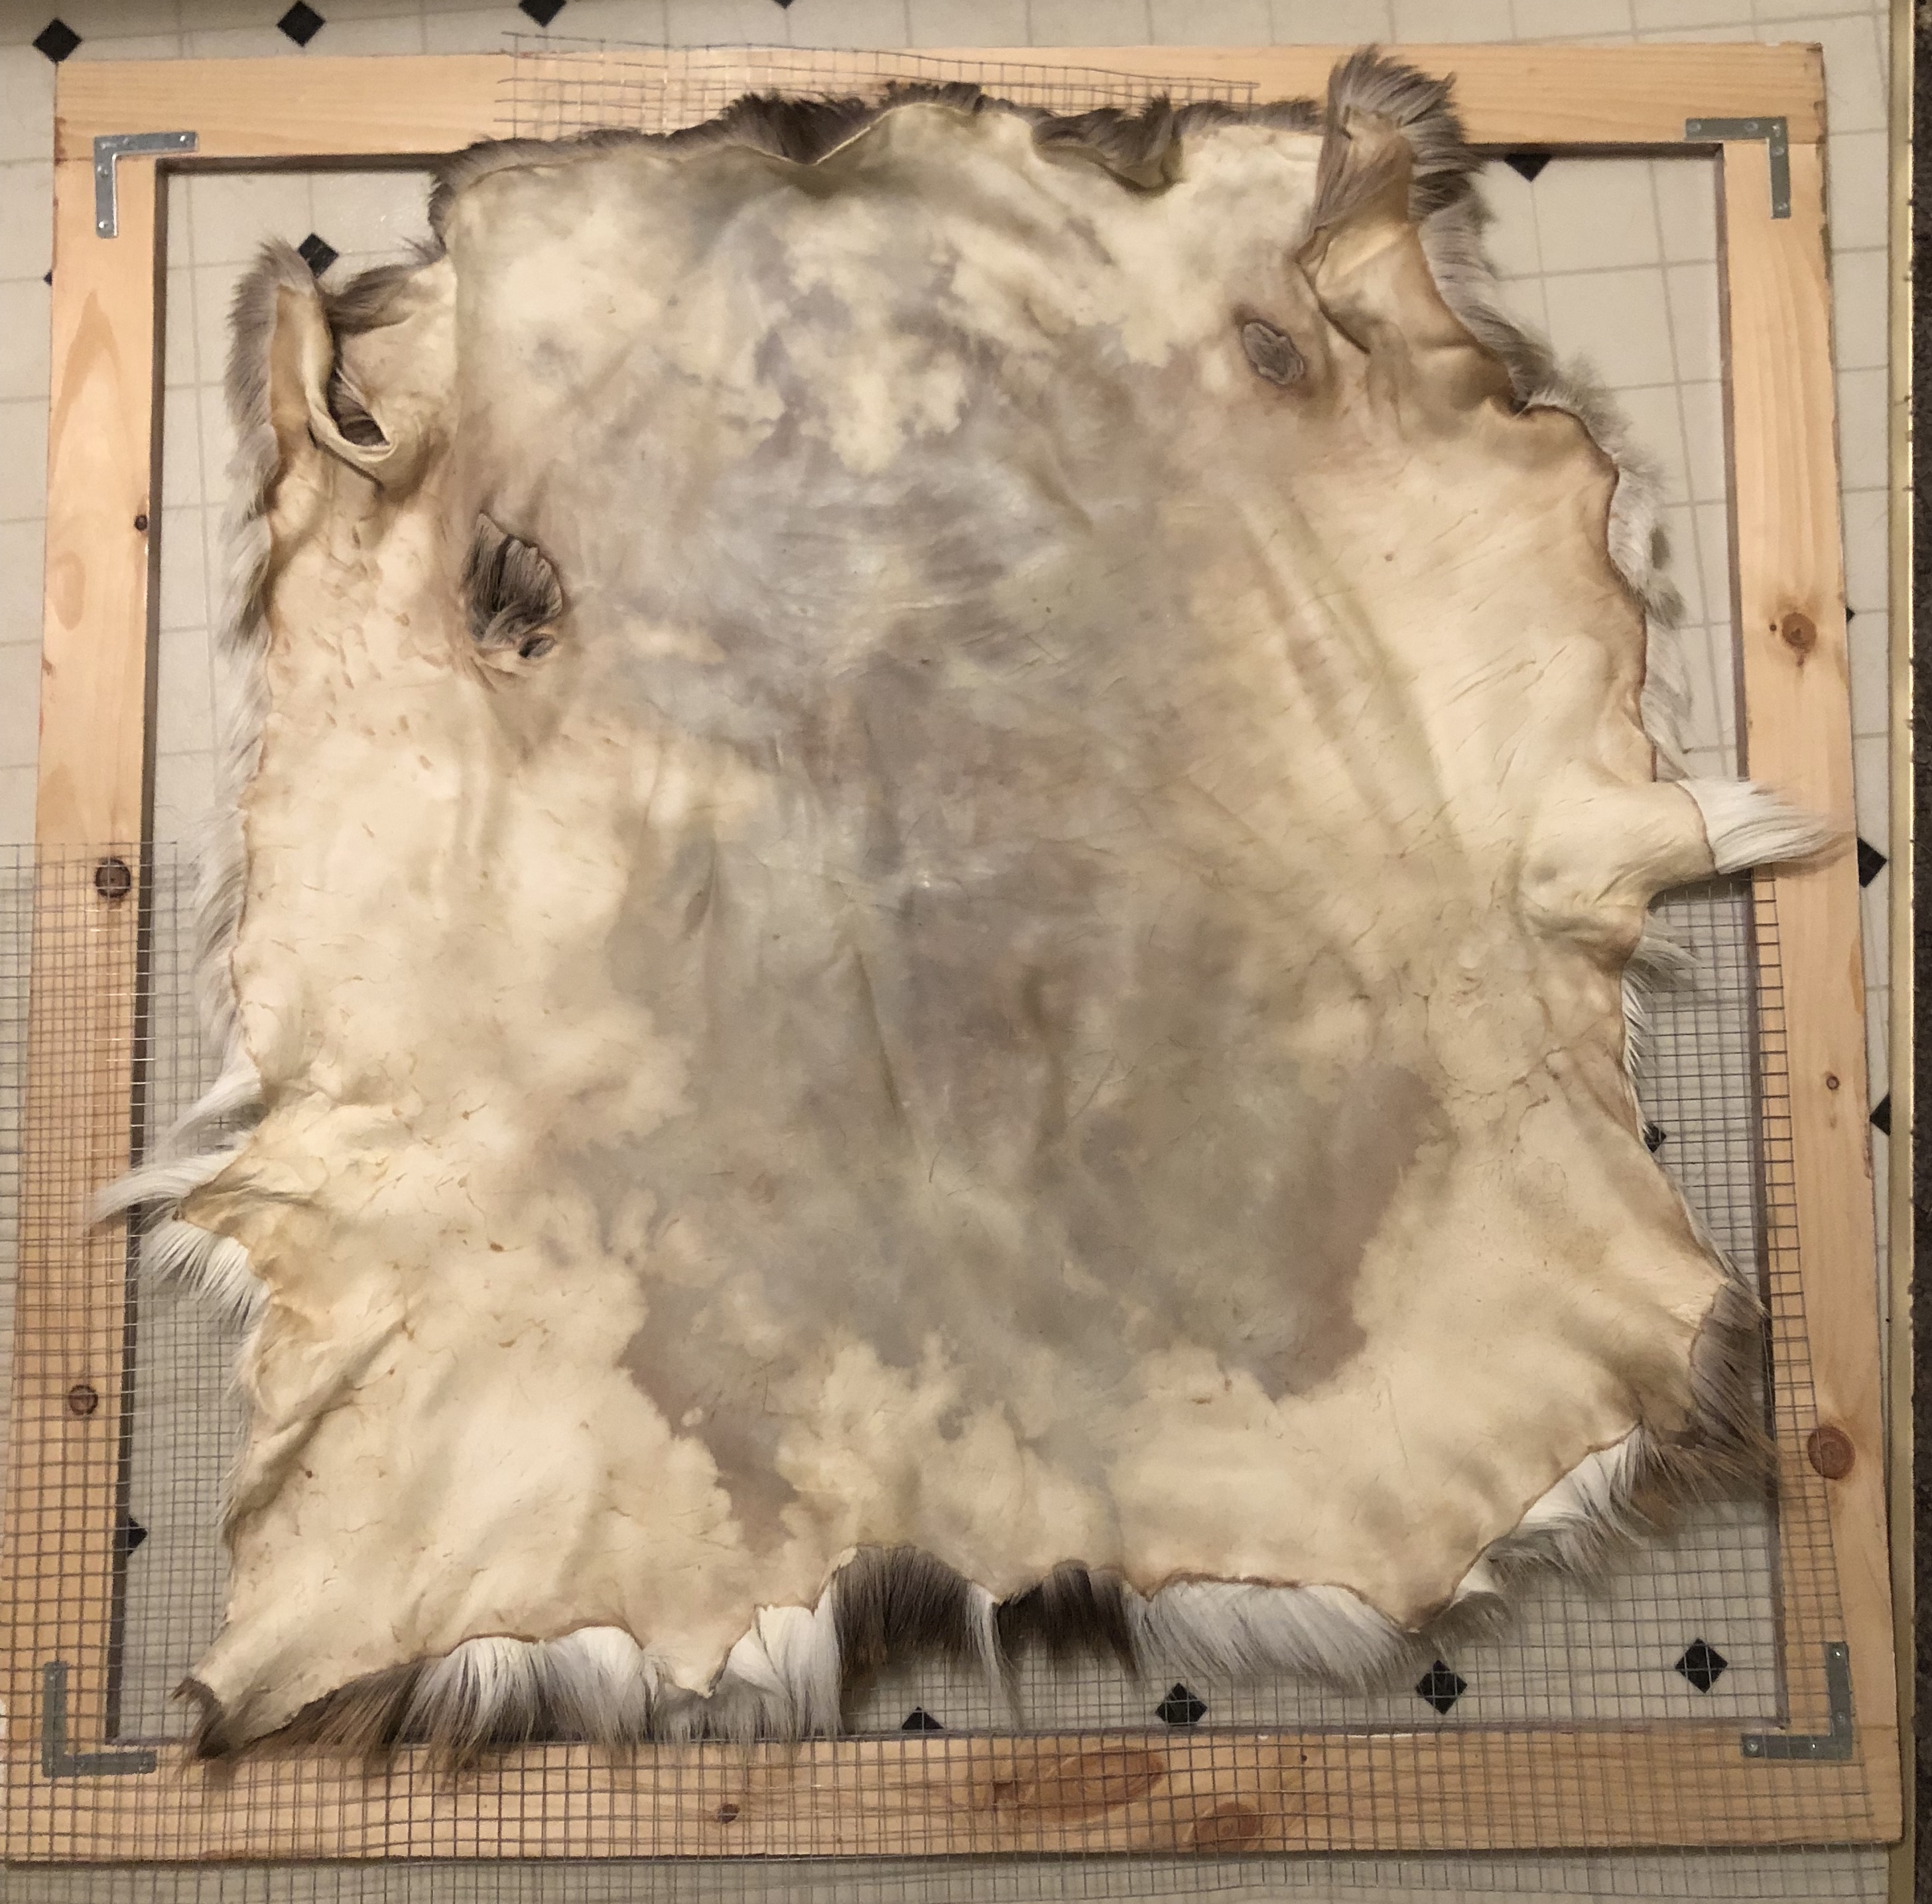
As the tanning solution and hide began to dry, I began the final step, the breaking step. Breaking is when you stretch and pull the hide, causing the breaking of the fibers. This breaking ensures a soft hide. I couldn’t believe how long this stage took, though. I actually worked on it for several days before the hide was completely broken and dry. The only thing of note here is that the center of the hide seemed to stretch more than the edges. It is possible that the recommended fleshing during the pickling step, the step I skipped, could have prevented this, or if I had fleshed the hide on a fleshing beam. Either way, I will continue to work on perfecting my tanning skills.
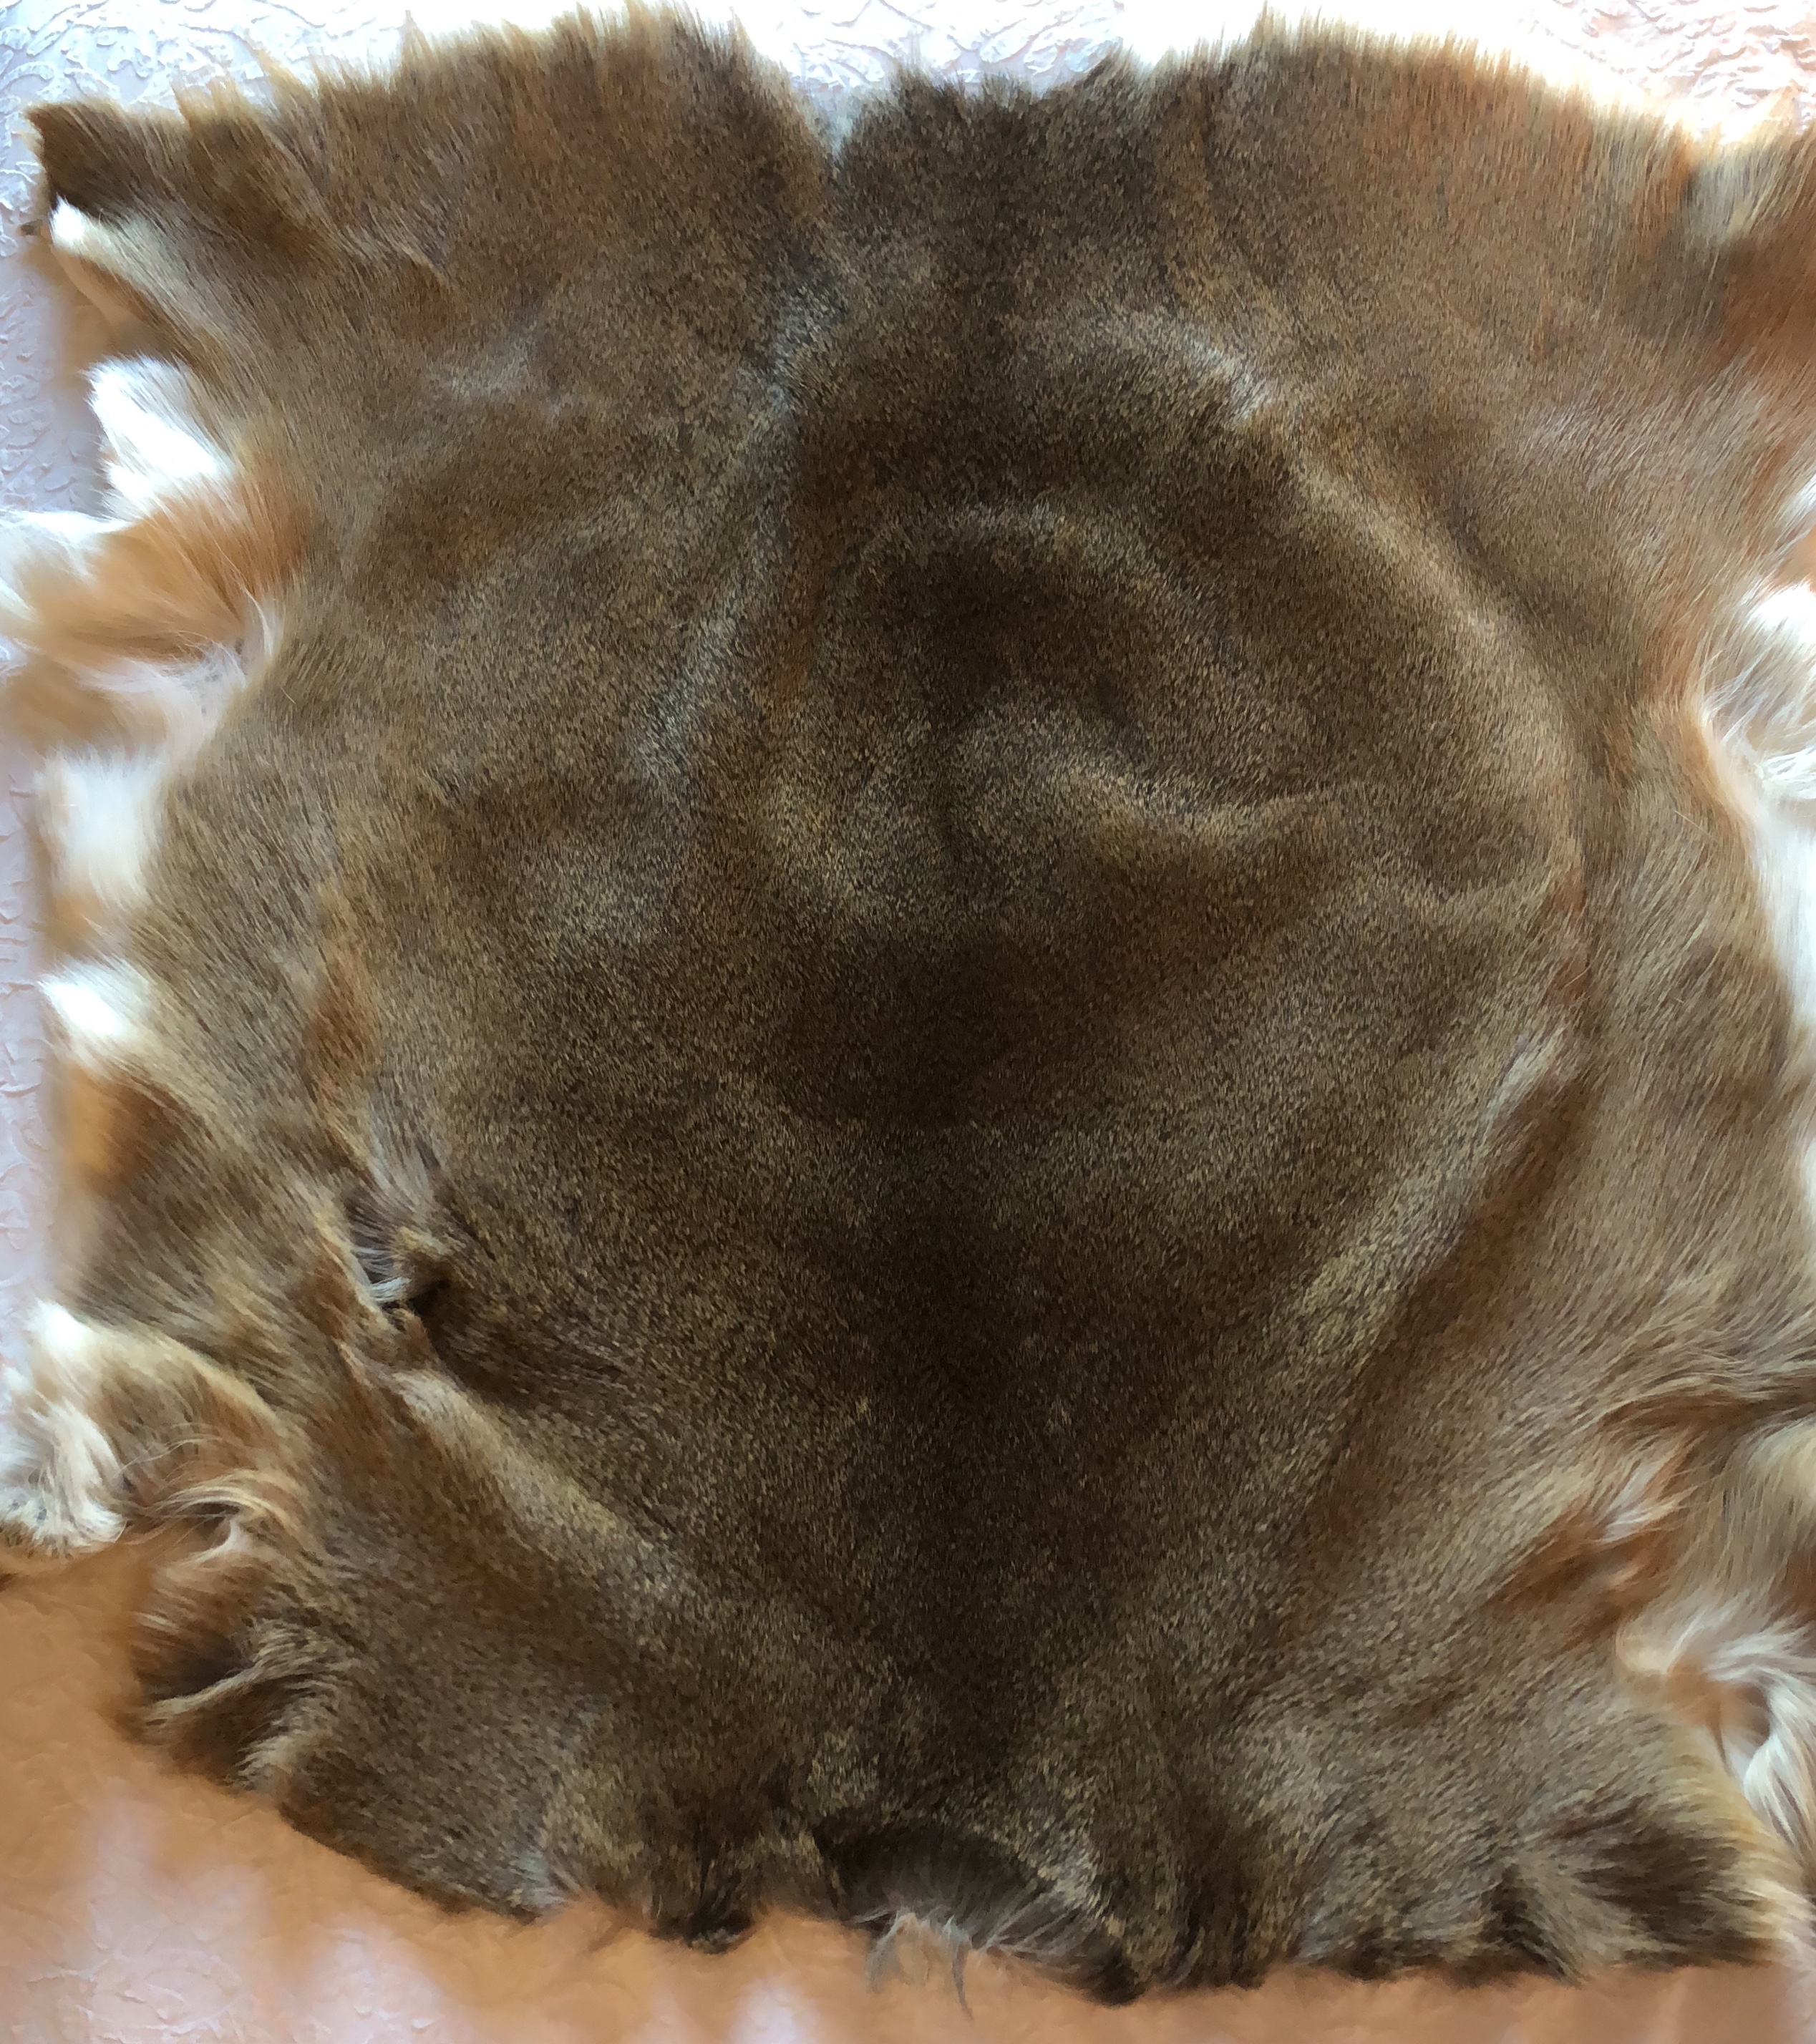
I am overjoyed with my first tanned hide. It has some weight to it, the hair feels soft, the hide is supple and flexible, it smells divinely like leather, and wears the signature arrow entry/exit holes proudly. I seriously cannot wait to do another hide from beginning to end, without skipping the true fleshing steps, to see the outcome.

Commonly Asked Questions About DIY Tanning a Hide:
What are the steps of tanning a hide?
Tanning a hide involves several steps: fleshing, salting, soaking, pickling, tanning, neutralizing, oiling, and softening. Each step is crucial to properly preserve and prepare the hide for use.
What are the stages of the tanning process?
The tanning process typically consists of three main stages: preparation, tanning, and finishing. Preparation involves cleaning, fleshing, and treating the hide, while tanning involves chemically altering the proteins to prevent decay. Finishing includes softening and conditioning the leather.
How to tan a hide with fur for beginners?
For beginners, tanning a hide with fur involves steps like fleshing, salting, soaking, pickling, applying a tanning solution, neutralizing, oiling, and stretching. Following detailed guides or tutorials, and using appropriate tools and chemicals, is essential for success.
Should I soak a hide before fleshing?
Yes, soaking a hide before fleshing helps to loosen the tissue and hair follicles, making fleshing easier and more effective. It also helps to remove blood, dirt, and other contaminants from the hide, resulting in a cleaner and higher quality finished product.


One thought on “Taking on the Task of Tanning a Hide”