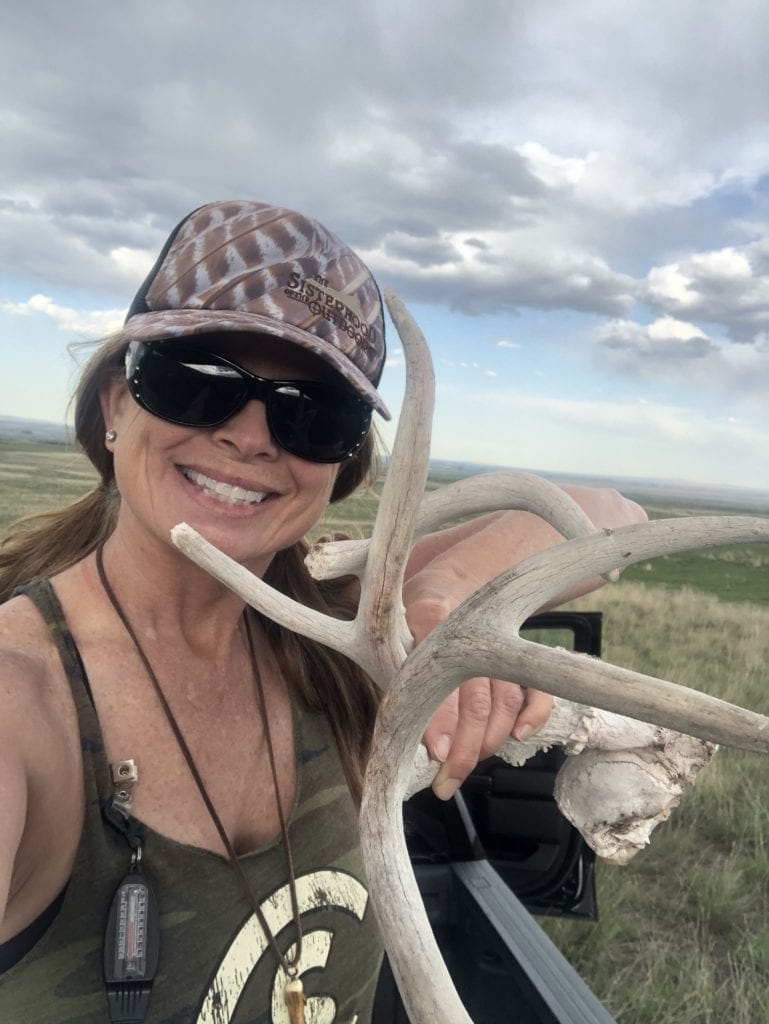
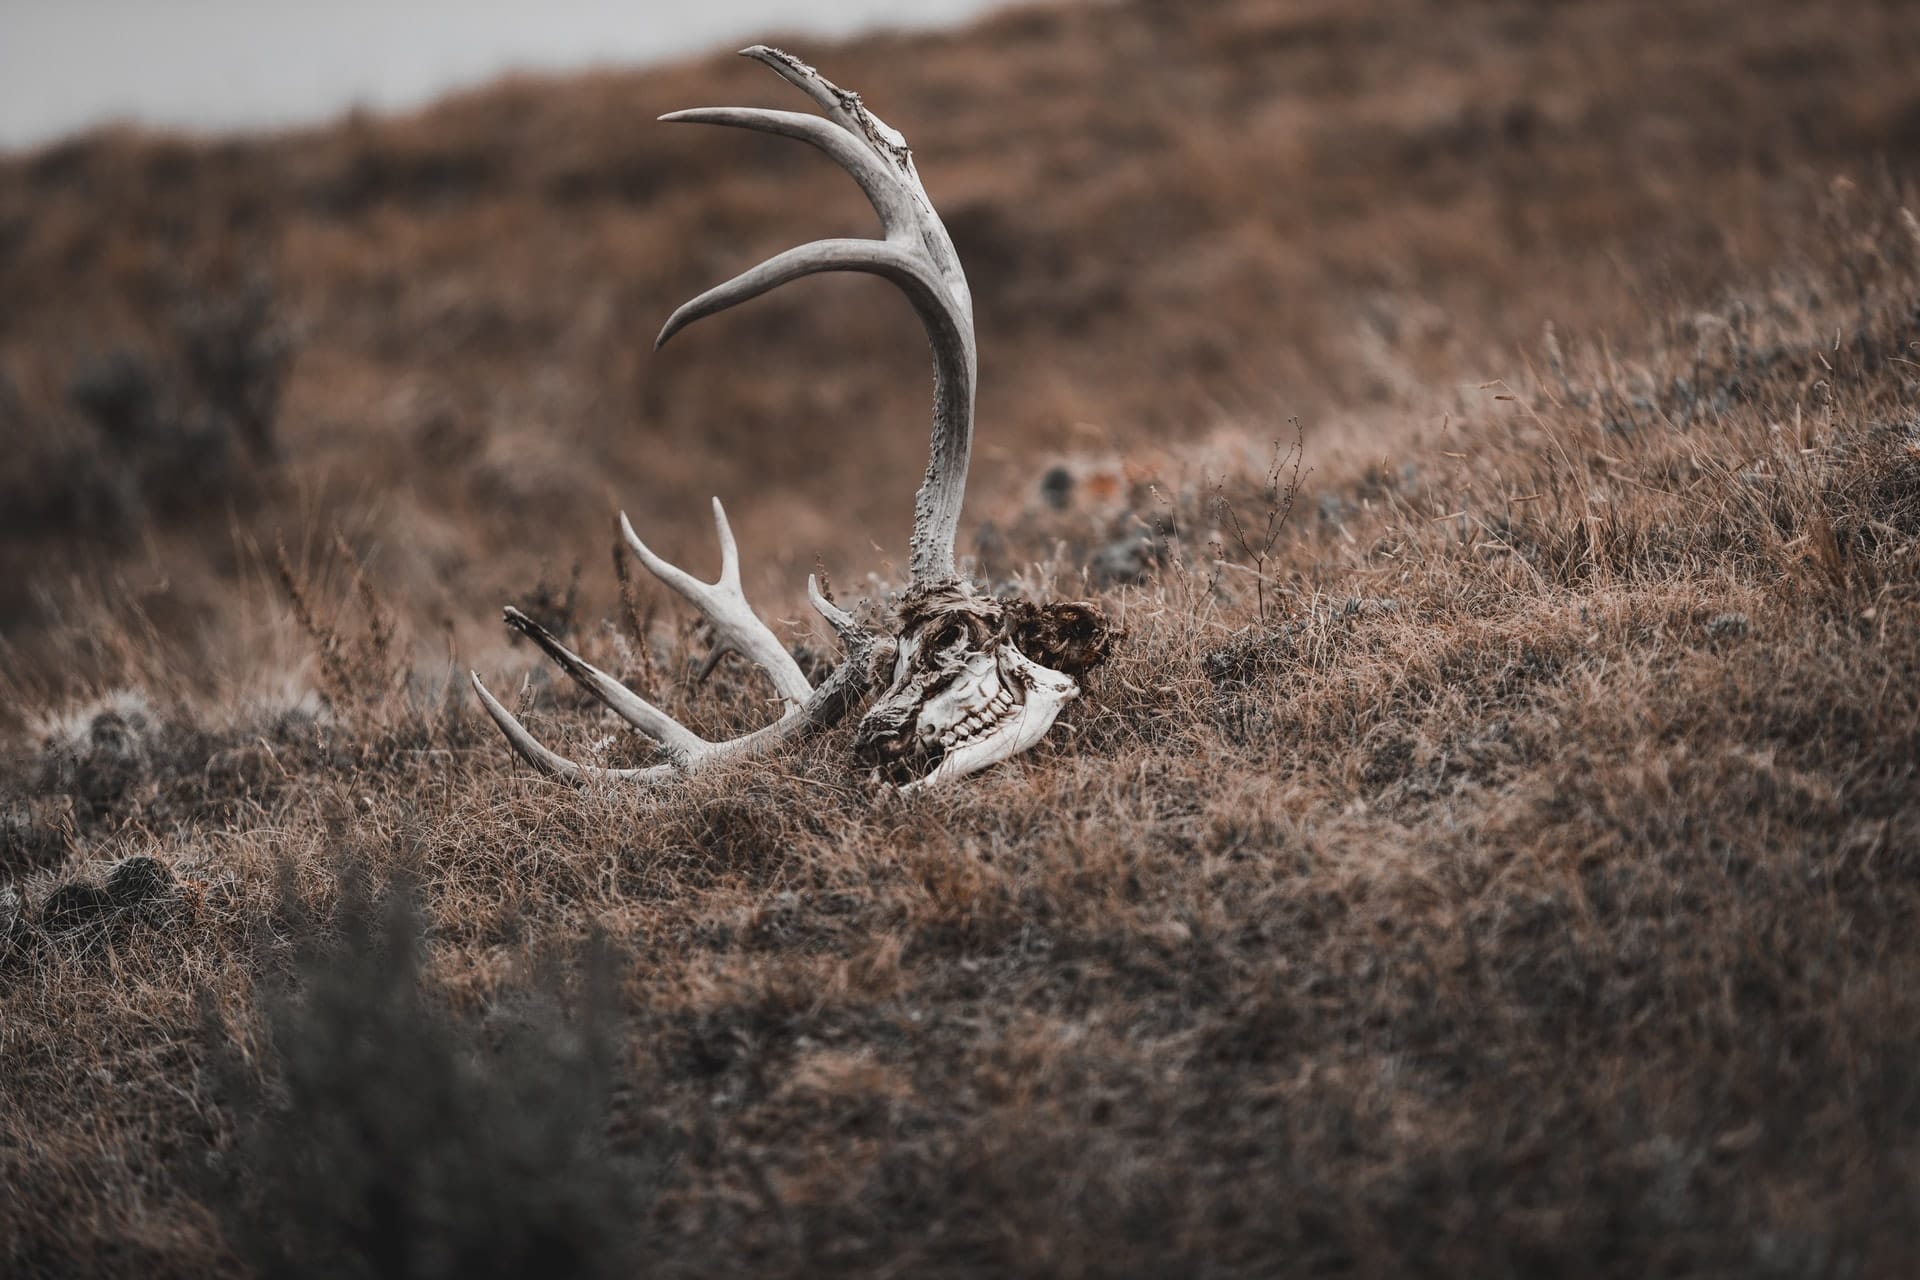
I’m always on the hunt for sheds, searching for the beloved antlers that male deer drop after they are done mating. This phenomenon is referred to by most as “shed” hunting. I am not an expert on finding sheds but I can find everything else related to deer and their behavior. I can find where they bed, travel, mark their scent (also know as a “rub”), where they eat, where they get their water, and I can actually find buck “dead heads” (a dead deer skull). But for me to find those beautiful antler sheds is like searching for a needle in a haystack.
I arrived in Idaho with one thing on my mind – fishing. That was until Idaho closed its fish and game division temporarily. I was able to purchase an annual hunting license and a consecutive three-day pass for fishing, but that meant filling my outdoor time with something else. Shed hunting it would be!
I went out a few times but came home empty-handed until one day I decided to check a place not far from the campground where I was staying. I found a mule deer shed and a mule deer deadhead! They were the most beautiful things ever – bone white and weathered. I didn’t care. My no-shed streak was over and I carried my treasures home.
I hadn’t planned on doing anything with them but displaying them proudly until I came across Restoring Chalky Antlers by Ricky Arthur Shed Rescue. In the video, he used a stain colored to look like a natural antler. I was completely amazed at the end product; the antler looked as if it had just been found that season. Smoke Trails BBQ uses a unique method with coffee grounds to restore antler sheds.

I decided to use techniques from each video to restore my found sheds.
How to restore antler sheds
Supplies needed for restoring antlers:
- Basic drywall spackle (wall joint putty). I used the fast-drying spackle, but it seemed to dry way too fast for me.
- Soft bristle painter’s brush
- Used coffee grounds
- Clear gloss spray paint
- Sandpaper
Instructions for antler shed restoration:
- The first step is to clean the antler. Rinse off all the loose dirt and dust, and let it dry.
- Use sandpaper to smooth the antlers. I used my Dremmel with a sanding head to smooth the tip where critters had gnawed it off. I just rounded it a bit to look more as if the tip had been broken off from fighting. (*Note of caution: complete this step outside. It is also recommended to wear a particulate mask which is usually available at your home improvement store.)
- This step is the one that makes all those weather cracks disappear and makes the antler look “fresh”. Take the spackle and rub it into the cracks. I made sure the antler tips were filled in too. Use caution around the base where all the “nubs” are. If you get too much in any one section you can use the painter’s brush to brush it off. As I mentioned I purchased the quick-drying spackle. In the areas I felt didn’t look right, I lightly sanded them with the 300 grit sandpaper.
- Now for the fun part! Make a thick mixture of used coffee grounds and water. Make sure to put the grounds heaviest at the base where the nubs are and lighter towards the tips as this will provide your antler with the most natural overall coloring. Let the coffee mixture dry on the antlers. I used a paper towel and my painter’s brush to get all the loose coffee grounds off the antler.
- Time to seal your masterpiece–your rehabilitated, weathered antler shed. Using a standard clear gloss spray paint, seal your work. The gloss adds the final touch in making your antler look real. I had a hard time believing it wouldn’t make the antler look “fake” but it was definitely the icing on the cake.


I rarely do anything with my shed antlers other than give them a good washing. I prefer to leave the sheds with the “critter chew marks” visible, as it’s a natural element of a shed antler. I use a lot of sheds in my business of creating and designing one-of-a-kind antler basket sculptures, and love working with them. Each antler is unique, and the shed is the primary focus of the sculptures, or it serves as a handle in the more traditional style rib baskets.