I don’t know about you but the first week of June is one of the most exciting weeks of the year. It is draw results week in Colorado for most of the big game species. After this week, I start e-scouting my areas and planning where to place my trail cameras. While e-scouting is the best way to start, you never really know until you get your boots on the ground to see the trails.
Tips for Trail Camera Placement
Location choice
I am not sure why, but I always see animals while I am out scouting. This helps immensely when choosing a spot to put trail cameras. If I do not see anything but have identified something on a map that looks like a wallow or a nice, isolated meadow, I follow the main trail until I see trails with fresh tracks or other signs that move toward my target area.
I always veer off the main trail as soon as I see an active game trail. If the trail is not on the way to a target I identified while scouting online, I always mark it on either onX or BaseMap to go back and explore. As I walk down game trails, I look for split points, active water holes, rub points, or wallows. These are the best points trail camera placement.
Hanging your trail camera
Now that you have an area identified, you need to find your tree or post spot. I always try to place it 10-20 yards away from the spot I want to view. This hopefully will remove your cameras from the action enough that they will not get pushed around. Nothing is more frustrating than having animals in a wallow or having the pattern down just to have a curious cow or doe move your camera so it is pointing directly at a tree. This not only stinks because you are no longer looking at your target but it often creates the next issue.
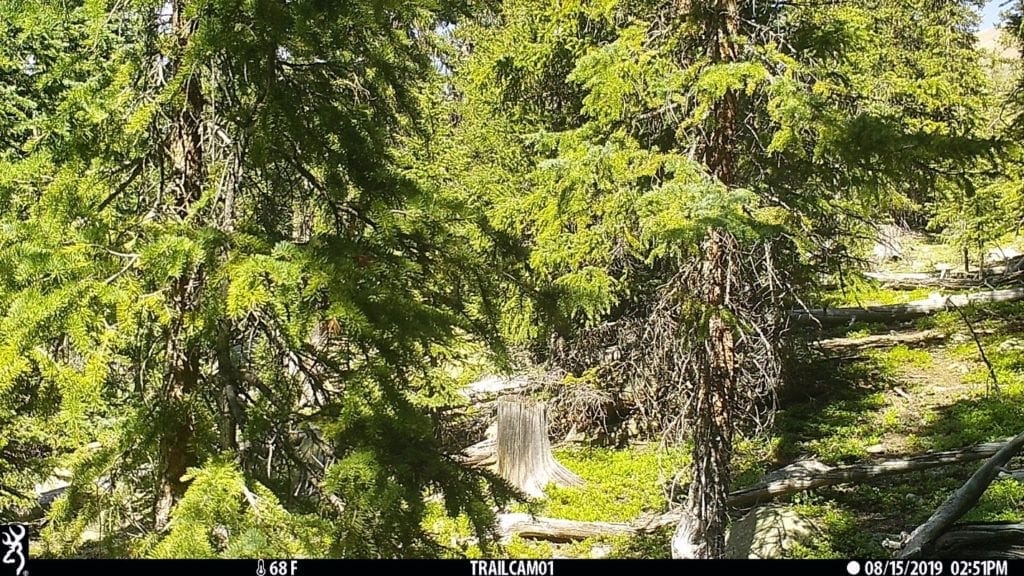
One thing experienced trail camera users dread is the shadow phenomenon. This is a second issue you have to deal with when you place your camera: being so excited for hundreds or thousands of pictures and a branch or a shadow moves at a certain time of day. Shadows are harder to prepare for, but make sure to look at branches close to your camera and determine the likelihood of branches in your camera’s field of view that may blow into the frame.
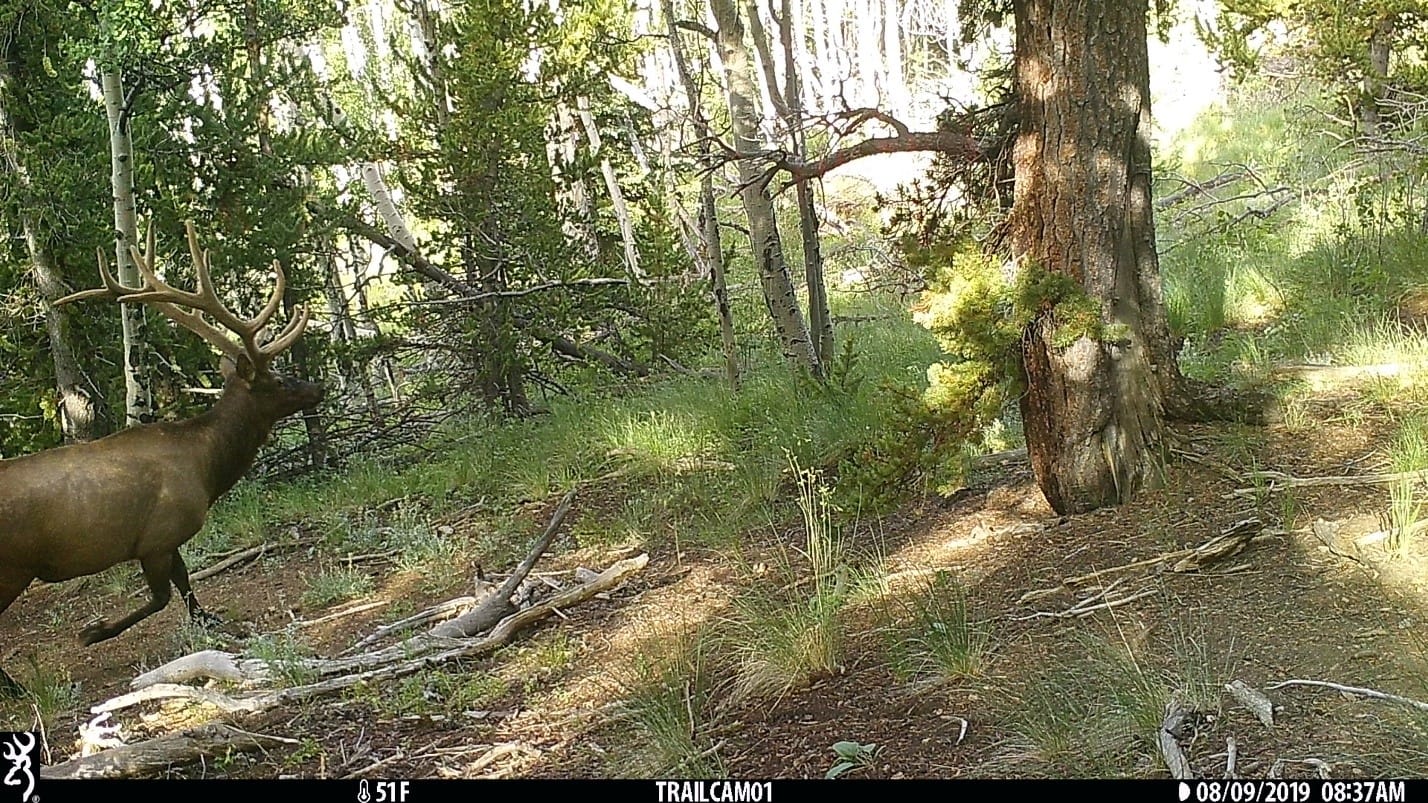
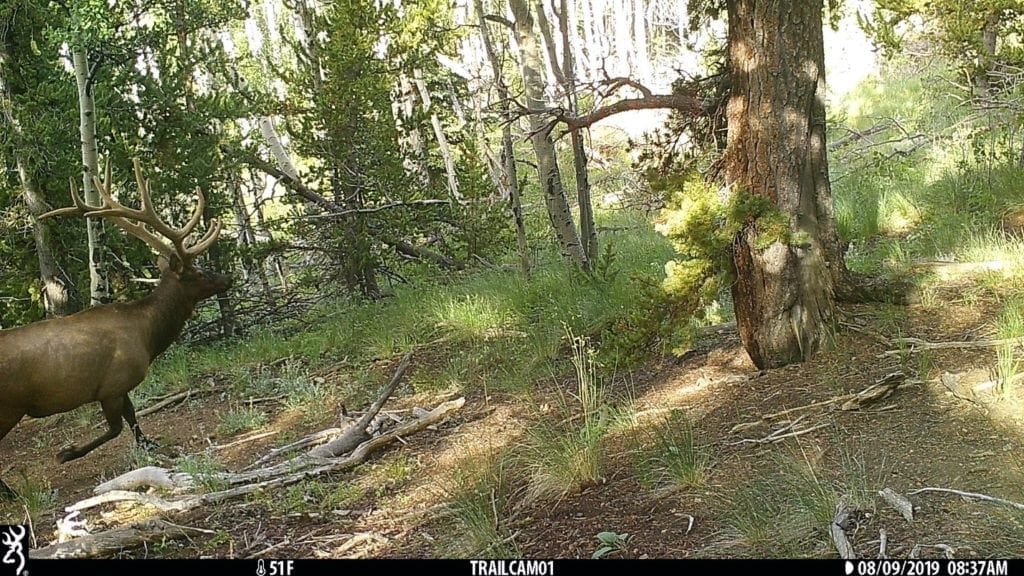
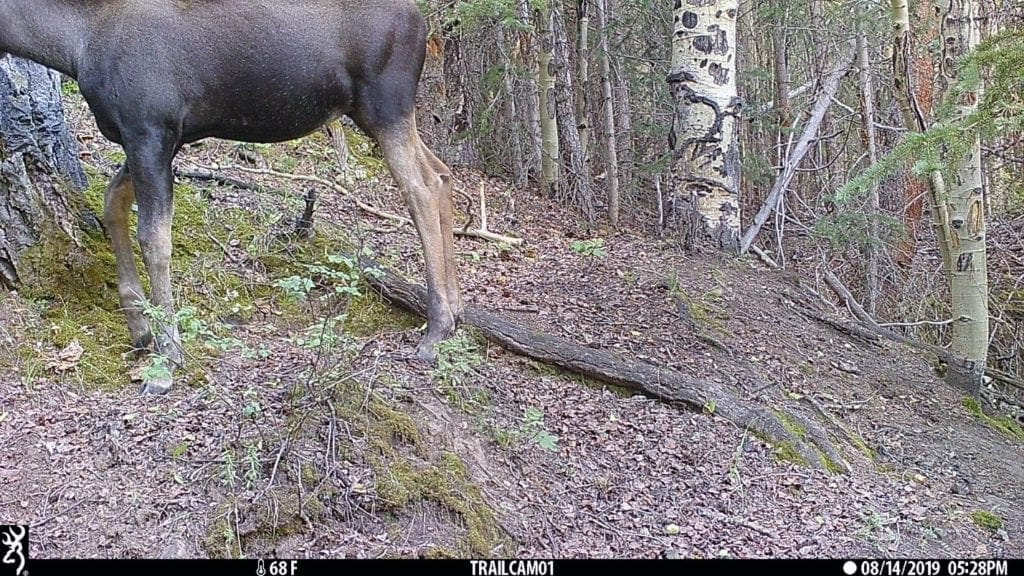
The final thing to think about is the angle. Often, we put our cameras on the side of a hill. If you mount your camera straight on a tree, you may see the tips of antlers and not be able to tell what you are looking at. Often, I place a broken branch behind the top of my camera to set it at an angle so that I am catching the important parts of animals. You want to mount your cameras at an appropriate height for your intended target. It will differ as deer, elk, moose, etc are all different in stature.
You want this:
Not this:
Learning the art of scouting with your trail cameras and their placement is a constantly changing game. Even the most experienced scouters get skunked or hang their cameras poorly. Like all of hunting, we are always learning.
