I finally decided to do something with the amazing Coyote skull I found in Idaho on my nursing assignment. I found it on my last day there while on my last outing looking for sheds. While it was definitely bleached out from the sun and some of the teeth were broken and missing, all of the parts were there, skull and the lower two jaw pieces, so I knew it was going home with me and one day I’d do something with it. I found several cool skulls in Idaho; a cow elk that had one ivory left and a beaver. Knowing I already had several skulls back at The Tin Can, AKA my camper, those stayed behind and I’m sorry I did.
Coyote Skull Up-Do
I soaked the coyote skull in soapy water and let it air dry to ensure there were no bugs living in the crevasses. I knew I was going to paint it so I wasn’t worDried about the stains. If you find a skull you’d like to keep in its natural state there are several resources online regarding bleaching skulls and bones with hydrogen peroxide. Bleach can deteriorate the bone, so make sure to research before you start your project!
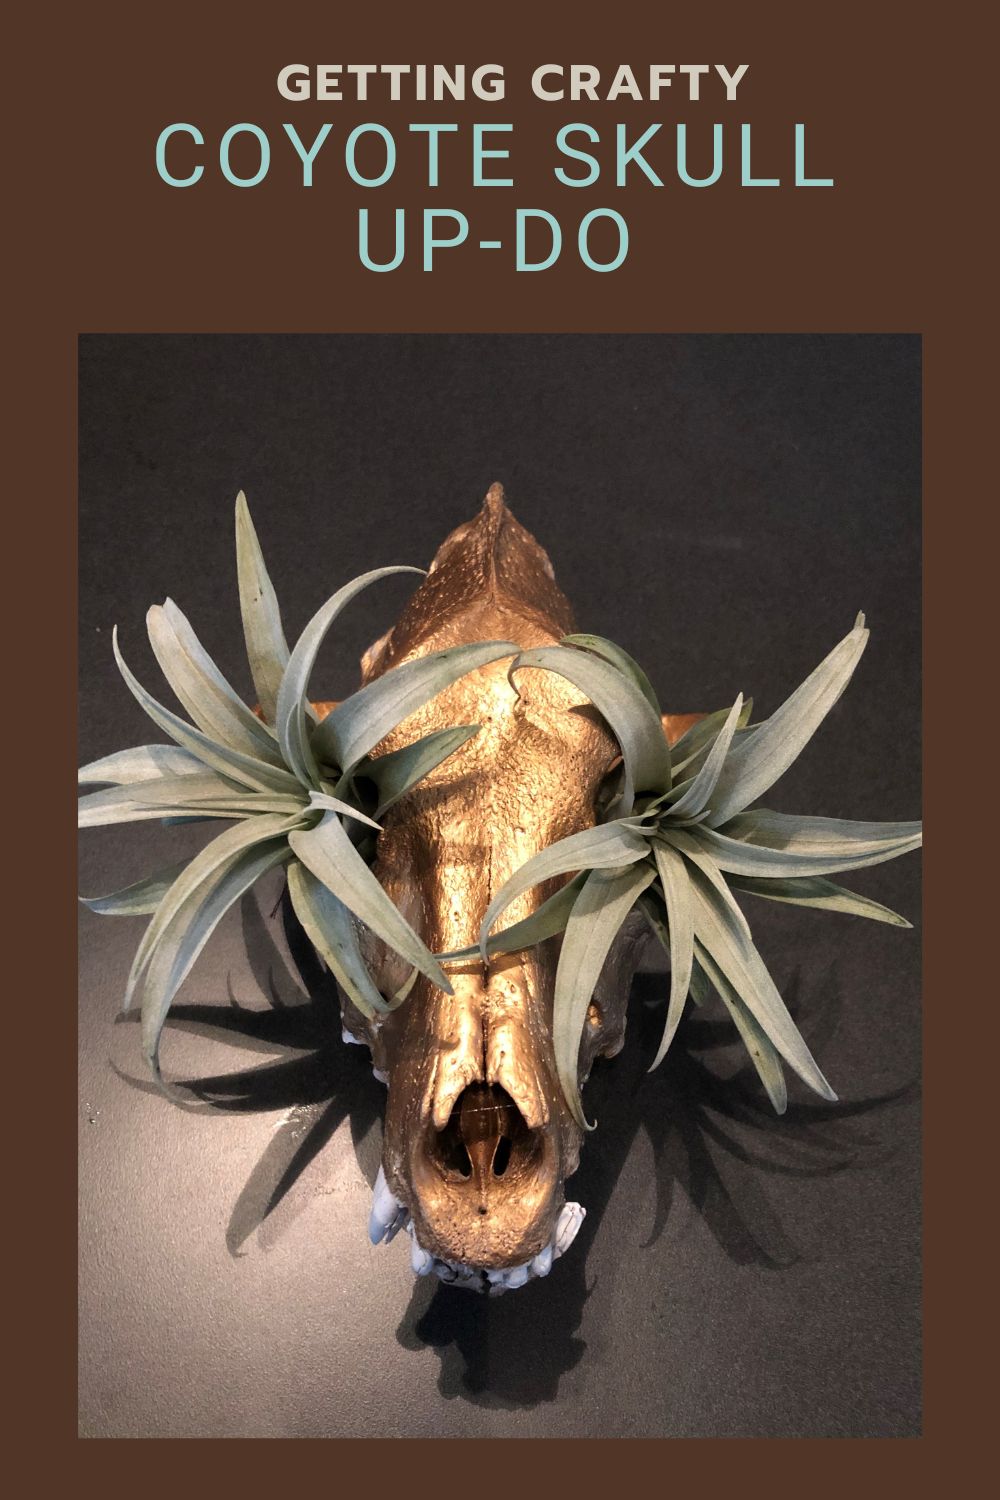
Now the fun part! I wanted to keep the teeth natural but opted to paint them white and give the skull pieces a fresher look. I painted everything white with flat white spray paint. I liked the way the skull looked but wanted to do this old canine justice (even if they do have a bad reputation as fawn/calf killers).
Read More: Taking on the Task of Tanning of a Hide
I used a piece of painter’s tape to lightly lay over the teeth while I sprayed the rest of the skull with metallic gold paint. I’m not sure if it was because the white base layer hadn’t cured completely or if it’s because the tape was extra sticky but in some places, the tape removed some of the white paint from the teeth and I had overspray of gold onto them. Interestingly enough the overspray gives the teeth some dimension and a hint of color so it was actually a win! Make sure to let the base color cure completely and spend the time to tape the teeth.
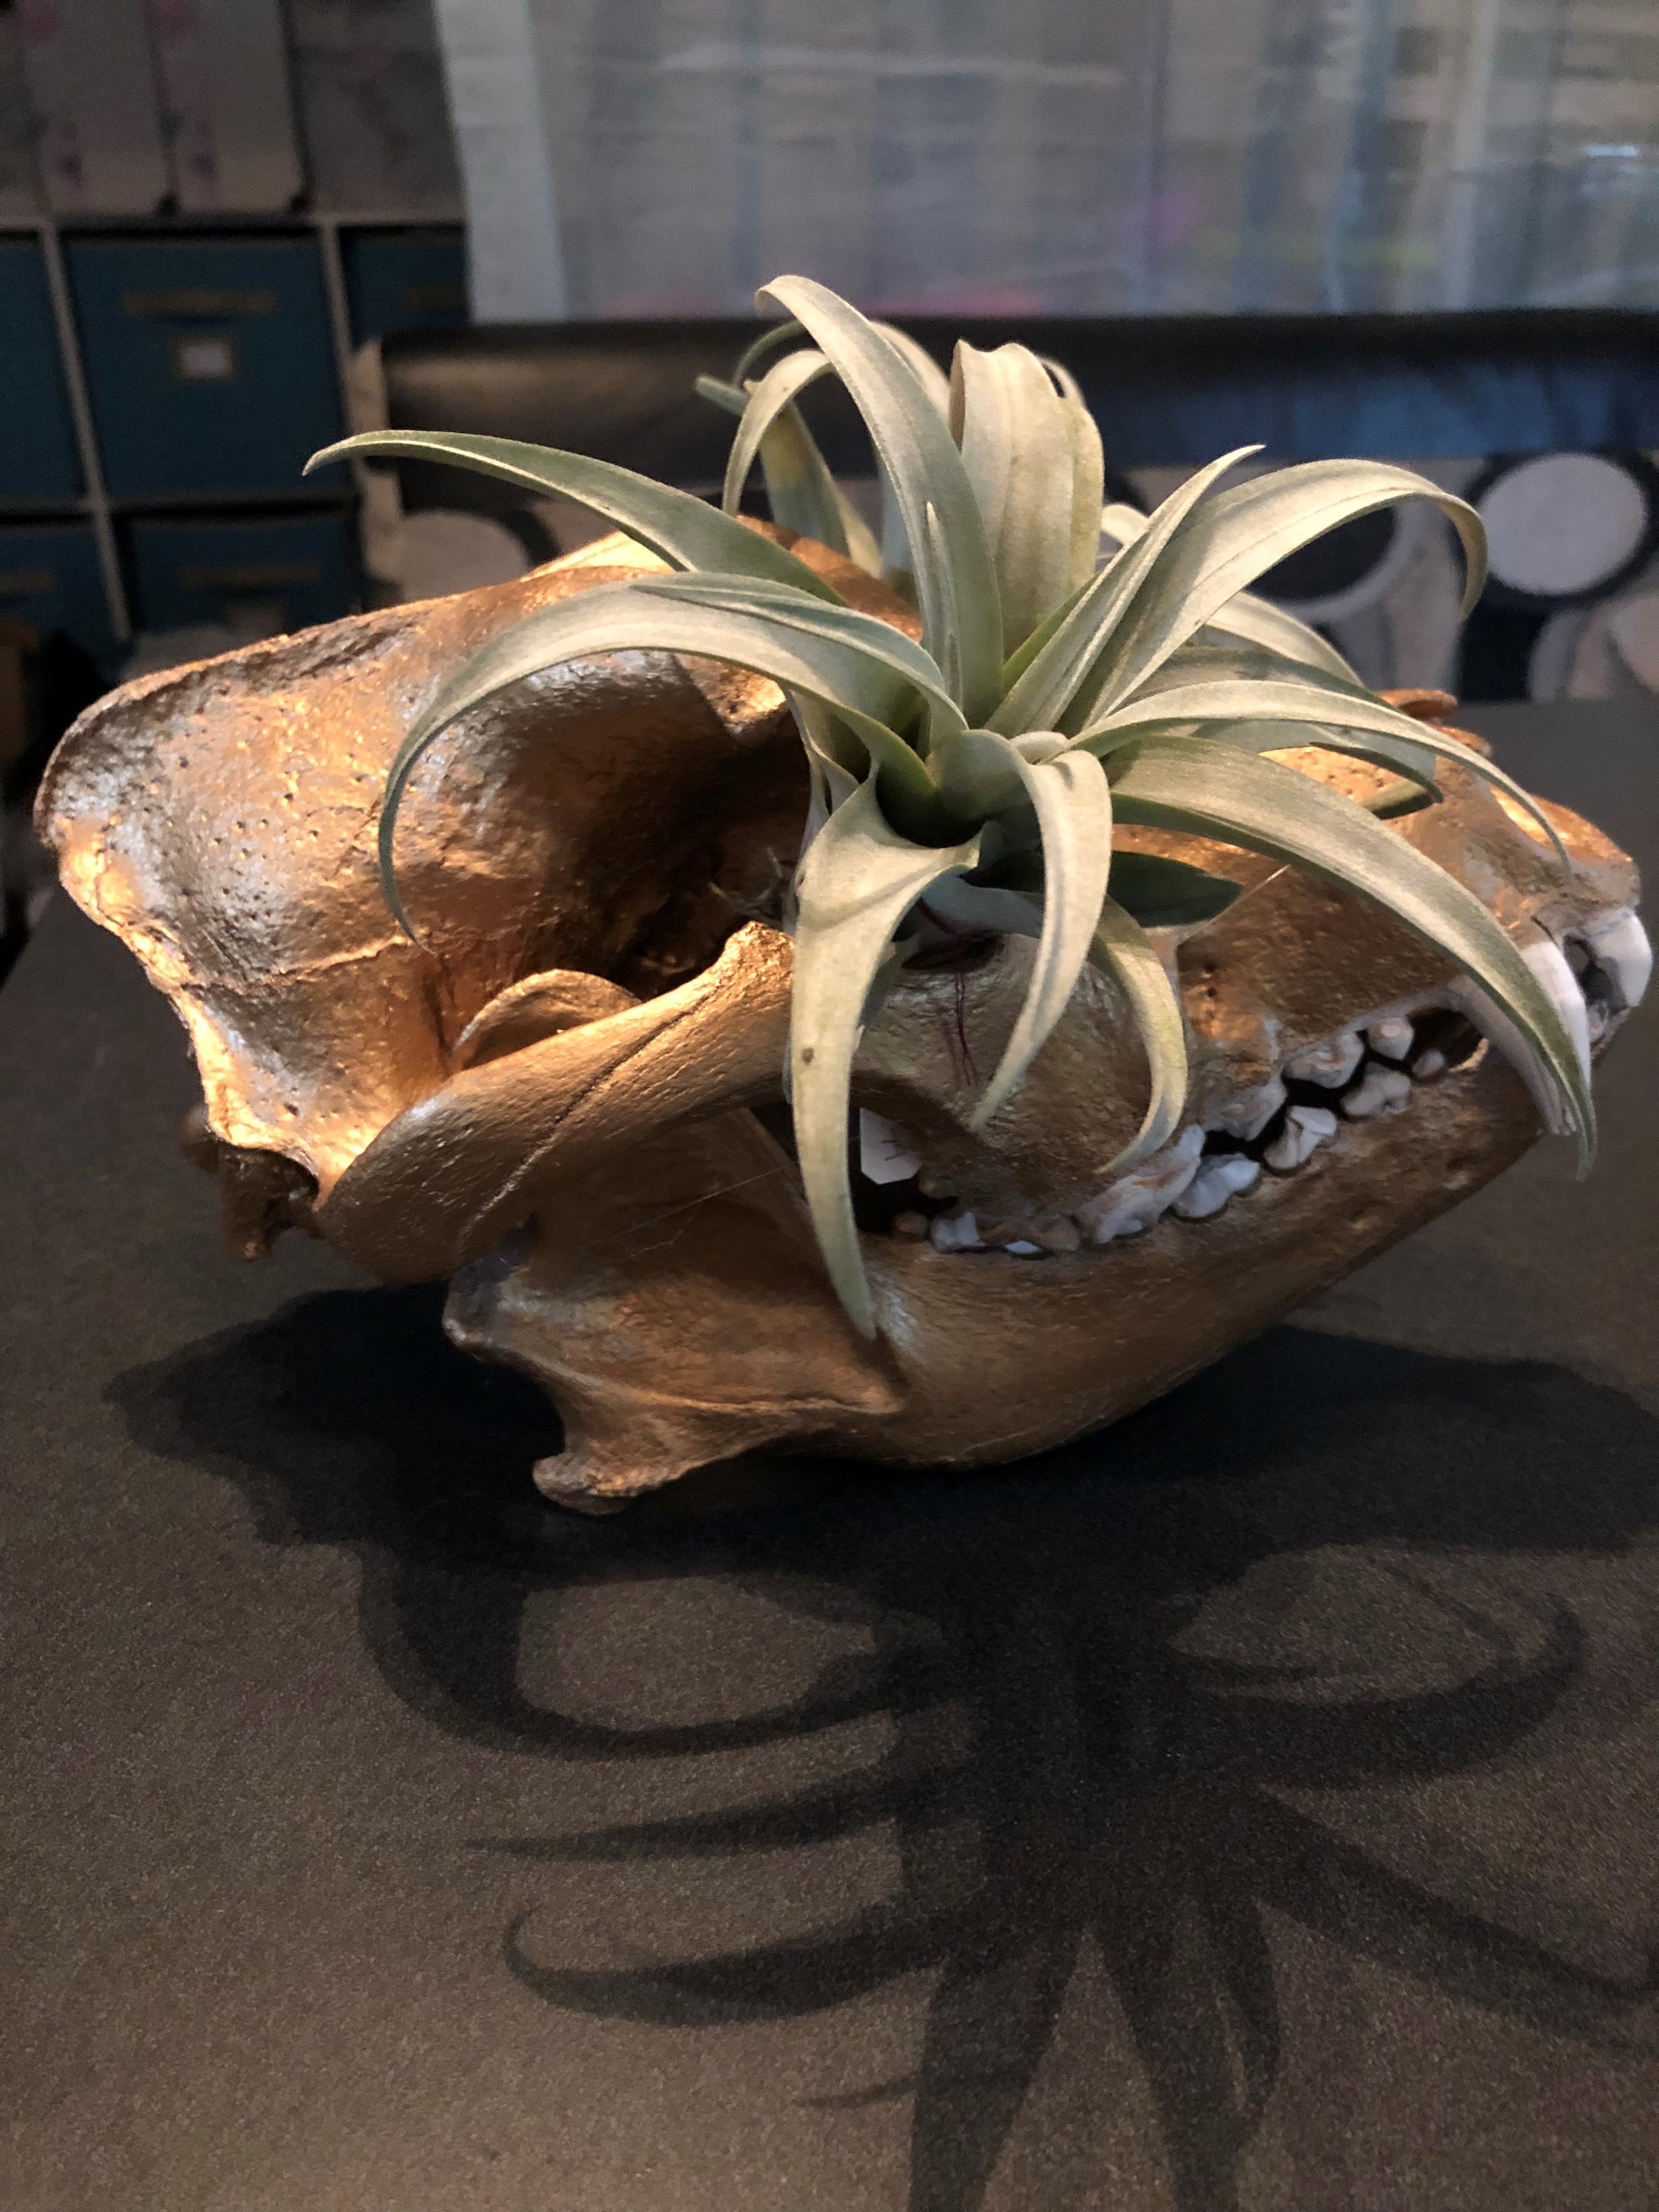
Assembling the pieces of coyote skull involved another internet search because I needed to understand how/where the lower jaw hinged with the skull base. I used hot glue to fuse the two jaw pieces together and then fuse the lower jaw to the skull base.
The most expensive thing for this project was the air plants. I opted to support small, local businesses so I bought two, one for each eye socket and they were a perfect size!
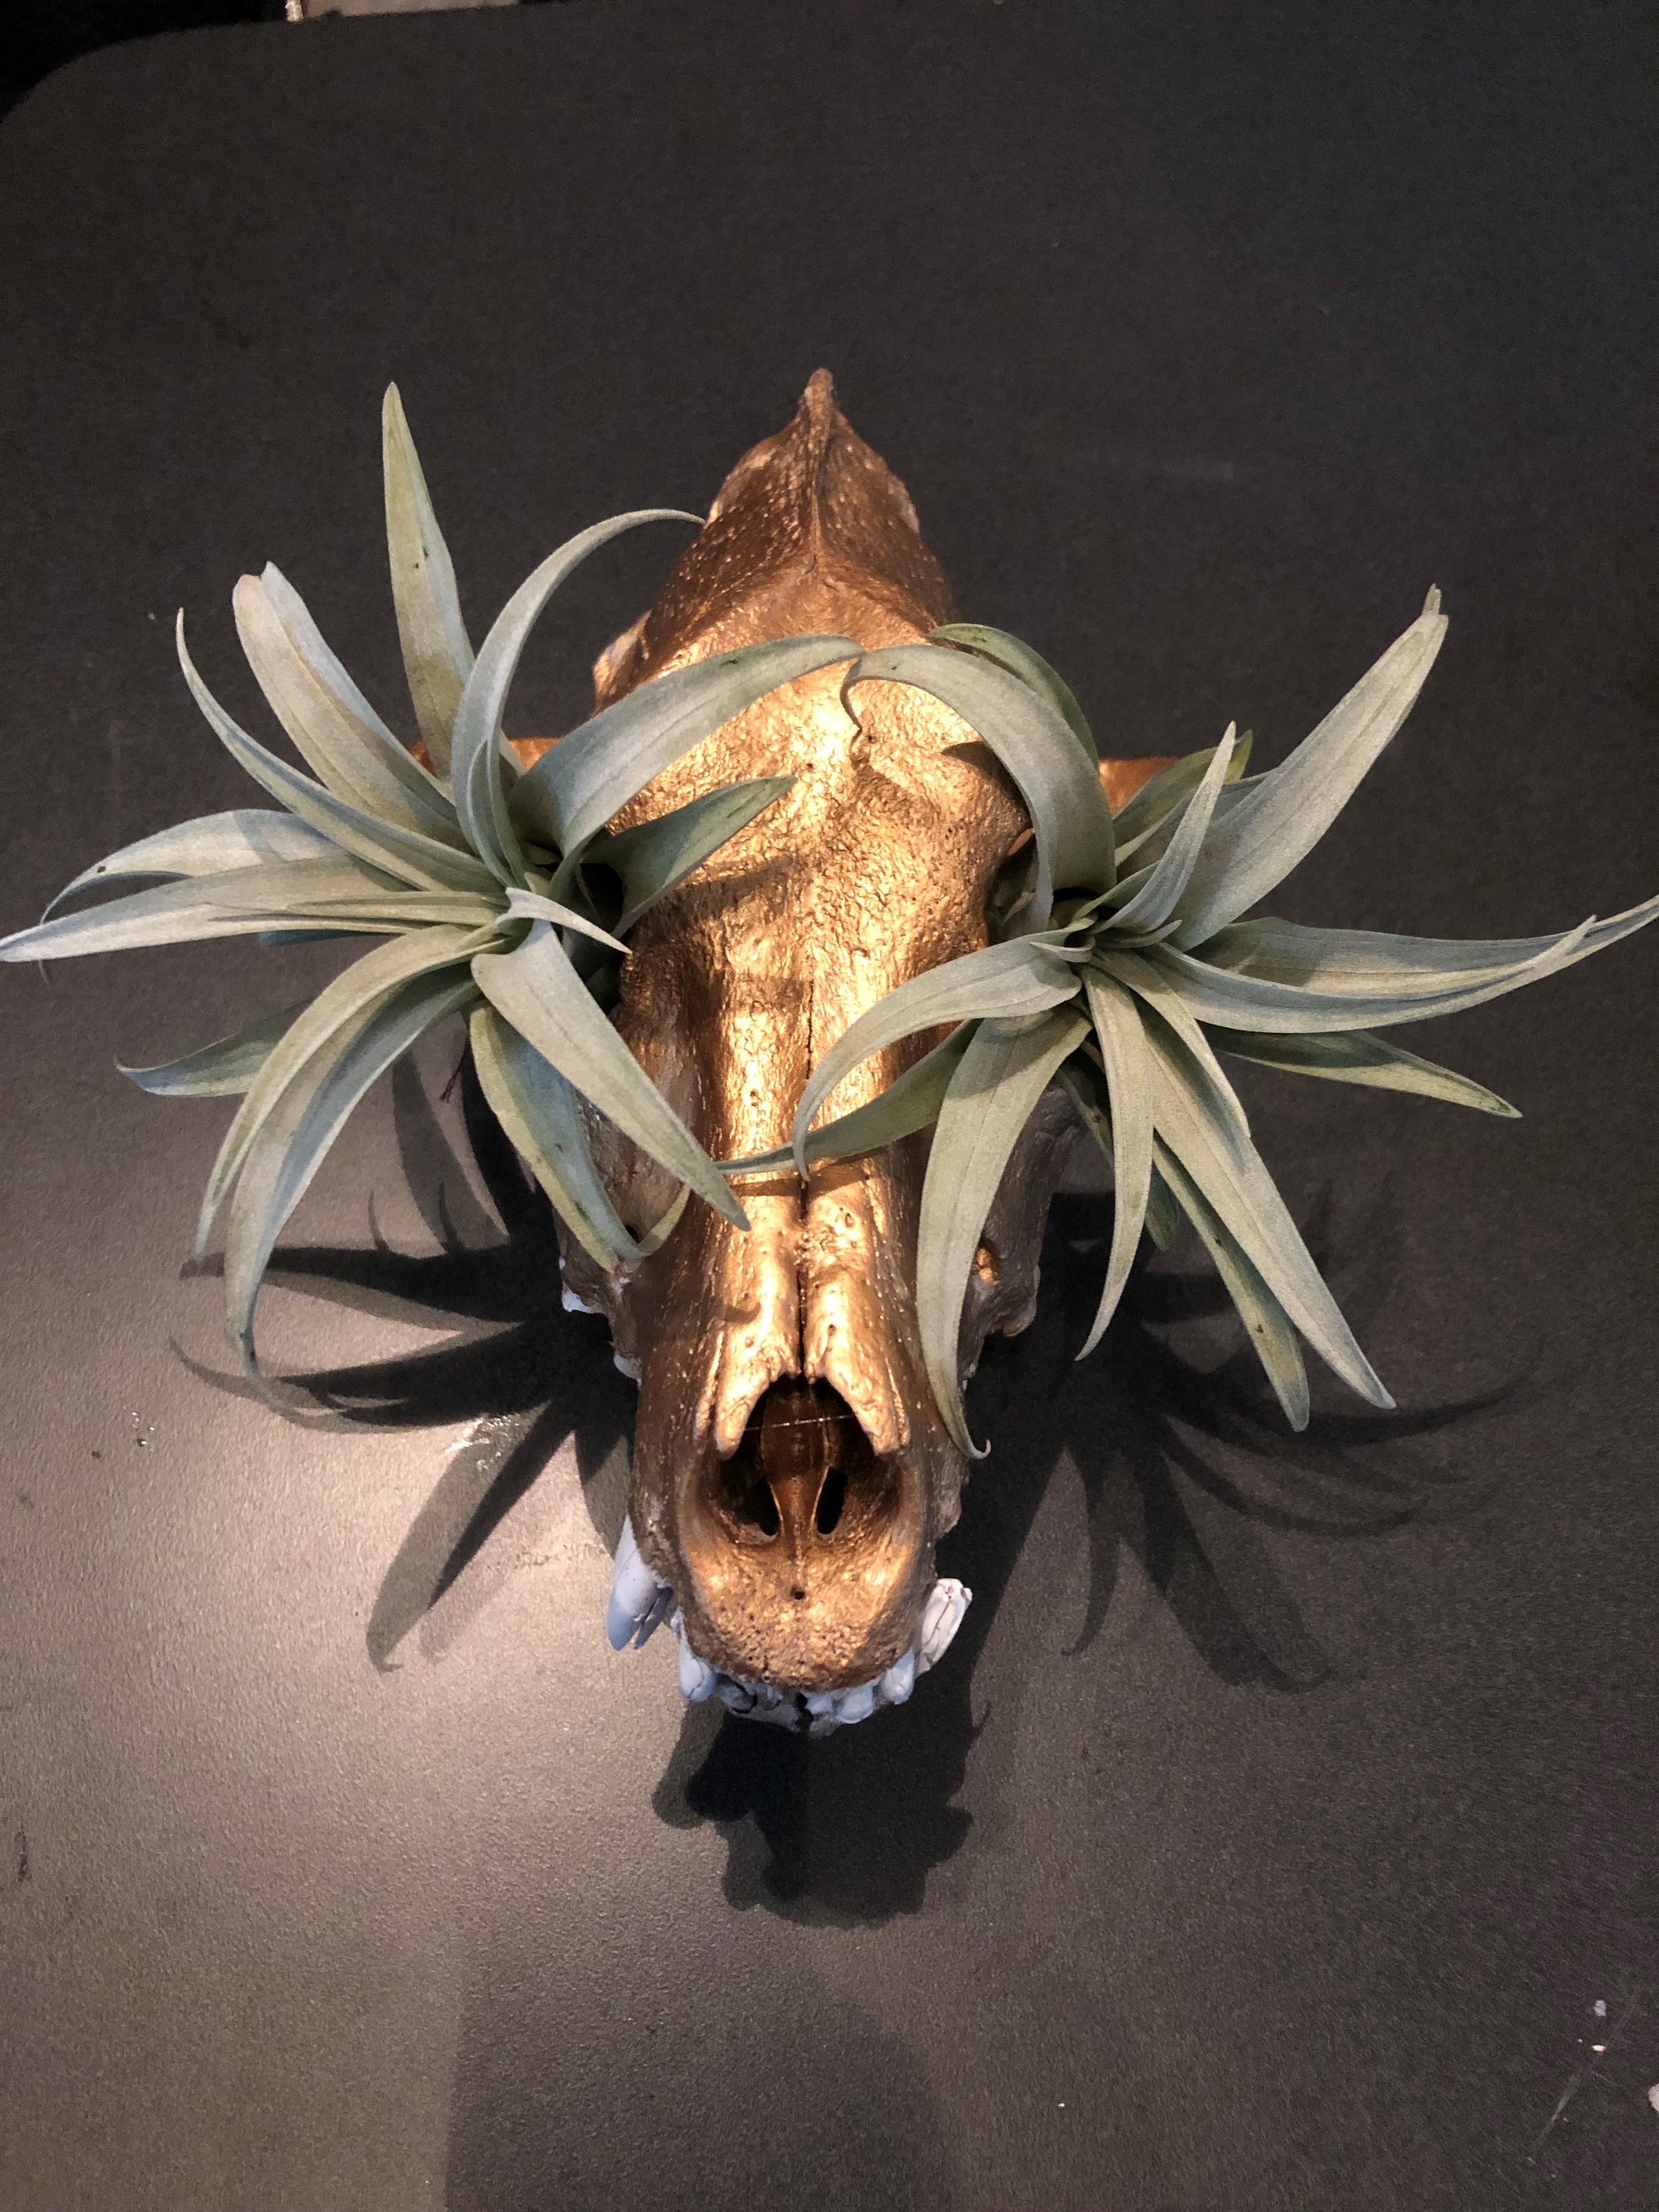
I couldn’t be more pleased with the end results and hopefully, this will encourage you to take one of those skulls you have and give it some bling.


One thought on “Getting Crafty: Coyote Skull Up-Do”