You did it. You harvested a deer, got it processed, and now there’s a package in your freezer labeled “backstrap,” and you have no idea what to do with it that won’t turn it gray, tough, and tasting like something you have to choke down out of obligation.
Here’s the thing nobody tells first-season hunters: venison isn’t hard to cook well. It’s just unforgiving of the mistakes that ground beef forgives. Overcook a burger, and it’s still fine. Overcook a backstrap, and you’ve turned a $0 cut of meat you worked for into shoe leather.
The Two Mistakes That Ruin Most First Venison Meals
Cooking it like beef. Venison has almost no fat marbling compared to grain-fed beef, which means it cooks faster and dries out faster. If you’re used to timing a steak by feel from beef, throw that instinct out for venison.
Not accounting for silverskin. That thin, pearly membrane on the backstrap doesn’t render out as fat does. It just gets chewy and grabs your teeth. Trim it off before you cook, not after you’re already eating around it.
Pan-Seared Venison with Red Wine Herb Sauce
This is a good first venison recipe specifically because it’s fast, forgiving of a slightly off internal temp, and the sauce does a lot of work covering for the fact that you’re still learning to read doneness by touch.
What you need:
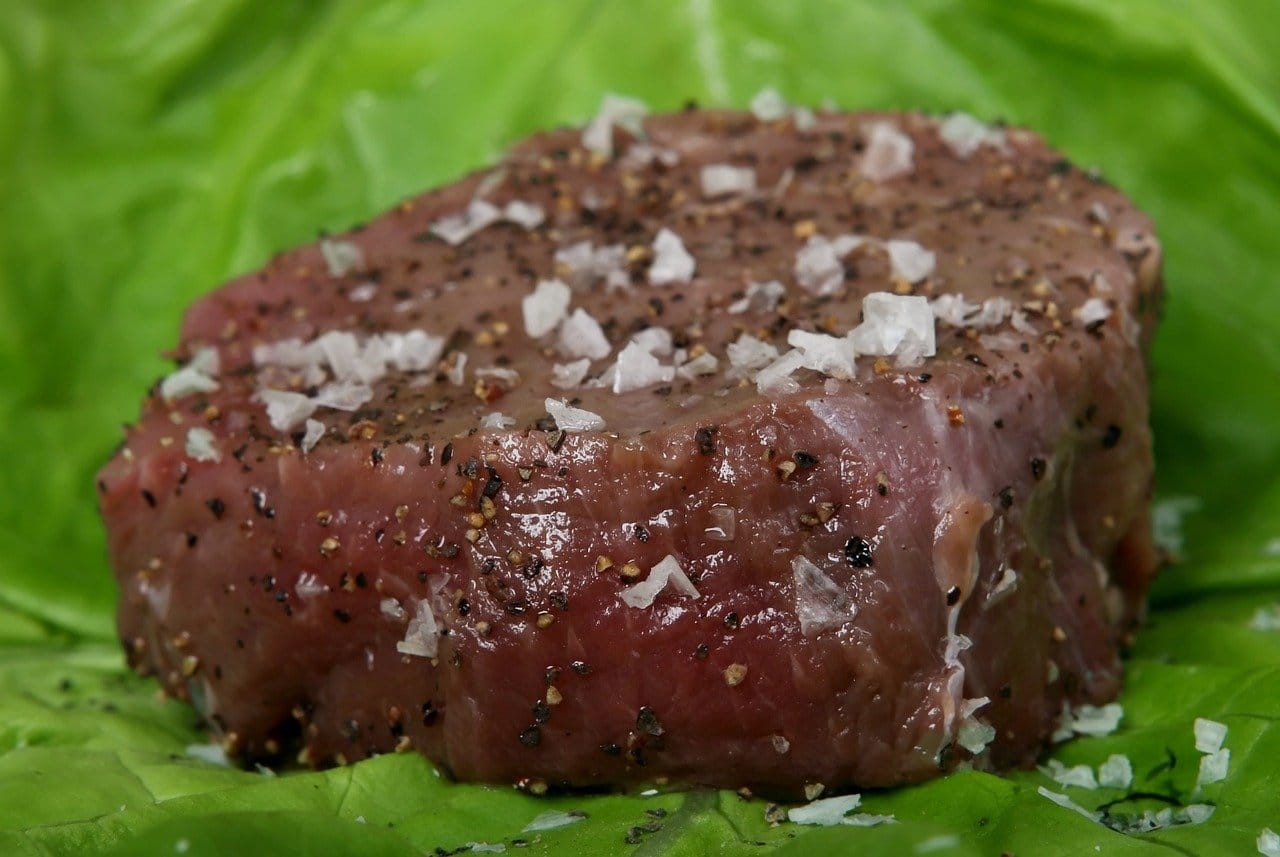
- 1.5 lb venison backstrap, trimmed of silverskin
- 2 tbsp butter, divided
- 1 tbsp olive oil
- 2 cloves garlic, minced
- 1/2 cup dry red wine
- 1/2 cup beef or venison stock
- 1 tbsp fresh rosemary or thyme, chopped
- Salt and pepper
How to do it:
- Bring the meat to room temperature for about 20 minutes before cooking. Cold meat straight from the fridge cooks unevenly, and evenness matters more with lean meat than it does with beef.
- Salt generously. Venison can handle more salt than you’d think because there’s no fat to carry flavor the way beef has.
- Sear in olive oil and 1 tbsp butter over high heat, about 3-4 minutes per side for a roughly 1.5-inch-thick backstrap. You’re aiming for medium-rare, no further — this is the single most important instruction in this whole recipe.
- Pull it and let it rest for a full 10 minutes. Do not skip this. Resting is where the juices redistribute instead of running out onto your cutting board the second you slice it.
- While it rests, build the sauce in the same pan: garlic for 30 seconds, then wine to deglaze, scraping up the browned bits. Reduce by half, then add stock and herbs, reduce again, then swirl in the last tablespoon of butter off heat.
- Slice the backstrap against the grain, thin. Spoon the sauce over.

So You Can Actually Trust Your Own Harvest
The point of learning to cook venison well isn’t just a good dinner. It’s closing the loop on the whole reason a lot of first-generation hunters start in the first place: wanting to actually know where your food came from and be capable of doing something with it. A gray, overcooked backstrap makes that first harvest feel like a letdown. A backstrap you cooked right makes it feel like proof you can actually do this.
If it comes out slightly more done than you wanted the first time, that’s normal. Thermometers are cheap and worth the $12, and pulling meat at 130°F internal for medium-rare will save you from more disappointing dinners than any other single piece of advice here.