In this complete guide to hunting, you’ll find 165 tried and true hunting tips. I promise you’ll walk away with new knowledge, whether you are new to hunting or consider yourself an expert. This isn’t your typical 6 tips for hunting whitetail deer, or 7 tricks for hunting during the rut article. This is a fully comprehensive list of all things hunting!
If you’re looking for a successful hunt, this is the complete guide to hunting and the 165 best hunting tips you can find anywhere on the internet. Let’s dive right in… keep reading!
Scouting Tips for Deer Hunting | Trail Camera Placement Tips | Shooting Tips for Hunting | Turkey Hunting Tips | Scent Control Strategies for Hunters | Archery Tips for Hunting | Hunting Tips | Tips for Hunting Pregnant and Bringing Kids on a Hunt
Scouting Tips for Deer Hunting
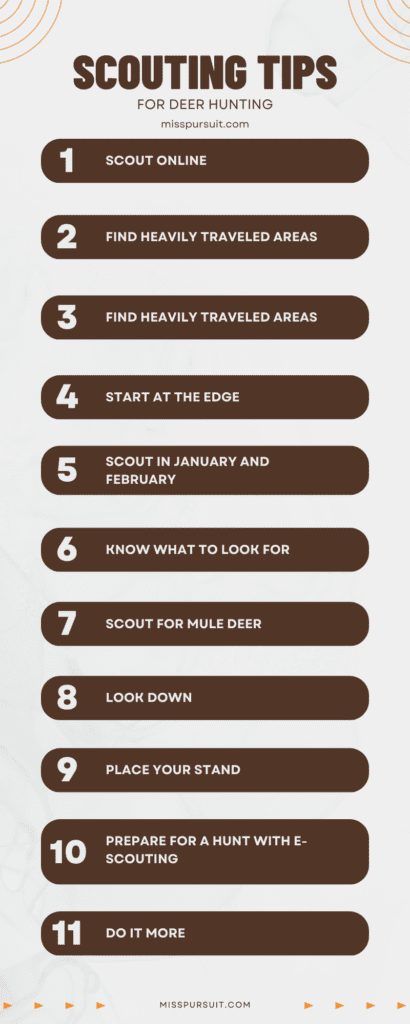
Scout online: Scouting online is a new tool that has really started to grow over the past few years and make scouting easier for anybody. Things like onX maps and Google Earth are great to use before going out in the field. Looking at the maps they provide enables you to look at areas without having to go there physically. If you don’t have a ton of scouting days, these tools can make a huge difference by rounding out certain areas based on terrain.
Find heavily traveled areas: You should always scout prior to the season to ensure clear shooting lanes from other landowners and to find paths of heavily traveled areas by game.
Start at the edge: Walk the edges of overgrown clear-cuts, densely covered thickets, and the ugliest swamp bottoms you can find that are located near current food sources to pinpoint entry trails. Once you know how deer are entering and exiting these daytime bedding sanctuaries, slide around to the back side of them at their furthest point from the food source and strategically clear out a hunting entry route. Look for extra-large bedding imprints on the ground and oversized droppings that usually indicate a big buck’s core bedding area.
Scout in January and February: If you’re just getting into deer hunting or have a new property to hunt, the best time to scout for deer is in January or February. This is immediately after the prior deer season closes. Why?
- Deer are still in their winter patterns, which will reveal the food sources and cover they’ll use next hunting season.
- The bare winter woods are easier to see through. If snow is on the ground, tracks clearly reveal where deer travel to and from daily.
- Spooking a big buck doesn’t matter.

Know what to look for: The importance of scouting in the field is that it’s important to know what to look for. Some of the best things to look for are signs that animals inhabit that area. Bedding areas, feeding areas, cover, and water are the biggest things to look for. While looking for these bigger signs, look for the small things that animals leave behind, such as scat, tracks, and sometimes even rubs and hair (especially deer and elk).
Scout for mule deer: When hunting high-country mule deer, there are a few places that come to mind. Mature deer like rugged places, like bighorn sheep and elk. When you scout before a hunt, there are a few things to keep in mind.
- Rock chutes: High country mule deer like hanging around these areas. They have a tendency to walk along the edges and stay up as high as possible. Especially the big mature bucks.
- Thick timber: Dark and thick timber is a great hideout for deer! Their dark coats make it easy to stay still and evade any kind of predator, especially when bedded down. This is a great place to find bedding areas or still hunt your way through while looking for bedded game. It’s also a good place to find heavy trails as they may use them to go from bedding areas to feeding areas.
- Thick brush: Not only does thick brush provide cover, but it also provides feed. Mature deer, or any deer, can easily feed while staying hidden from any predators looking for them. The best way to hunt big brush patches is to carefully glass from a comfortable distance. You’ll want to pick up any kind of movement, patches of hair, or antler tines, then make a game plan from there.
Look down: Tracks are an element of deer sign that’s overlooked far too often on scouting trips. Hunters are so easily distracted by scrapes and rubs that they forget a buck passing through could leave a bunch of signs and then never return, which could lead to you wasting a lot of your time in a bad spot. If an area is truly hot, you’re going to see it on the ground.
Prepare for a hunt with e-scouting: E-scouting is a term for using online resources like Google or onX maps to virtually scout a hunting area. It can be overwhelming when hunting in unfamiliar territory but knowing major terrain features and having a few ideal spots in mind can make your time outdoors more efficient. It is beneficial to use both satellite images and topographic maps to learn the most about the area you are e-scouting. Pin and label specific spots you want to go to when you’re in the field. Here are a few things to identify when e-scouting a new unit:
- Water Sources: creeks, springs, lakes, ponds
- Feeding Grounds: meadows, recent burn areas, south-facing slopes
- Bedding Areas: areas with thick timber, brush, and lots of cover for animals to hide

Do it more: One of the simplest ways to level up your scouting game is to simply do more of it. There is a clear difference between the amount of time spent scouting by highly effective hunters and their less successful peers. Scout 80% of the time and hunt 20%.
Scout for mule deer: When mule deer are mentioned, most people visualize mountains with lots of trees. However, there are plenty of mule deer that roam the “flat” lands. Though it looks flat, it’s not, and that’s how these deer not only survive but thrive!
- Coulee systems: Coulee systems are typically full of mule deer; though they can be tricky to find within the systems because of how many different drainages and finger ridges there are. It’s not difficult for a mature deer to pop over a ridge and be in a completely different system. The best way to hunt these systems is to scout and pattern the deer living in the areas, or just slowly move through each system while being careful to not bump anything out. You can also spot deer out feeding early morning and follow them into the systems to get into range.
- Agricultural areas are typically feeding areas and consist of many kinds of feed everywhere. Don’t be afraid to reach out to local farmers or ranchers for tips, or even permission to hunt their property.
- Thick brush: Chances are, if you can find a thick brush patch that has food and water nearby, you will probably find some kind of animal there. Thick brush patches are scattered all over Montana and they aren’t difficult to find!
Trail Camera Placement Tips
Get clear images: With proper trail camera placement, you can learn more about the animal you plan to hunt come opening day, mid-season, or well, the last day. But you don’t want just any trail cam. You want a game trail camera that will deliver clear images and details to bag that buck.
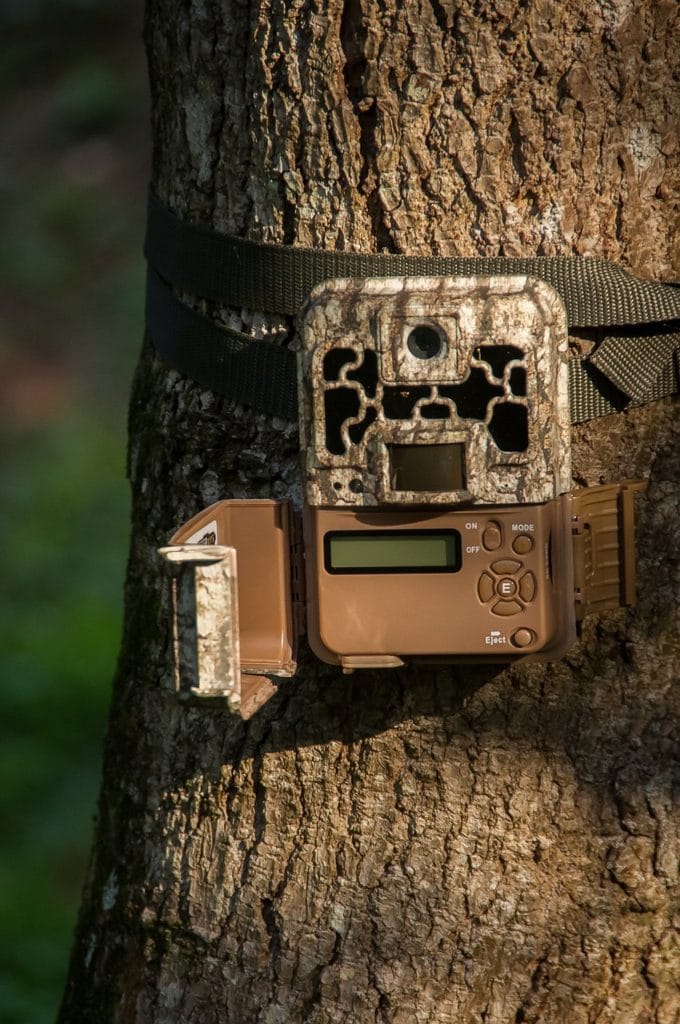
Choose interesting paths: You can always place trail cameras on interesting paths to see what is traveling through the area and place your stands accordingly.
Pattern your game: The use of trail cameras can be so beneficial in patterning game in your hunting area. Cellular game cameras can save you a lot of time by decreasing your traffic in the area where you have targeted bucks. Cameras also increase the odds of success by giving you an idea of the pattern and what’s coming in and going out of that area as well.
Put it in the right spot: Once you have an area identified for a trail camera, you need to find your tree or post spot. Try to place it 10-20 yards away from the spot you want to view. This hopefully will remove your cameras from the action enough that they will not get pushed around. Nothing is more frustrating than having animals in a wallow or having the pattern down just to have a curious cow or doe move your camera, so it is pointing directly at a tree.
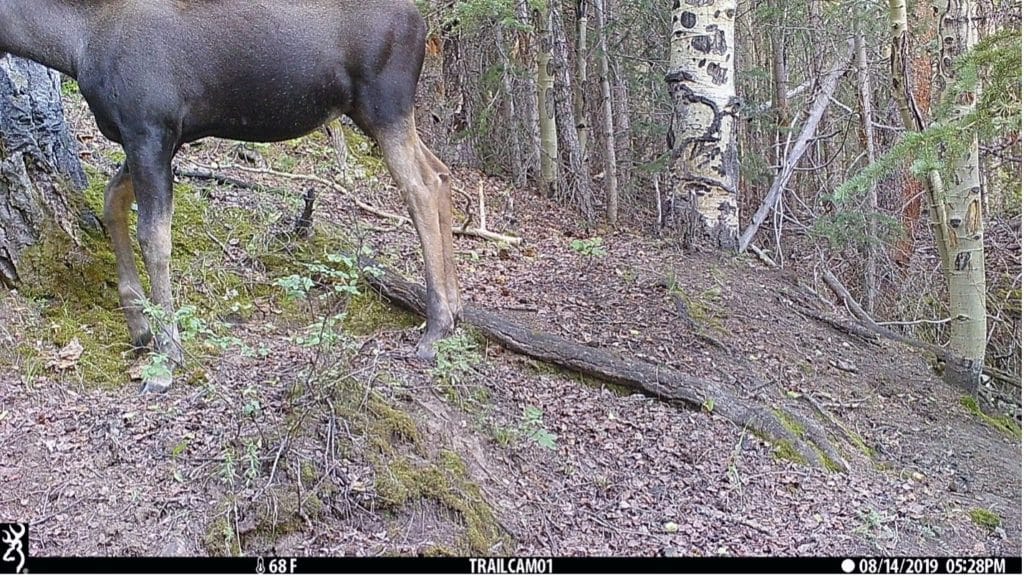
Follow the main paths: Choose trail camera placement location accurately. If you do not see anything but have identified something on a map that looks like a wallow or a nice, isolated meadow, follow the main trail until you see trails with fresh tracks or other signs that move toward your target area. Veer off the main trail if you see an active game trail. If the trail is not on the way to a target you identified while scouting online, mark it on either onX or BaseMap to go back and explore. Look for split points, active water holes, rub points, or wallows. These are the best points to find a place nearby to put your camera.
Be near a funnel: During the rut, position your cameras near funnels — anywhere deer will choose a ‘path of least resistance’ to get from one place to another, such as a creek crossing or a saddle in a hill, or a line of woods connecting two larger areas of cover. Because bucks are on the move more than usual, they’ll frequently use these places to get around. Food sources are another great location to catch activity as does feed and bucks cruise through looking for a receptive doe to breed.
Don’t be in the dark: One thing experienced trail camera users dread is the shadow phenomenon. Shadows are harder to prepare for, but make sure to look at branches close to your camera and determine the likelihood of branches in your camera’s field of view that may blow into the frame.
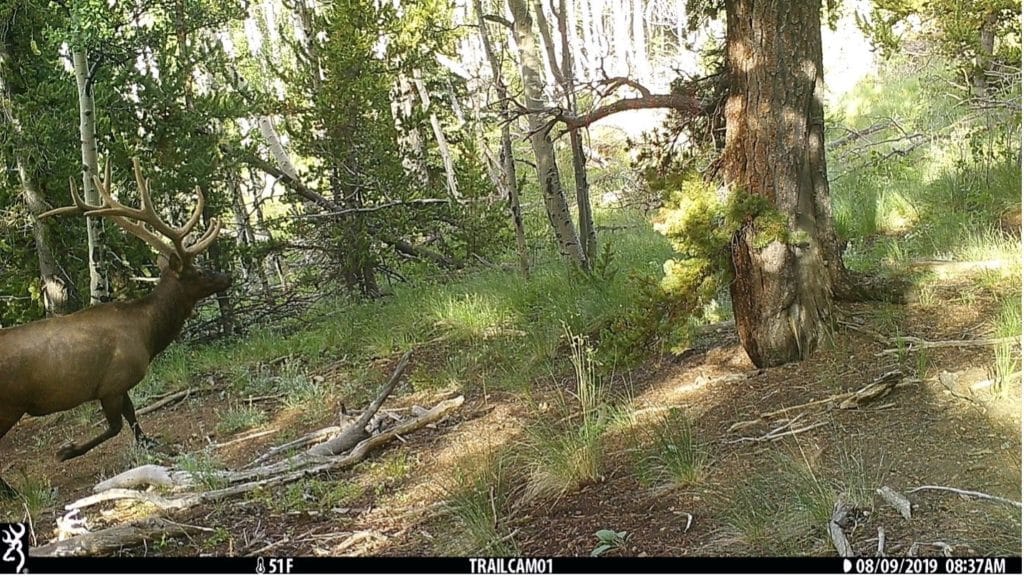
Think angles: Think about the angle of trail camera placement. Often, we put our cameras on the side of a hill. If you mount your camera straight on a tree, you may see the tips of antlers and not be able to tell what you are looking at. Place a broken branch behind the top of the camera to set it at an angle so that you catch the important parts of animals. You want to mount your cameras at an appropriate height for your intended target. It will differ as deer, elk, moose, etc. are all different in stature.
Get hydrated: During the summer, food will be the primary driving force for deer movement, so it only makes sense to hang your trail camera in areas where deer will be feeding. Summer is also a good time to consider staking out a water source with your trail camera to help deer movement. Don’t dismiss the value of a central hub of H2O in your hunting area.
Reflect on past seasons: If you’ve spent previous seasons on the land, looking back on history is another method for determining where to place trail cameras. Things can change from year to year, but things also remain the same. Unless the environment or conditions change, the likelihood of the deer herd altering its overall property habits isn’t likely.
Shooting Tips for Hunting
Be safe (duh!): Follow the 10 Commandments of gun safety… always!
Pick the best rifle: Start with a lighter-weight caliber. A 7mm-08 is lightweight with minimal recoil and gets the job done on a deer hunt. Or a 25-06 or 207 are both great options, also. When choosing your rifle, choose one that is comfortable. Go to a local gun shop and hold different guns. See how they feel on your face and in your hand. Hold it and look down the barrel. Make sure it’s not too long or too heavy.
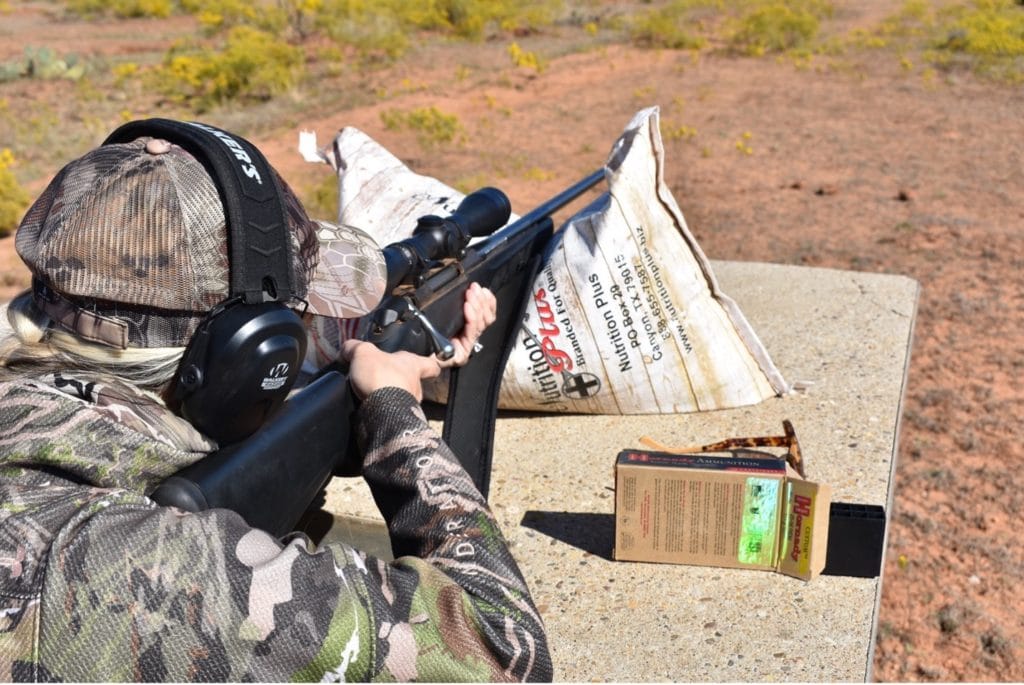
Learn your gun: Know how to operate it. Know what the stock and barrel are and where is the safety (did we mention SAFETY yet?). Do you know how to load and unload the magazine?
Switch your ammo: Start trying different ammunition to see what rounds shoot better with your gun. Maybe one manufacturer shoots better or different grain. Try a few and see what works best for you and your gun. Ammunition is important. Different grains shoot further distances.
Breathe it in (and out): It may not seem like much, but your breathing does affect your aim. As you aim, your body moves – your arms and shoulders included. While minimal, the movement is enough to affect your accuracy while taking aim. As such, it’s important that you practice controlling your breathing. Ideally, you should hold your breath while aiming and while you are taking a shot. When you are still aiming down, relax and stay calm. Take slow and deep breaths so that your heart rate doesn’t get too affected.
Always make sure you have the right caliber or size shot for the gun you plan to use. You can do this by identifying the number on the barrel or action of a gun (depending on whether it’s a pistol, rifle or shotgun). Then, look at the ammo itself. It will have the number printed on the case head. Finally, check the box to make sure you have the right ammo. If you are taking more than one caliber or shot size along, separate the boxes from each in compartments or different bags. Check with your mentor, another hunter (familiar with the game type and area) or outfitter on how much ammo to bring, too. If in doubt, bring extra.
Barbara Baird, Publisher, Women’s Outdoor News
Practice shooting: Practice shooting before the season. Going to the range before the season is very important. Practice all the positions you might encounter in the field. Some examples include prone with a bipod and prone on a pack, sitting up, and shooting downhill and uphill.

Pick a rifle you are comfortable with: If you fear your rifle, then you will never be successful with it. You don’t need to shoot the biggest thing you can put on your shoulder, just something that is effective for whatever game you are hunting.
Clean it up: Hunting rifles sometimes just need a good cleaning to restore their accuracy. After ensuring the rifle is not loaded by removing the bolt, look at the muzzle of your rifle in the sunlight. Do you see a lot of copper shining back at you? If you do, a good cleaning is in order. Accuracy decreases as your barrel accumulates powder residue and copper fouling.
Stay aligned: Ensure your gun is aligned and not off in any way before opening day. If you are not familiar with your gun, spend time at the range practicing. Secure the firearm in a hard case to prevent any damage or movement to the scopes.
Get your rest right: Hunters blow untold numbers of shot opportunities by fiddling around with a rest as a buck gets away. At home before the hunt, practice flipping, extending, and locking the legs of a new bipod or sticks, until you can set up and be ready for a one-kill shot in seconds.
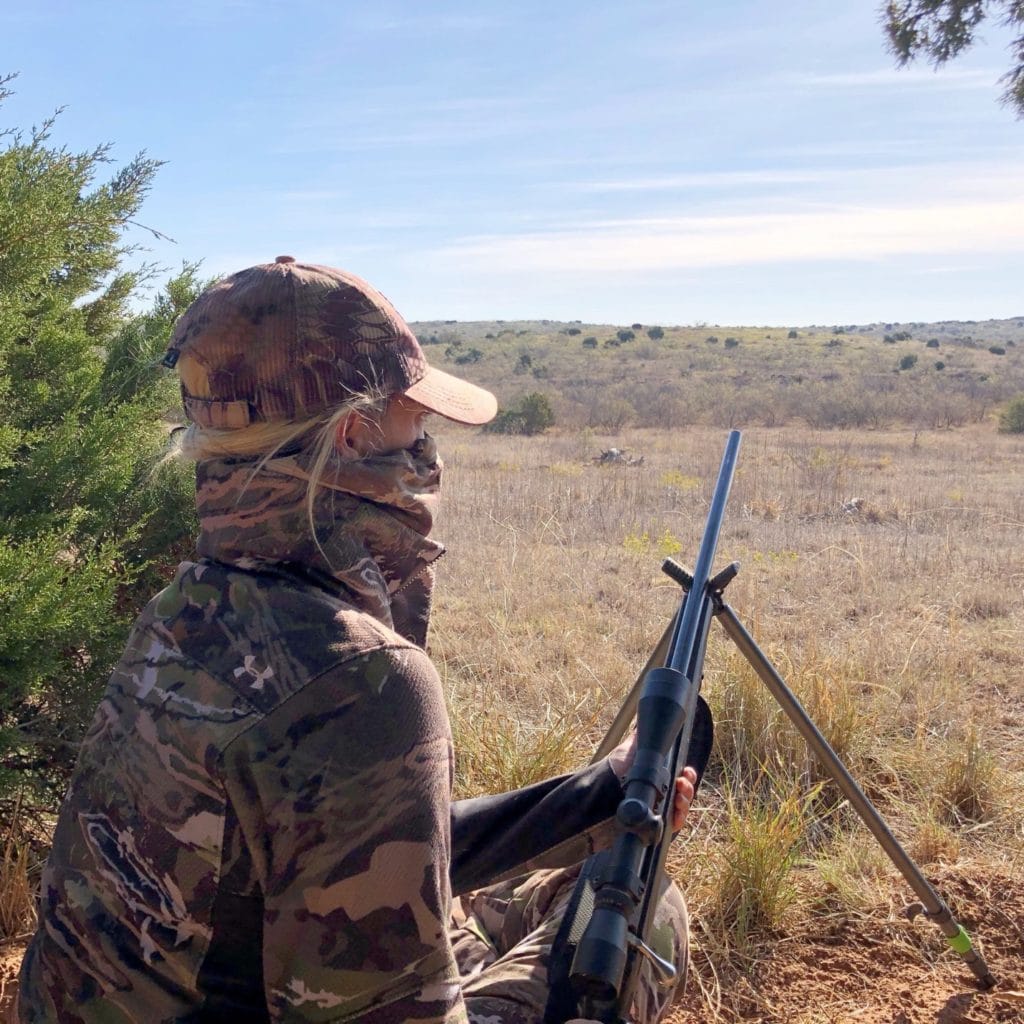
Correct your form: Get your site dialed in and make sure you get your trigger pull to a squeeze. When you correct your form and shooting techniques during the off-season, you increase your success rate of harvest during the season.
Build your perfect combo: Build a rifle/scope/cartridge combination that carries comfortably and can be whipped into action quickly. It must be versatile enough that you can engage targets from 10 yards to as far as you can consistently shoot accurately from whatever position you’re in.
Turkey Hunting Tips
Blend in: Turkeys see in color so you will want to blend in well; turkeys see very well, very far, and have a wide range of 270-degree sight.
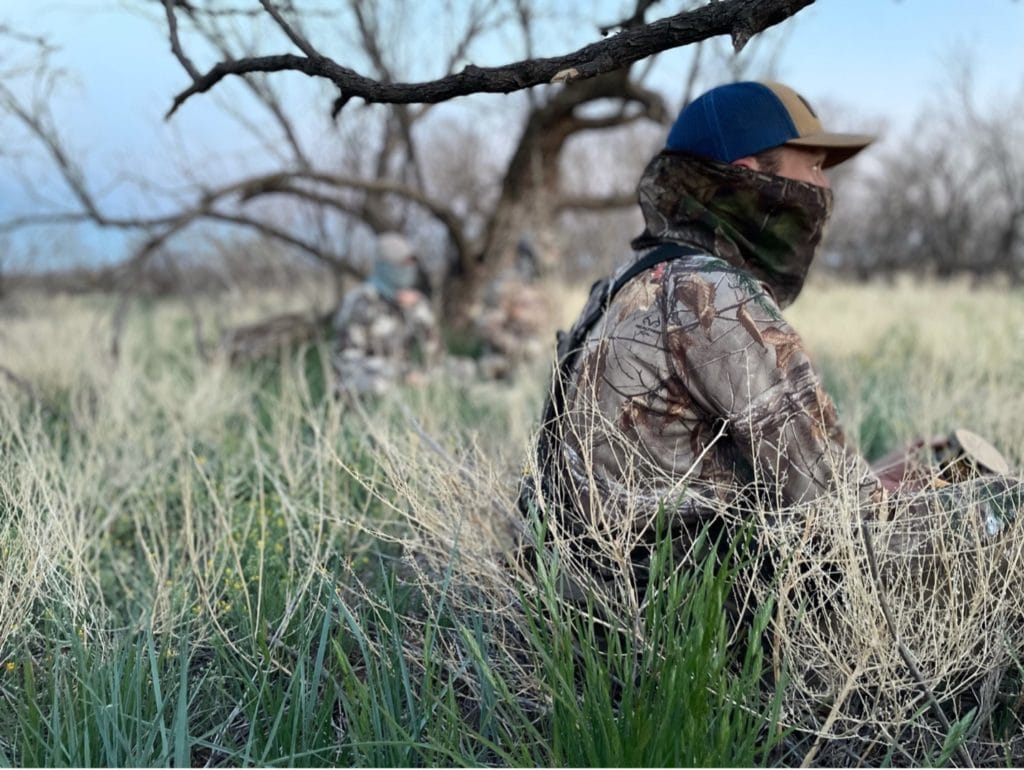
Just wing it: One of the most effective and easy-to-learn “calls” to tuck in your vest is the wing of a gobbler you killed the year before or a hen you killed in the fall. Nothing is more effective and realistic for imitating a bird pitching off a roost when combined with a fly-down cackle. And if you want to create a kick-butt jake/gobbler fight, smack the wing against your pants leg, and the ground, while making fighting purrs and gobbles on a tube call.
Rise and shine: Be in your spot and set up before dawn when hunting turkey.
Find the roost: Most of the time turkeys have ventured out throughout the day and when it is time to go to bed for the night, they have a specific spot or tree in mind and will make a beeline toward that area. At this time, they are not as worried about feeding or breeding but finding safety for the night. Seeing birds one hour or less before sunset should give you a general idea of where these birds are spending their night and where you can go in the morning.
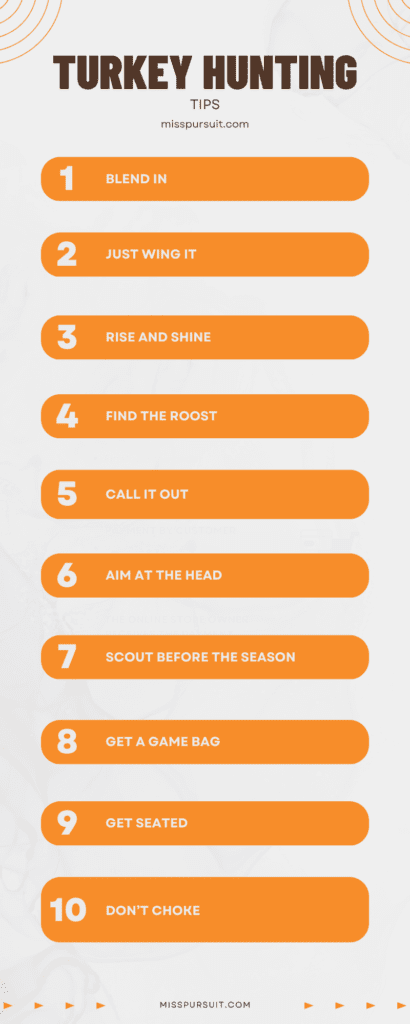
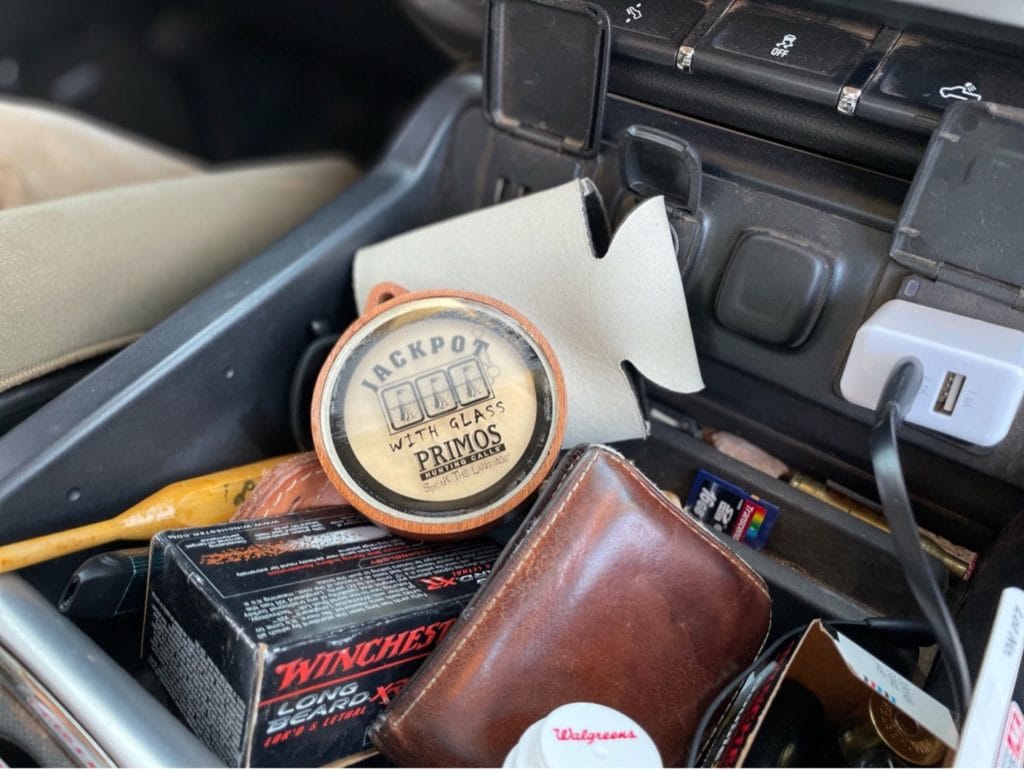
Call it out: It is good to have several diaphragms, slates, and box calls. Sometimes the birds will especially like one call or another. The worst feeling in the world is not having the right call.
Aim at the head: When using a shotgun or muzzleloader, the designated area you want to aim for on a turkey is the head and neck. While using a crossbow or compound bow, you will want to aim for the heart or lungs; broadside (when the bird is turned with its body completely towards you) is when you will have the best shot.
Scout before the season: Whether hunting public or private land, you must scout. Knowing the vegetation and location of water sources on the land you plan to hunt is key. Locating roosting areas will increase your chances, as well. Look for feathers around trees. Turkeys tend to lose them while flying up and down into the roost. Search for bigger areas of scratched-up leaves, branches, and dirt where they may be feeding. Don’t forget to look for obvious signs of tracks.
Get a game bag: This is huge for turkey hunters that walk a lot of miles to harvest their bird. The game bag gives you the ability to transport your bird, hands-free, out of the woods. While it is easy to throw a turkey over your shoulder, it limits your hands for decoys, guns, and other items you may use during your hunt.
Get seated: A comfy seat cushion on your turkey vest makes a world of difference. Some have magnetic capabilities that offer a quick throw-down approach but be mindful that the magnet can and will wear out over time. The added clips are needed to secure your cushion while moving through the woods.
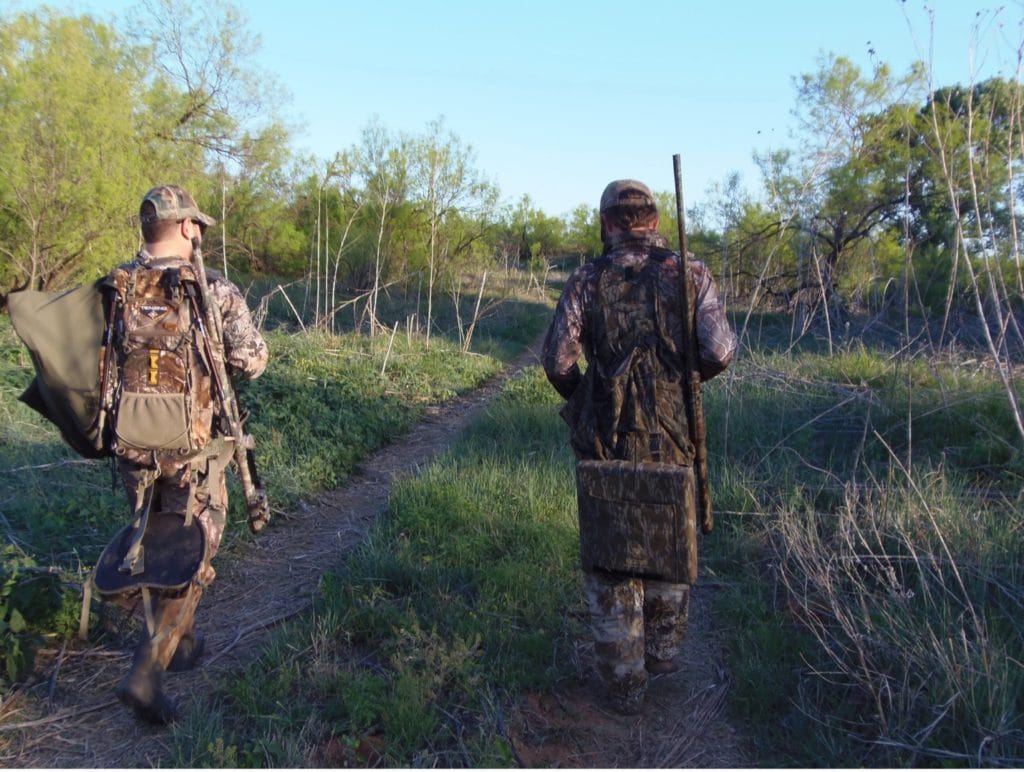
Don’t choke: Use a 12 gauge or 20 gauge muzzleloader, crossbow, or even compound bow. Turkey chokes are also used on the weapons to help constrict the ammunition at a certain rate. Turkey loads are the go-to ammunition.
Scent Control Strategies for Hunters
Don’t underestimate: Never, ever underestimate the importance of wind direction and scent control when hunting whitetail deer. Their noses are sensitive defense systems that help alert them to predators… and that includes you!
Be diligent: If you have never hunted before, it is always important to be diligent about your scent.
Wash it out: At the beginning of the season, wash all clothing in a scent-preventative detergent and store them in an airtight container (your “hunting tote”). When you harvest an animal, repeat the steps to ensure no scent or blood is transferred.
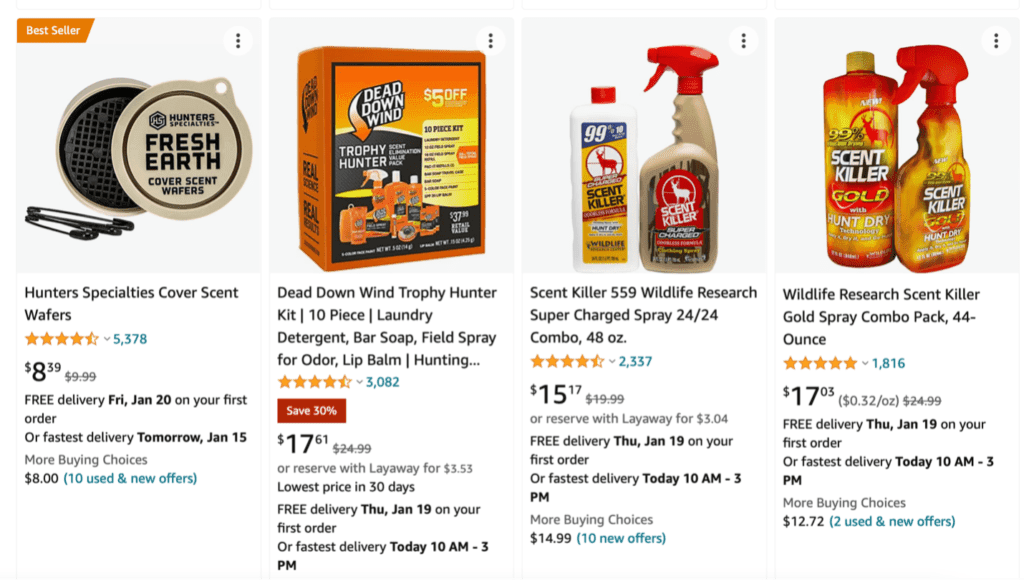
Buy what helps: Drake Waterfowl has a line called their nontypical silencer line. It is super quiet with a built-in scent eliminator that is great for whitetail deer.
Don’t let it linger: Make sure you do not spray any perfume or strong-smelling lotions on your body. They will linger for hours.
Play the wind: You don’t want your scent to blow straight to the animal you are stalking, though a little wind will cover your noise.
Move to your stand slowly and methodically to avoid sweating. Many hunters and outdoorsmen understand how quickly animals react to the smell of human sweat, so avoiding it is wise on hunting day.

Go down: For those wanting to bow hunt deer, you need to put your stand about 12-20 yards from where you expect to see the deer. It should also be downwind from where you expect the deer to be coming so they don’t pick up on your scent.
Fragarance-free, please: If you wash your hair on the day of a hunt, do not use any shampoo or conditioner with fragrance. Use a scent-free soap.
Don’t sweat it: For those hunting in a blind, it’s important to choose products that have integrated scent control and antimicrobial finishes to prevent body odor from giving you away.
Archery Tips for Hunting
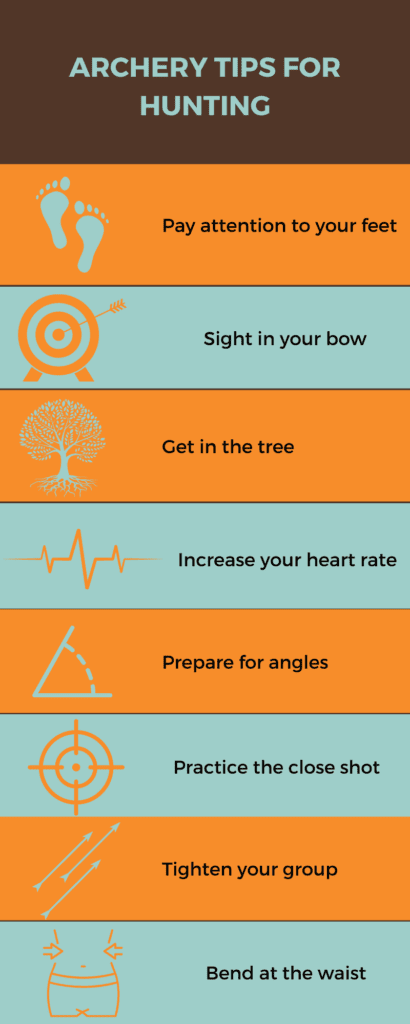
Pay attention to your feet: The placement of your feet can change your draw length. This can make your arrow hit a different spot. Practice shooting on uneven footing and practice with your feet touching and far apart. It seems like it would not make a difference, but it does and is the reason for many misses. If you practice this, you will naturally make the adjustments in the rest of your stance to help your arrow fly where you need it to.
Sight in your bow: And not a week before October – break it out and break it in during spring. It’s so important to be comfortable with the weapon and equipment you take into the field, I can’t stress that enough. Whether you’re pulling out the bow you’ve been hunting with for five seasons or a brand-new rig, it’s wildly important to know that piece of equipment inside and out. Be sure you’re dialed in at 20-30-40-50 and any distance beyond where you feel you can take and execute an ethical shot.
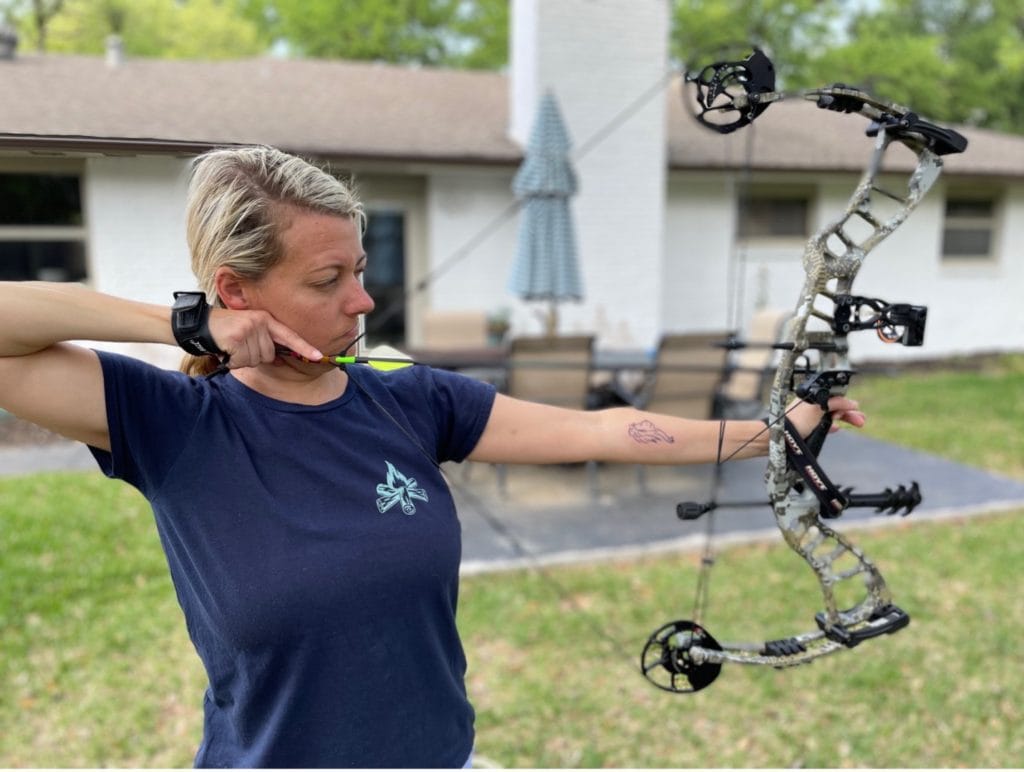
Get in the tree: If you have access to a tree stand to target shoot from, utilize it. A lot of people forget when they’re target shooting that you’re often working with an 18-24” tiny platform up in that tree. An elevated shooting position is just as helpful (grab a ladder or shoot from a second-story window). While you’re up there, get to full draw on every animal that moves. Practice aiming, practice slowing your breathing.
Increase your heart rate: As part of pre-season prep and target shooting regimen, get your bow set up ready at 40-45 yards and run a mile. End the mile at your bow and start shooting. If you’re more in shape and a mile won’t do it – run however long, it takes to elevate your heart rate. Work through that draw cycle, ensuring you’re executing a smooth, slow pull, and then work to calm your heart rate and aim.
Buy a harness: Buy a body harness for a number of reasons, the primary one being safety. After wearing the harness the first few times out in the woods, you’ll find that it did a lot more than just keep you safe from falling out of the stand–it’ll give you confidence.

Prepare for angles: This is important as when many of us shoot at an angle, we will naturally cant (tilt) the bow. Our bows have what experts call our third axis. The first step here is watching the bubble level in your sight. It should be aligned. If you still hit left or right consistently you should check your third axis. Hamskea Archery makes a tool to make this less difficult. Or, you can have it checked at your local pro shop. A little to either side could be the difference between taking the animal home and not finding it.
Practice the close shot: There is nothing like missing an animal at five feet. If you have an adjustable sight, you may have a cut sheet that tells you the yardage to shoot at distances less than 10 yards. It is not intuitive to shoot with your 40- or 50-yard pin when an animal is close. Speaking from experience, practice these short shots.
Don’t release: I always attach my release before entering the woods, so I don’t forget it and I’m not finicking with it once in the stand. I will also tuck it into the elastic around my wrist, so it does not make noise while climbing my stand.
Check it out: Shoot your bow a couple of hours before going out to make sure your sights are well aligned. Check your strings, arrows, and tips for any defaults to ensure shots will be lethal. Then secure it in your hard case and strap it in to prevent movement.
Tighten your group: If you are concerned about one errant arrow, try spine aligning your arrows for better flight and tighter groups.

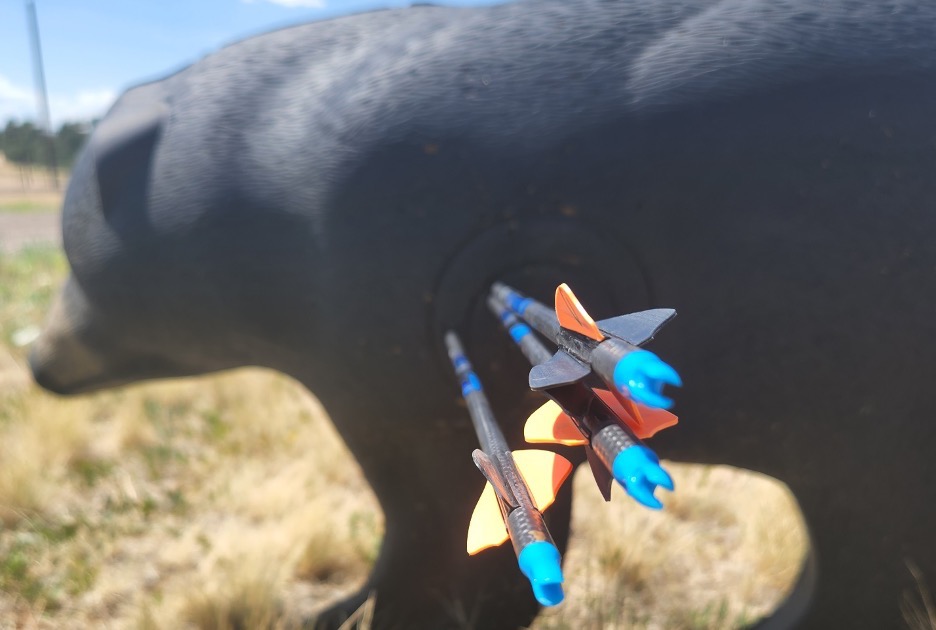

Bend at the waist: Many archers will draw at the angle they are shooting at – if you shoot up or downhill. This can also change your draw length and will cause you to miss often. For this, practice drawing in your regular cycle and then bending from the hips, not lowering your arm which many intuitively do. This will help you on tree stand shots or if you must shoot up or downhill.
Practice in a blind: There are many tricky parts to shooting in a blind. First, can you pull your bow consistently while sitting, and can you do it in a confined space? One of the first things I do when I sit in a blind is to make sure I can draw my bow inside without hitting the back of the blind with my elbow.
Read More: Sight in Your Bow: Tips and Tricks for Accurate Shooting
Hunting Tips
Get support: Seek out other hunters. Use Facebook as a starting place and join groups!
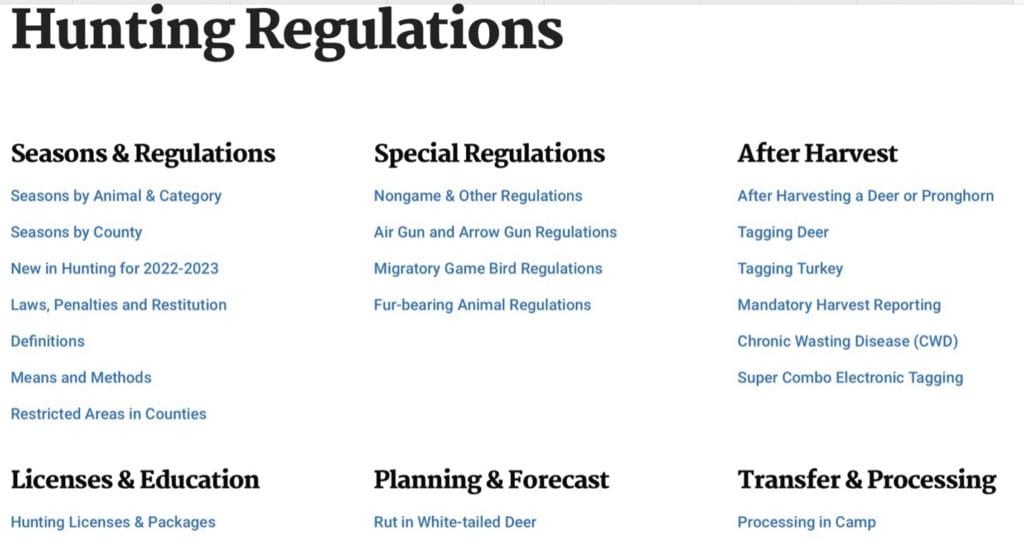
Know the rules: Always ensure you are familiar with your state’s rules and regulations. Save them to your favorites on your phone. Season dates vary from state to state (and even county to county), so make sure you stay informed.
Be quiet and alert: Pay attention to your surroundings. Be on the lookout for other animals. A mature whitetail doe will blow your cover in a split second.
Get more shot opportunities: The most essential element for hunters is the number of shot opportunities. You cannot develop as a successful hunter without shot opportunities. Even the most seasoned hunters miss or blow it in some way. That is how we learn to be better hunters.
Use resources: Use every resource available to find the best hunting and fishing spots.
Ask questions: Don’t be afraid to ask why. Asking why prepares you to be able to hunt alone or to pull yourself from someone who just tags along to being part of the group.
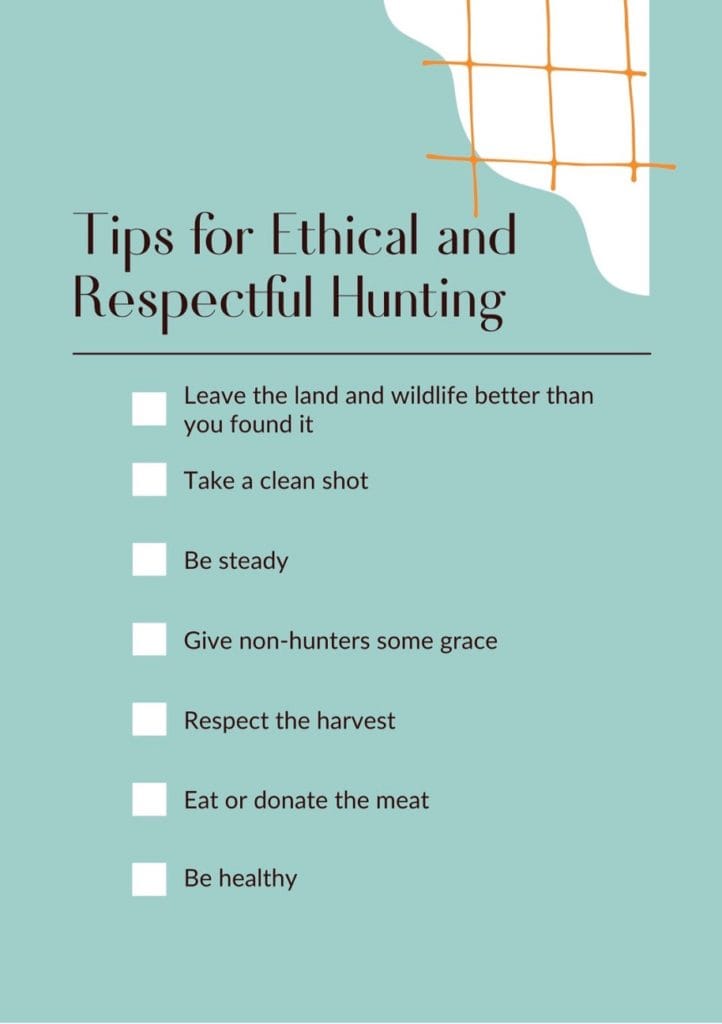
Be ethical: If you don’t deliver a fatal shot, it’s your responsibility to follow, find and harvest as quickly (and humanely) as possible. All ethical hunters will practice their marksmanship before going into the field.
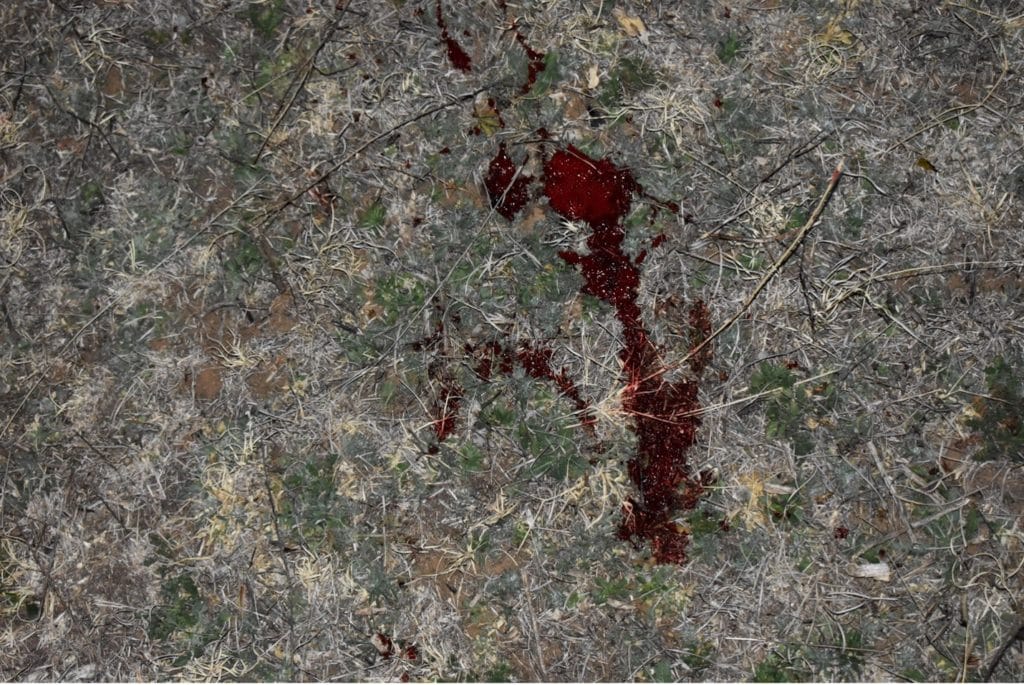
Not everything is recovered: Not every animal is recovered. Not finding an animal can be due to many things, including inexperience tracking, and sometimes the animals do not bleed outside of their bodies.
Learn something new: Try to learn something new every time you step into the woods, into a gun range, and climb in the stand.
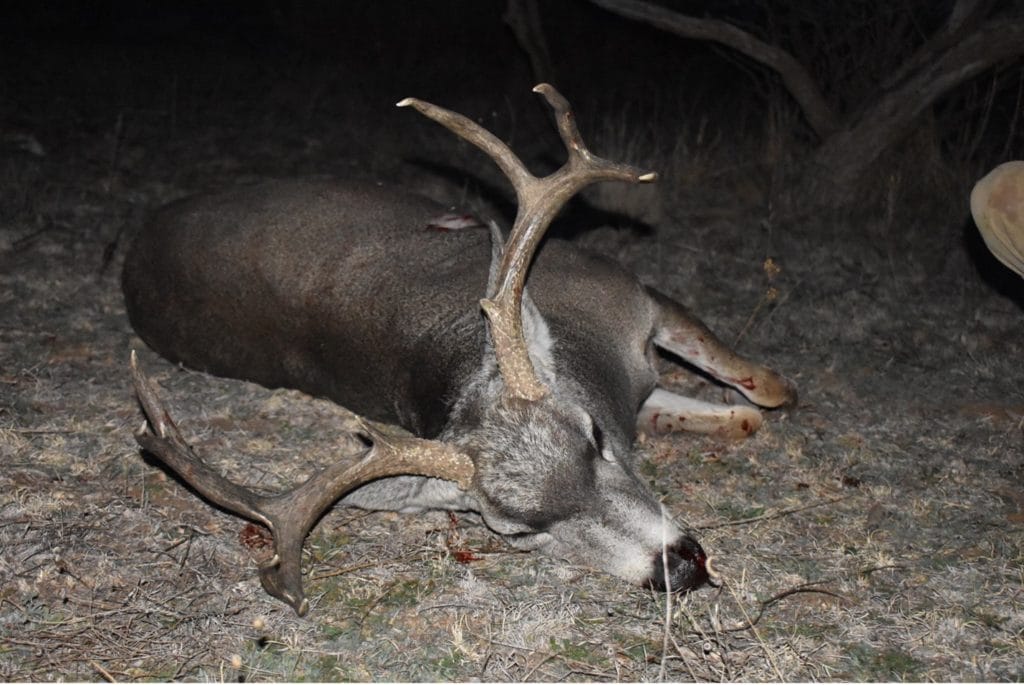
Let them lie: Sometimes animals do not die immediately. Whether the shot was not optimal, the animal moved after the shot, or just simple physics, part of the equation is that animals do not always die right away. The number one rule, unless the animal dies in your vision, is to wait. You never want to bump (push your animal to get up) an animal that has been shot; it is always better to let them lie. This is a hard and anxious time for hunters.
Be safe: Get your hunter safety certification.
Know the plan: Ask what the plan is when hunting with others. There is nothing worse than being out in the field and you think you know what is going on, but you end up lost/early/late or realizing a miscommunication that can ruin the hunt for yourself or someone else. Hunting in a group often ends in compromise, which can sometimes lead to tension. It is always better to scout or to have hunted with your party ahead of time.
Take a clean shot: If you can’t hit a target, you shouldn’t shoot at an animal. If you practice shooting at 200 yards and see game at 400 yards, don’t take the shot. Most rifles have a 5 – 7 inch drop at 300 yards; you start walking a thin ethical line by taking a shot further than you’ve practiced.
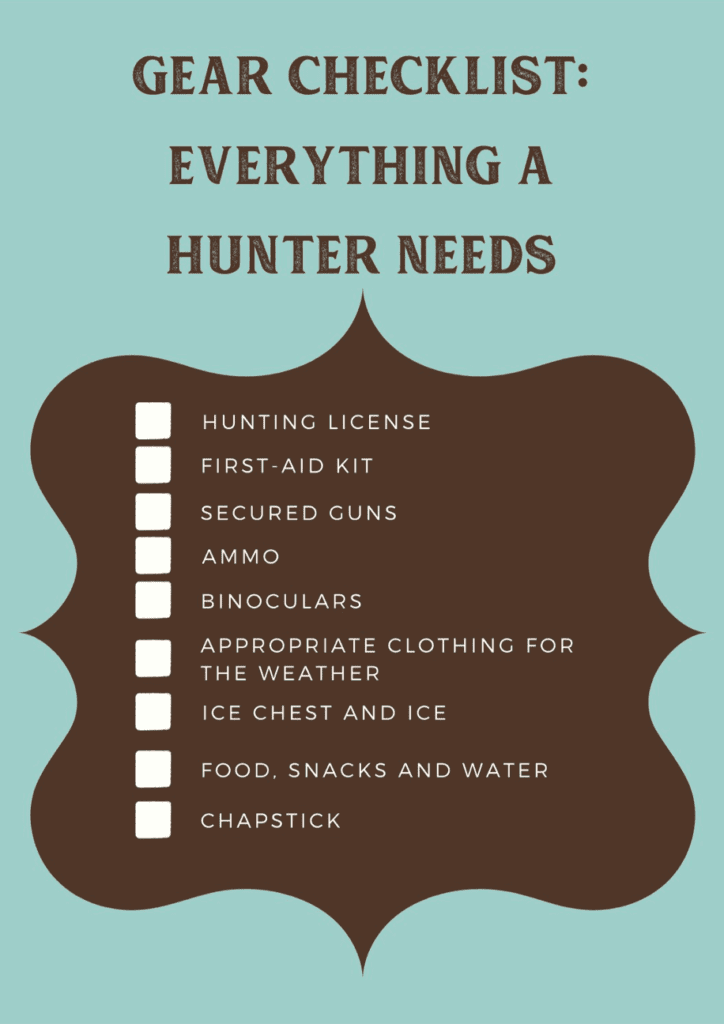
Bring snacks: Nobody and I mean nobody will complain about snacks.
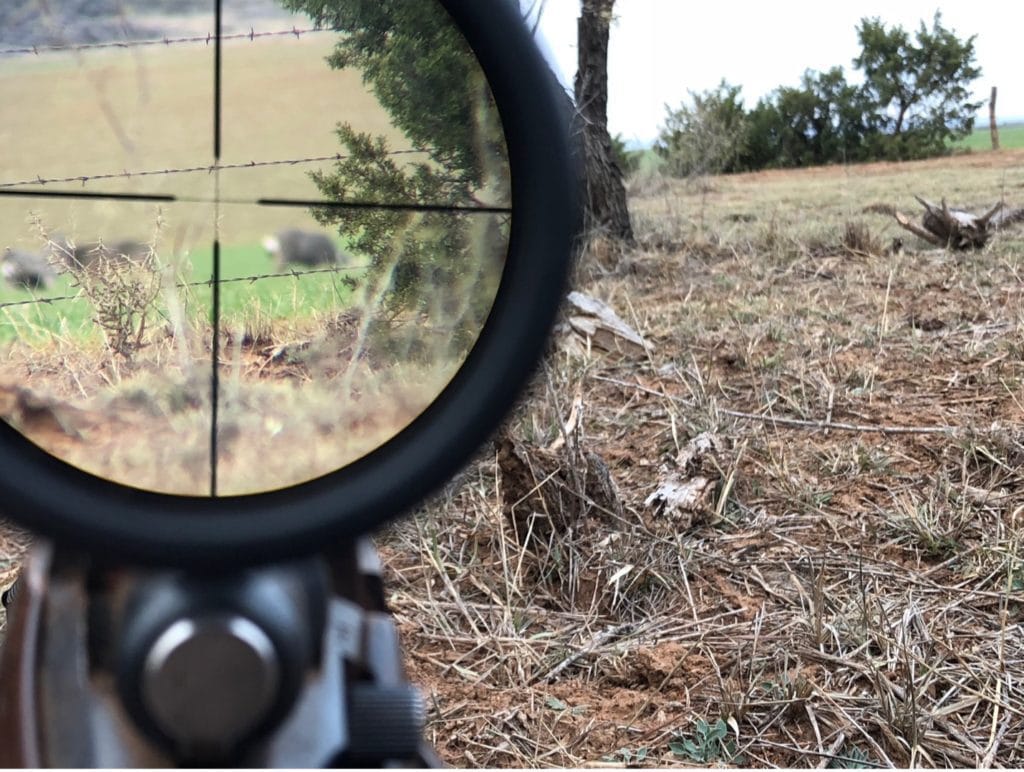
See it clearly: Put your money towards a great scope. Optics are the most important part of any gun. If you can’t see what you’re shooting, the gun isn’t very effective, right? Always opt for good glass.
Know your hunting regulations: Depending on where you hunt, you may have clothing requirements, like wearing blaze orange, or having a harness loop for treestand hunting.
Do not expect to harvest an animal every hunt: The most experienced hunters have times when they eat “tag soup” (that’s a term used when you don’t fill a specific tag).
Be prepared: Read a book, ask what the others in your group are bringing, ask people who have done it before if you are going solo, or make a list. Preparation means making sure you have everything you need at the time. This also means pulling back your bow in the blind or tree stand when you get settled or making sure your gun is not going to bang off something when you prepare to shoot. It is those small steps that can make the difference between being successful and not.
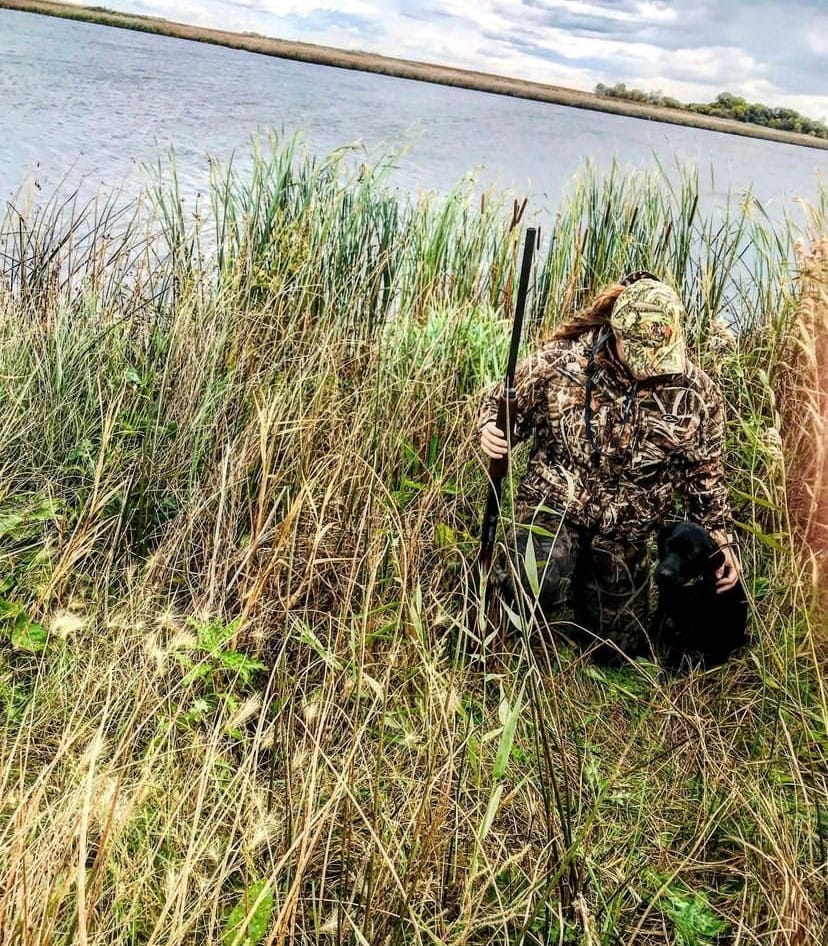
Think camo: Wear quiet camouflage and camouflage that works in that terrain.
Don’t overload your pack: Pain from a pack will deter you from wanting to do it again.
Know your target and what is behind it.
Know your equipment: As hunters, we have an ethical responsibility to know that both we and our equipment can complete the job that we set out to accomplish. Know you can do what you set out to do with minimal suffering to the animal. Practice shooting in ways that are meaningful to hunting. We have all been there, we have all wounded animals but doing everything you can to know your weapon and its capabilities sets you up for success.
Always purchase a hunting license.
Learn the lingo: You need a fundamental understanding of terms and definitions. Buck. Doe. Cull. Know your jargon.
Take the same steps: If you are hunting with a partner, take the steps they take, stay in line with them and be on their heels.
Be ready in the blind: When you first get to the blind, try to get yourself ready to take a shot. You never know if that buck will come in right after you arrive. Preparation steps include making sure your seat is in the right spot and ensuring you can quietly fire your weapon. There is nothing like slamming your elbow into the back wall of your blind, catching your broadhead in the netting, or slamming your gun into the window/base of your blind when the excitement of an animal approaching gets to you. To prevent these buck fever moments, knock an arrow and pull back the bow (then let it down) and when you are gun hunting, always check your ability to quietly pick up the gun and place it. Bring an extra shirt or hat to put under the gun rest to prevent noise during placement. Layout all snacks and extra clothes, so you do not have to have any extra cloth or zipper sounds when you eventually become cold or hungry.
Stay in the shadows: Do not stand in the direct sunlight; stay in the shadows.
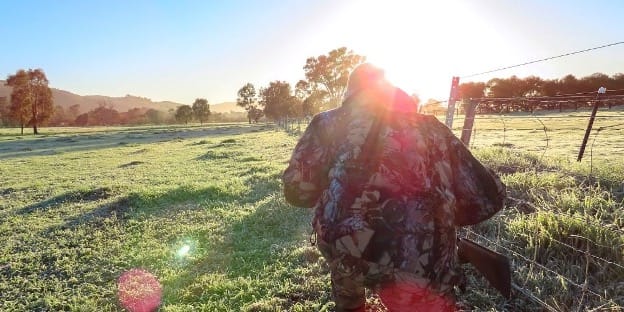
Get walking: If you’re going to be walking more than you’re used to, ask whomever you’re hunting questions about how many miles you can expect to cover each day and what the terrain is like. Walking with a weighted backpack on around your neighborhood will be better than nothing, but it’d be better to try to mimic the terrain by walking tough trails.
Know your method of take: What you choose to hunt with will dictate gear options. Bowhunters need to be especially careful with their jacket selection since they need tapered arms so the fabric doesn’t catch their string, fitted cuffs without bulky wrist straps that may prevent proper placement of their release, articulated elbows to prevent uncomfortable bunching when they’re pulling back, and short, stiff collars or lay-flat hoods that won’t prevent proper anchoring.
Use a game warden: Talk to local game wardens when hunting public land. Finding connections is the biggest step to hunting on public land. Connections are an easy way to find out where to hunt, the boundaries, the animals in the area, and how to hunt them. Local game wardens are a great way to get in touch with your surrounding areas. They have so much information that could be extremely valuable to you that make or break your hunt.
Break your silhouette: Camouflage isn’t required to be a good hunter, but it certainly can better your odds. There are hundreds of styles and brands of camo patterns available, and it can be confusing to know what you need! Essentially, the point of camouflage is to break out your body’s silhouette and help you blend into your surroundings.
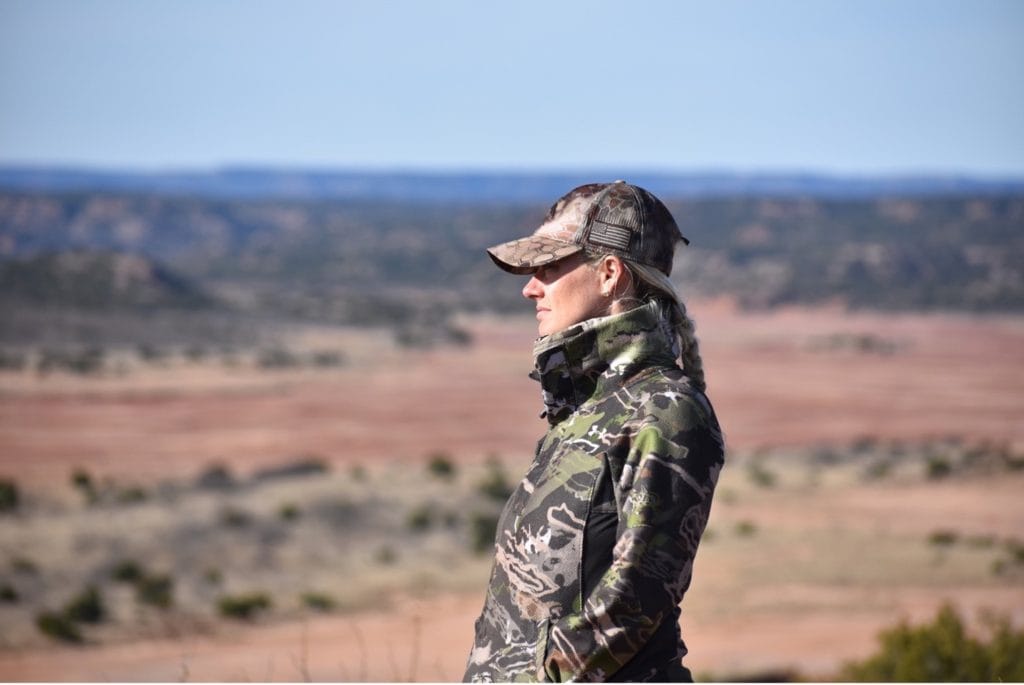
Be ready: Check your equipment, pattern your firearm, shoot your bow, and make sure everything is good to go before you start your hunt. You also want to carry extra ammo, arrows, broadheads, and even a release.
Hunt from a blind: Hunting out of a blind, either pop-up or permanent can be a great way for new hunters to start. The great thing about a blind is that it can hide most of your movement if you are an antsy hunter.
Be quiet: Noise, in all hunting situations, can be your downfall. Most people get comfortable in a blind, they chat, they start watching videos, and they forget that the blind is not a house that blocks all the noise to the outside.
Punch your tag: What’s the first thing to do when you kill an animal? Always punch your tag first!
Map it: onX and GPS are great ways to hunt public land. onX shows you everything you need to know when accessing any piece of land. It’s easy to save maps for when you are out of service, so you never lose access to them. As a public land hunter, onX is a lifesaver!

Make the right selection: Select the camo that best fits your surroundings in your area.
Cover up: Keep cover in front of you. It’s vital to keep out of sight of the animal while you are making your stalk.
Choose the right pattern: Consider the color camo you need and what will best match the trees, grass, or other foliage around you. You would be surprised at how any slight color variation can make a hunter easier or harder to spot.
Carry your own weight: We all have weaknesses. Asking is never bad if done correctly. It is okay to not know but NEVER expect someone else to take care of you if you are capable. We all have different capabilities and being on a hunt with someone who expects to be catered to is never fun. Making hunting friends is about shared experiences, carrying the burden, and doing hard things with people who love it as much as you.
Wear quiet boots: Wear quiet, lightweight boots because you can’t go in crunching leaves. Don’t break branches thinking the animals will not hear you or see you before you see them.
Know your hunting regulations: Depending on where you hunt, you may have clothing requirements, like wearing blaze orange, or having a harness loop for treestand hunting.
Be nice on public land: Talk with other public land hunters. Be nice! They are trying to find their way just like you. Ask them which direction they plan on going so you don’t interfere with each other. Don’t go only by word of mouth, go check it out for yourself.
Get the good gear: Gear is one of the most important things to any hunter.
Expect the unexpected: Always be prepared for whatever mishaps or unexpected things happen.
Don’t push: Even the best shots can result in a lost animal. My advice is to be patient, wait for a good shot and follow through. Following through means: watching where the projectile hit, seeing how the animal behaves, and then waiting before tracking. Waiting after the shot is the hardest part as you sit and shake with adrenaline, but it is always better to let the animal make a bed and not push them. A pushed animal is often not found.
Use your downtown: Believe it or not, there is always something to do during the off-season to maintain your skillset and prepare you for future hunts. The downtime between seasons is the perfect opportunity to accomplish several tasks that will aid in maximizing your time in the woods, while at the same time having fun and feeling productive in the process.
Use your terrain: Use the terrain to get above the animal if possible. If that’s not an option, follow on the edge of fields or the edge of cutovers. Wood lines are great.
Think optics: Get a good gun but get the best optics possible for hunting. Good hunting optics will make a huge difference. Whether you’re glassing the side of a mountain or getting ready to aim, you’ll need a good view.
Keep warm: Everything is better when you’re warm enough to do it. There’s nothing worse than freezing in the field while hoping that an animal will come out just so you can get back to the nice warm truck.
Improve for next season: In the off-season, begin to mentally process the past season to review your overall performance in the field and take a closer look to see what you can do differently or improve upon to have a more successful hunting season. There is always a better or easier method or better preparation that will take your enjoyment of hunting to a totally different level. Read articles, watch videos, and learn from others to assist you in improving or enhancing your hunting abilities.
Check yourself: Deer have better senses than you, that’s what keeps them alive. They see better than you, smell better than you, and know the area better than you. Take it slow and have a lot of patience. Use good binoculars and keep your senses in check with your eyes open.
Wait it out: Wait for your animal of choice to be on the periphery of the group.
Train for your hunt: Take your training for hunting season seriously. See it as building endurance and strength to help you feel confident in the woods.
Know your hunting style: For those who hunt in a treestand or blind, you’ll need to be prepared to sit still in all types of weather conditions. When stationary, you’ll need to find ways to keep warm (or cool) while also staying quiet. When staying warm, you may choose to use HotHands, battery-operated heated boot insoles, warming powders like Balleck Outdoors Wilderness Warmth, or a Heater Body Suit, which looks like a wearable sleeping bag (sounds cozy right? So much so that Heater Body Suit should be the official sponsor of the “treestand nap.”).

Prepare during the off-season: Is there a right time to hang stands and put out trail cameras? This is totally up to you and what you prefer. Some hunters prefer to take stands down right after the season ends and put them back out after turkey season in the spring and the beginning of summer. That way you can cut and clear shooting lanes while the trees are still green. Some people move stands right before the season opens; that’s okay too.
Walk the woods: March and April are great times to walk through the woods. There may still be a dusting of snow, which makes finding fresh trails (sheds, too!) that much easier – and more efficient. With the woods clear, get a feel for the layout (especially if it’s a new property you’ll be hunting). Find the easiest ways into key transition spots and memorize them. Clear trails and set up trail cameras – as early as spring.
Prep your hunt pack: Don’t wait until the night before the opener to run through your hunt pack checklist. Get your gear in order and memorize where everything is in the dark, so you can quietly and quickly grab things as needed. Here are a few essentials: binos, range finder, extra release, field dressing knife, zip ties, a sharpie, field wipes, and of course… Little Debbie Cosmic Brownies.
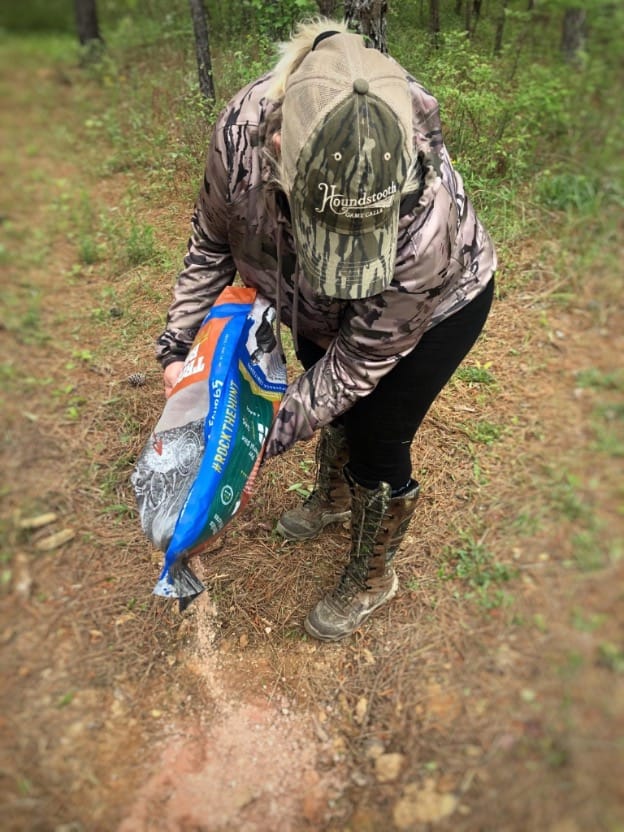
Get your deer healthy: If your neighbor is putting out salt licks and mineral sites, your deer are roaming and they are looking for three things: food, water, and shelter/cover. If it’s summer, those deer are craving protein, salt, and minerals that they are not getting from foliage, so they are going to find it. They’ve lost their antlers and need those nutrients to be healthy and grow antlers.
Don’t reinvent the wheel: Planning a hunting adventure to an unknown place requires research. Research about where to go, where to stay, what is surrounding you, and how to obtain all the required documents and licenses. Some may feel like they are cheating if they reach out to companies, agencies, or outfitters to obtain more information, but you ARE NOT! Use your resources and do not try to reinvent the wheel if it is not needed.
Get your workout on: Spend time exercising and preparing for your hunt by working out. The first lesson learned the hard way: workout with your weighted pack. How does it feel? Do the shoulders tighten up properly? Do you have a place in your pack to carry your bow or rifle if you’re not carrying it in by hand, can you bend and squat? Spend time getting used to your pack.
Know the laws: When purchasing an out-of-state hunting license, it’s your responsibility to have the proper tags, stamps, and hunter’s education courses. Then, you need to know the laws! Different states may have rules regarding the type of firearm or ammo you can use, the time of day you can hunt, as well as limiting the number of animals you can take per day.
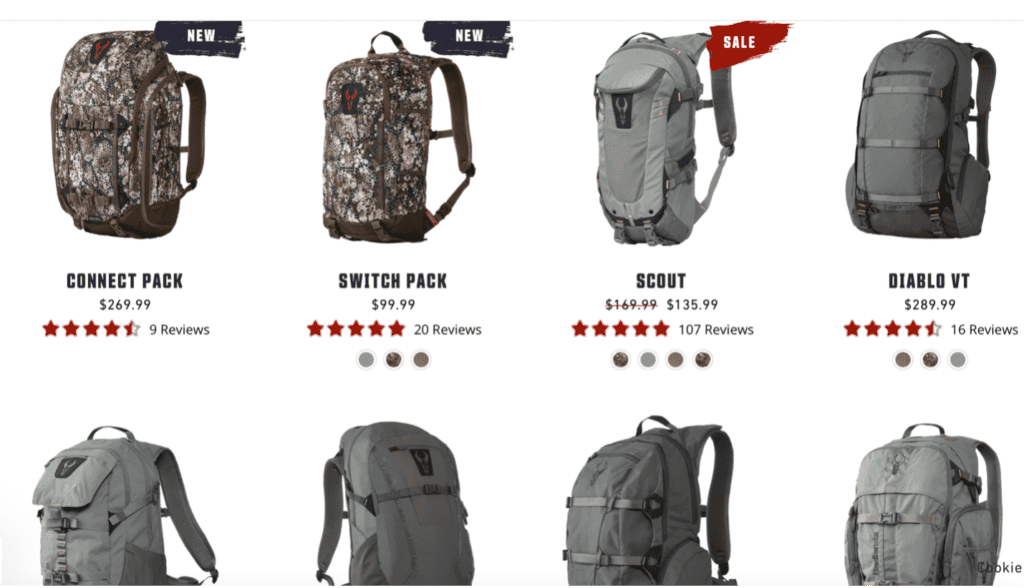
Pack it up: Go to the store and try on a few backpacks. Day packs are going to be different than if you were hunting the backcountry and you need to pack out an elk compared to walking a mile to your deer stand. If you’re walking and stalking for hours, you will eventually get tired and you’re going to wish you had the right pack.
Put on the pressure: Pressure can be good for public land hunters. Pressure bumps animals around and keeps them moving. Just because you see someone else walking a few miles away or nearby doesn’t mean you have to give up and go home. Just stay out of their way and they will more than likely stay out of yours.
Stay productive: Stay productive during the off-season by developing a continuous regimen of cardiovascular exercise. This could be walking, jogging, hiking, etc. Whatever your choice, stay active and keep moving. This is something that should be ongoing and maintained throughout the year. We all know that walking miles and miles to get to our hunting spot with gear and backpacking is no easy task. Let alone when you must drag your harvest out of the woods back to where you parked your truck. The huffing and puffing, the stopping to take a rest break because you are just flat-out winded and out of shape and unsure if you can make it one step further. When you commit to staying active throughout the year, your body will thank you and you will have a more rewarding hunt.
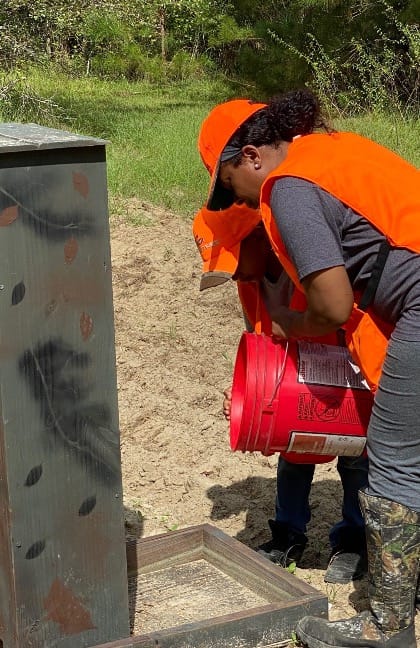
Maintain feed: It is necessary to establish mineral sites and supplement feed during the off-season. It is essential, if for no other reason than the deer herd growth and keeping deer in your neck of the woods.
Know your stand locations in the dark: Know your routes (from all directions to play the wind) and mark them if you must. Count your steps, find landmark objects, and walk those paths in the dark prior to season.
Get quiet: A few weeks before you plan to hunt hard, get out of the woods. Let your spots sit and be calm. But before you do – get up in your stands and ensure everything is as it should be – that your stands are safe, and that your shooting lanes are clear.
Take inventory: Take inventory data of deer taken from the beginning of the season through the last day of the season. What kind of inventory? The number of does and bucks killed. Pull jawbones to determine age. Count the total number of deer taken on the property. How many points did each buck have? Did the does have milk present? Take into consideration the doe-to-buck ratio to help determine next season’s doe limit per club rules for the property.
Don’t panic: Buck fever is hard to control. Compose yourself.
Get a tracker: Keep the number of a good tracker on hand! It’s an integral part of hunting preparation to help recover animals that you have wounded and killed.
Layer up: When spot and stalk hunting, it’s very likely that what will start off as a chilly morning that requires warm layers, will quickly warm up as you hike. Built-in ventilation, like armpit zips and breathable spandex crotch gussets, is crucial to cooling down without stopping the hunt to remove layers.
Give yourself some grace: If hunting is what you spend your year looking forward to doing, don’t let sweating the small stuff take the fun out of it. You’re doing something for yourself, which is hard enough. Remember, you’re doing great, and give yourself a little grace this hunting season.
Plot the food: It is always an option, if hunting private land, to plant a food plot (clover, oats, rye, sugar beets, and much more). This will help you potentially attract more deer.
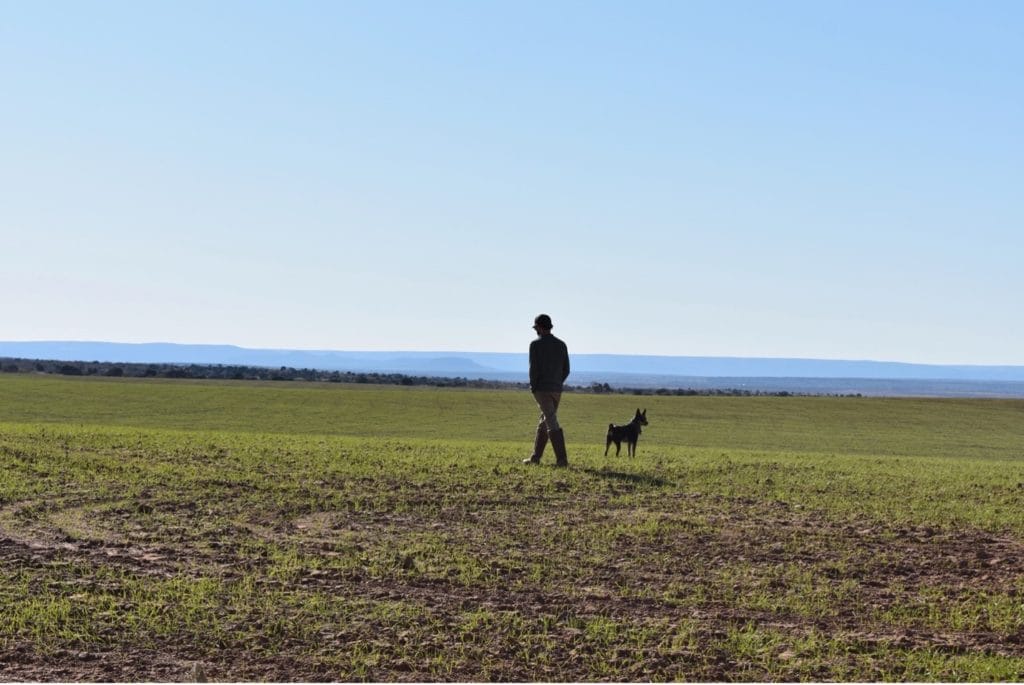
Study the terrain: This will help you pick which camo pattern will conceal you the best – think dry grasses vs. bright green leaves; muddy browns vs. snow. Budget tip: If you typically hunt in the same area every year, find a camo pattern that will adapt to both early and midseason hunts so that you don’t have to purchase new gear for each hunting season. Abstract camo patterns tend to work better than stick and limb patterns for this purpose.
Patience is key: Many of us are looking for the biggest or prettiest animal so patience is key. You must be not only patient but diligent and ready as the window for the shot is often small.
Track that one animal: Figure out something recognizable if you are supposed to take a specific animal. Do your best to keep track of that one animal. Having a spotter or backup can help greatly.
Place your stand: Where do you put your stand? Ridges work well because they give you a good view and keep your scent from reaching deer around you. The corners of fields are another good location. Deer enter fields via the corners to feed, so put your stand in a tree a bit off the corner and catch them going in. Lastly, you can try to put your stand at an intersection of several bed-to-feed paths. This will give you the best chance of spotting a deer that uses one of the paths. Locating deer scat will help you locate feeding areas.
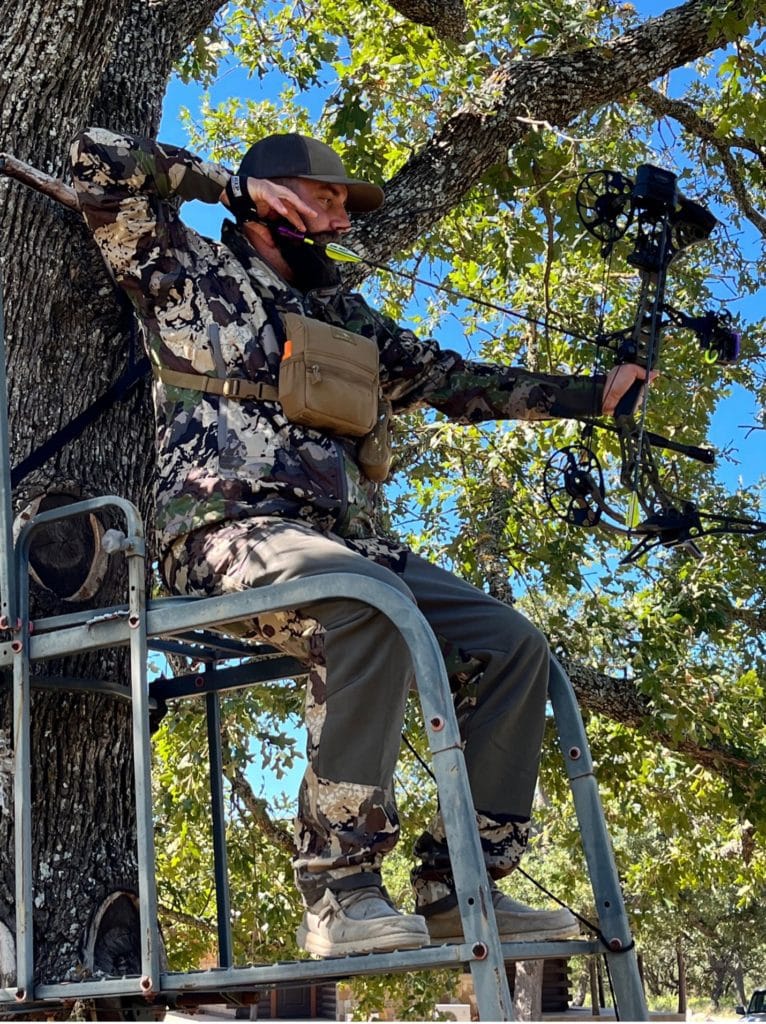
Keep your eye on the target animal: If there are too many animals in your target group, be patient. This means keeping your eyes on your target animal, breathing, and being ready for the window when you have a clear shot.
Look at food plots: How did they turn out? How did the vegetation grow and did it last throughout the season? If, for example, the foliage didn’t grow well, maybe you should try to collect soil samples to test soil pH and soil nutrients to determine what kind of fertilizer/lime you will need. The co-op stores have different ratio levels. Testing soil will not only show you what your soil needs, but it will also save you money, in the long run, to determine the percentage of nitrogen, phosphorus, and potassium you should use to fertilize. Good food plots attract and sustain deer throughout winter.
Drill, drill, drill: From blind bale shooting to long-distance target shooting, getting comfortable in nearly every shooting circumstance is important. Shoot in the wind and rain. Shoot when it’s cold and when it’s dark. Shoot seated, standing, leaning over, and with limited and narrow lanes to mimic that super un-ideal situation that you *know* is bound to happen – because nothing ever goes how it should. Another big one – shoot in your hunting gear. Break out the gloves, hats, gaiters, and every other accessory you might wear afield and put it on. You’d be surprised how much your anchor point changes wearing these things.
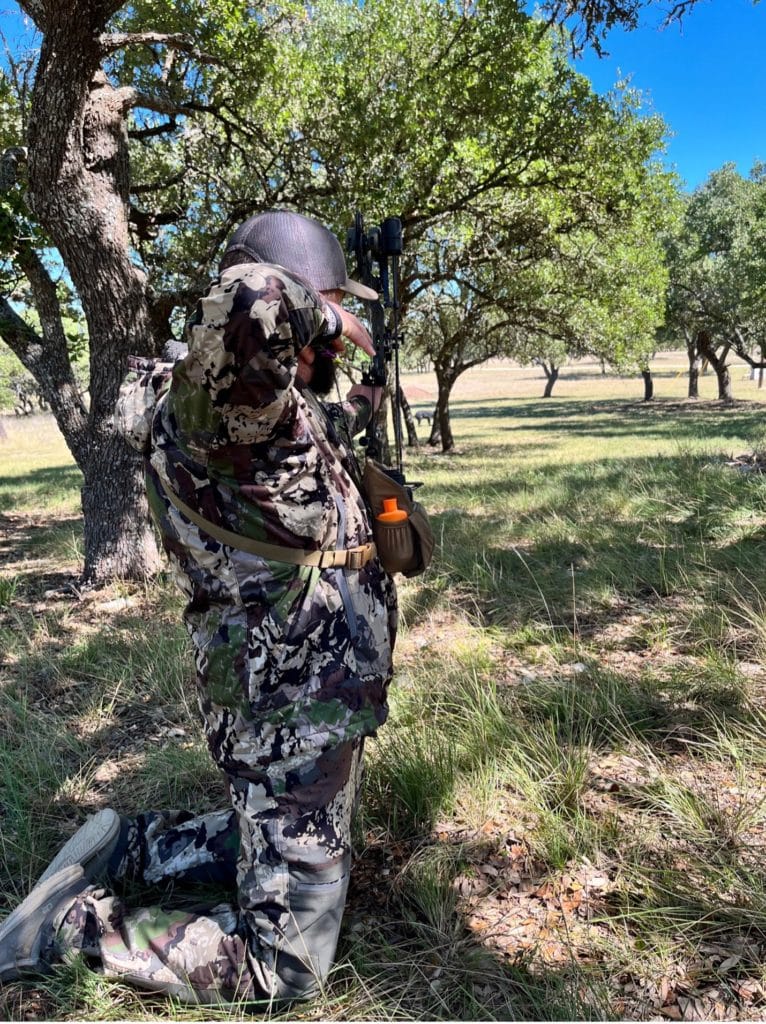
Warm your feet: One of the most important pieces of gear is footwear. When the temperatures plummet, your feet are one of the first parts of your body to get cold, and once they do, you’re either in for a miserable hunt or you’ll just want to pack up and head home. The size and fit of hunting boots play a crucial role in maintaining thermoregulation.
Tips for Hunting Pregnant and Bringing Kids on a Hunt
Safety first: Teach your kids gun safety. Always. Does your state require a youth license? Know the rules and regulations and safety, safety, safety. Always.
Carry them with you: Think about how you will bring your little one along. Should you pack her in a carrier or hiking pack or nothing at all?
Sit down: If you hunt primarily from a tree stand, you may want to consider sitting in a ground blind, especially if you’re further along in your pregnancy. Not only will your safety harness not fit properly and potentially cut across your stomach if you fell but climbing into the stand itself could be dangerous. Use your best judgment and exercise caution. There is nothing wrong with altering how you hunt to keep yourself and your baby safe.
Pump it out: Will the hunt require pumping sessions? If you leave your little one behind, you’ll need to think about how frequently you will be forced to pump due to discomfort.
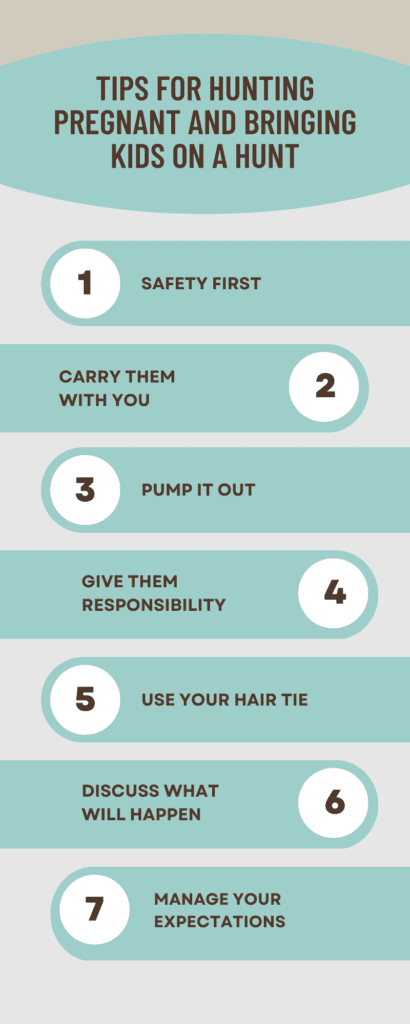
Give them responsibility: They like it. Give each kid a backpack to put gloves, flashlights, snacks, binos, and other needs in. It makes them feel important and it teaches them responsibility.
Every child is different: You know your child. Either you can decide what age is best or they may need to let you know when they are ready to shoot and hunt.
Use your hair tie: The hair tie trick is for when your pants are getting too tight from your growing bump. Loop a hair tie through your buttonhole and then wrap the other end around the button. You now have a pair of pants that will hopefully stay up while you’re hunting.
Slow down and adjust your hunting style: You may not have much for animal sightings and successful harvests with them in tow, but the end goal is worth the wait. These are the moments where memories are created.
Discuss what will happen: Children need guidance and support. Take time before their first hunts to discuss what will happen and what to expect. Don’t forget to go through the whole plan of what you’ll be doing. You should also leave room for your children to ask questions! That way, they will have the resources to fully prepare for their first hunt.
Store the milk: If pumping, do you have enough storage bags? Do you have a cooler? Is your pump charged or will you need an outlet to plug into?
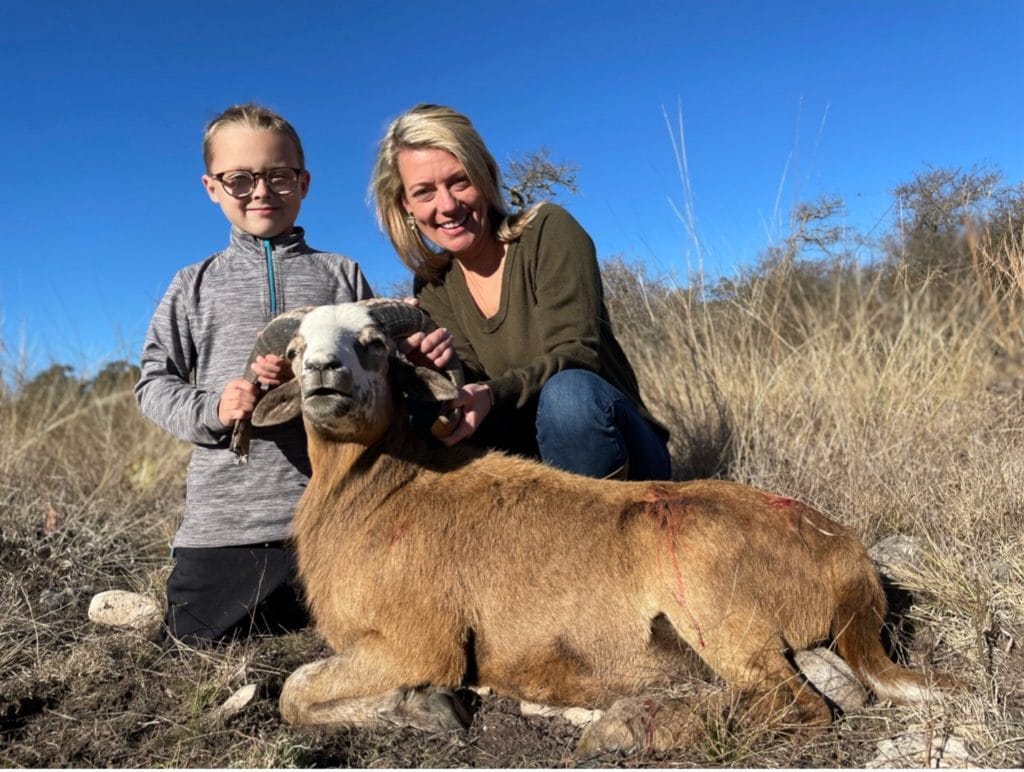
Start out small: You want them to have positive experiences while they are young to help build a love of the outdoors. Take them out for walks in the bush and explore nature which is simple and effective. Make it fun by adding in some shed hunting or a scavenger hunt. Buy them little binoculars so they can search for animals and copy you – monkey see, monkey do!

Manage your expectations: Manage your expectations and listen to your body’s limits. Hunting while pregnant certainly isn’t easy, but it’s not impossible.
Identify tracks: Start with animal identification and tracks. Books and videos are helpful, but for them to see the animals in person makes a bigger impact. Identifying tracks in the bush, at kids’ programs, or even at a taxidermy shop, are useful exercises for hands-on learning.
Use the blind: Hunting in a blind is a great way to introduce them to hunting. It conceals their movement but not their sound, so bring lots of entertainment like Hot Wheels and coloring books. Don’t forget extra clothes, food, water, and a blanket to keep them comfortable.
Be careful of layers: Plan your gear and layers with breastfeeding in mind. You’ll need layers that provide easy access.
Depending on the hunt, full camouflage may not be necessary. A camo sweater or black shirt might suffice in a blind. Getting the kids dressed up just like you are will not only excite them, but it will put an extra pep in their step as they wear it proudly.
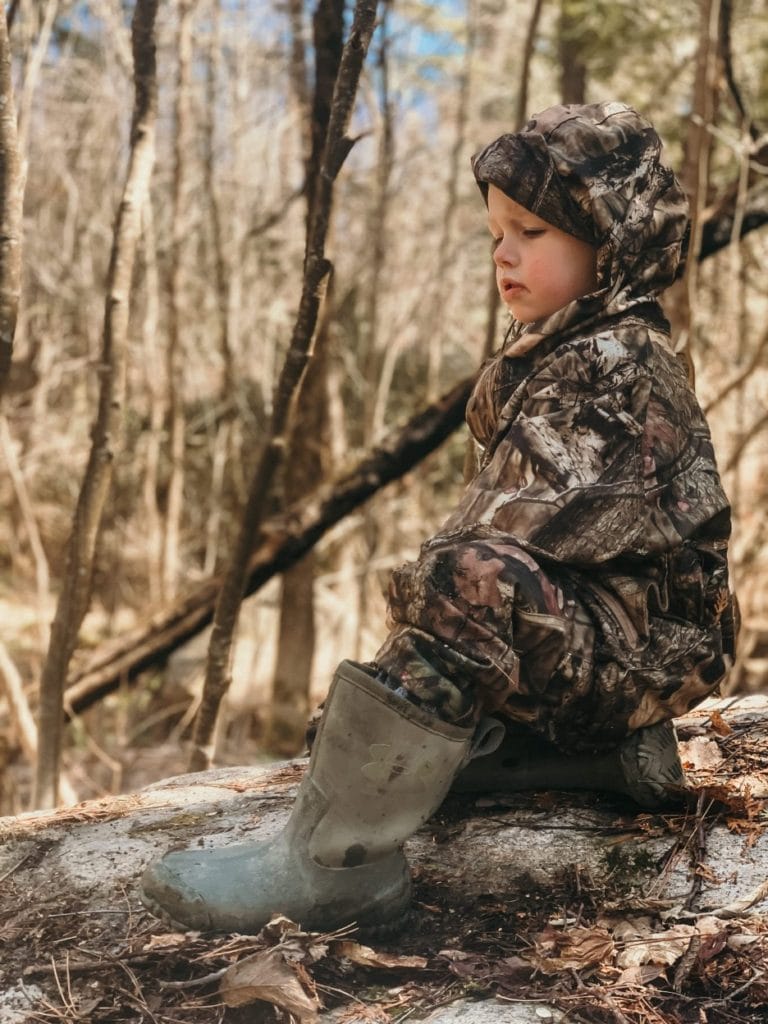
Choose nice weather: Since we’re making this all about the child, optimize the experience by taking them out in pleasant conditions. Early-season bow hunts from a ground blind overlooking a field or mid-October walks through the squirrel woods are perfect ways to get youth outdoors.


3 thoughts on “165 Hunting Tips: The Complete Guide to Hunting”